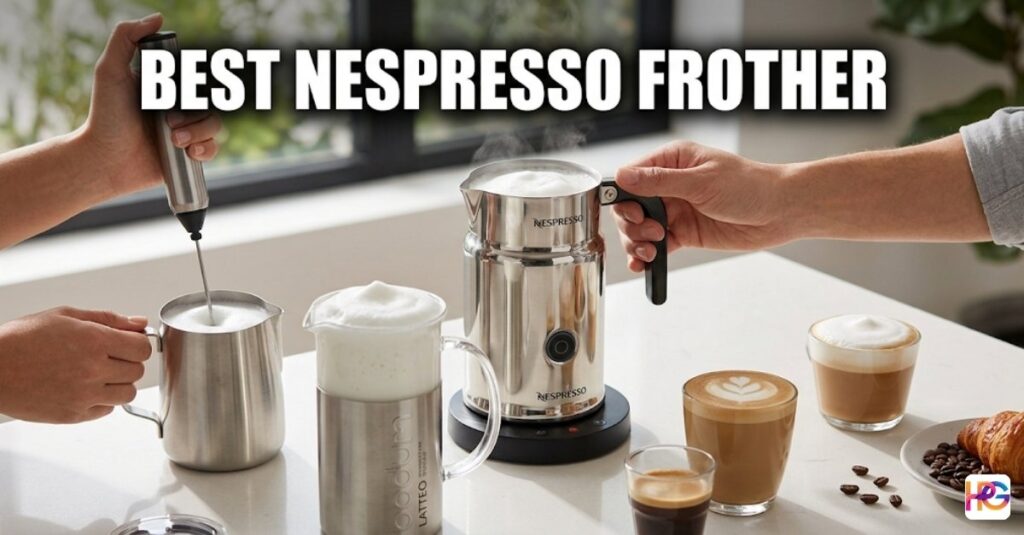
5 Best Nespresso Frother for Home Use: My Honest Reviews
Why I Started Testing Milk Frothers
I drink a lot of coffee. My mornings always start with a fresh brew. I usually use my trusted Technivorm machine for a clean cup. Sometimes I switch to an AeroPress if I want something punchy. Black coffee is great most days. But sometimes you just want something richer. A creamy latte simply hits different when you have time to enjoy it.
A few years ago, I took a trip to Seattle for work. The coffee culture there is absolutely wild. I visited a tiny, busy cafe on a rainy Tuesday afternoon. The barista handed me a simple flat white. The foam was like wet paint. It was sweet, heavy, and perfectly warm. I really wanted to recreate that exact magic in my own kitchen.
But my early attempts were bad. Really bad. I made thin bubbles that popped in ten seconds. My kitchen counter became a sticky mess of spilled milk. I knew I had to pick better tools so I could live smarter and stop wasting good beans. That frustration led me to buy and test almost every frother I could find on the internet.
How I Tested These Coffee Tools
I spent weeks making drinks at home. I used whole milk, creamy oat milk, and thin almond milk. My family drank a lot of lattes during this time. We definitely had way too much caffeine on certain days.
I looked at three main things during my tests. First, how easy is the tool to use? Second, how fast does it do the job? Third, how annoying is it to clean?
Cleaning is actually the worst part of making milky coffee. Dried milk smells terrible after a few hours. It sticks to metal like industrial glue. If a gadget takes ten minutes to scrub, I will never use it. I want a fast wash in the sink so I can get on with my day.
I also cared deeply about the foam texture. Big, dry bubbles are terrible. You want tiny, invisible bubbles. Coffee experts call this microfoam. This kind of foam mixes with the dark coffee instead of just floating on top like a stiff raft.
The Secret to Good Foam: Temperature and Milk Type
Before buying any gadget, you need to understand your milk. Cold liquid does not foam the same way hot liquid does. I learned this lesson the hard way. The delicate proteins change when you apply heat.
You want to aim for about 140 degrees Fahrenheit. If it gets too hot, the natural sugars burn. Burnt milk tastes sour and will instantly ruin your fresh roast.
Different milks also act very differently in the cup. Whole dairy milk is by far the easiest to use. The high fat content makes the bubbles very stable. Skim milk makes huge, stiff clouds that feel like eating air.
I also tested a lot of plant options. Oat milk is my absolute favorite for morning lattes. It has a rich texture that whips up beautifully. Almond milk is much harder to control. It tends to separate and look watery. Keep this in mind when you pick your tool.
Comparing the Three Main Types
You will find three main kinds of tools for this job. Hand wands are small, cheap, and run on batteries. Electric jugs heat and spin the liquid for you automatically. Manual pumps require your own arm power to force air into the liquid.
Each type fits a totally different lifestyle. Wands are great for quick, hands-on jobs. Jugs are best for lazy, blurry-eyed mornings. Manual pumps are for people who want giant foam without dealing with extra power cords.
Frother Type Comparison
| Type | Heat Milk? | Foam Quality | Effort Level | Price Range |
|---|---|---|---|---|
| Handheld Wand | No | Good to Great | Low | Cheap |
| Electric Jug | Yes | Great | Zero | High |
| Manual Pump | No | Very Thick | High | Medium |
1. Subminimal NanoFoamer V2: The Microfoam Master
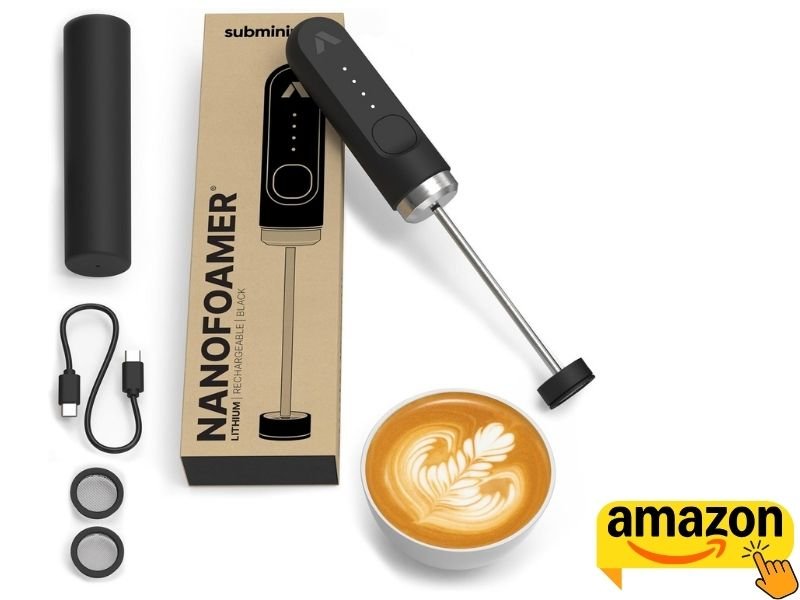
This little wand is truly special. Most cheap wands just whip air into giant bubbles using a wire spring. The NanoFoamer forces liquid through tiny plastic screens instead. The motor spins incredibly fast.
I charged the battery via USB on a quiet Sunday morning. The handle felt nice and heavy in my grip. I heated some oat milk on the stove first. Then I plunged the spinning tip near the edge of my steel pitcher.
A quiet, smooth hum filled the room. The milk turned into liquid silk in twenty seconds. It looked exactly like the fancy foam from that Seattle cafe.
My Real-Life Experience
The texture is simply amazing. You can actually pour real latte art with this foam. I managed to make a messy heart shape on my very first try. It made my morning AeroPress shot taste like a five-star drink.
But you do have to heat the milk yourself. That adds an extra step to your morning. You also must hold the wand at the perfect angle.
The first time I used it, I pressed the power button before the tip was deep enough. Big mistake. White drops flew all over my cabinets. My dog was very happy to clean the floor. I quickly learned to keep the tip totally submerged.
2. Nespresso Aeroccino4: The Easy Push-Button Option
Sometimes I am barely awake at six in the morning. I do not want to hold a wand at a perfect angle. I just want my caffeine fast.
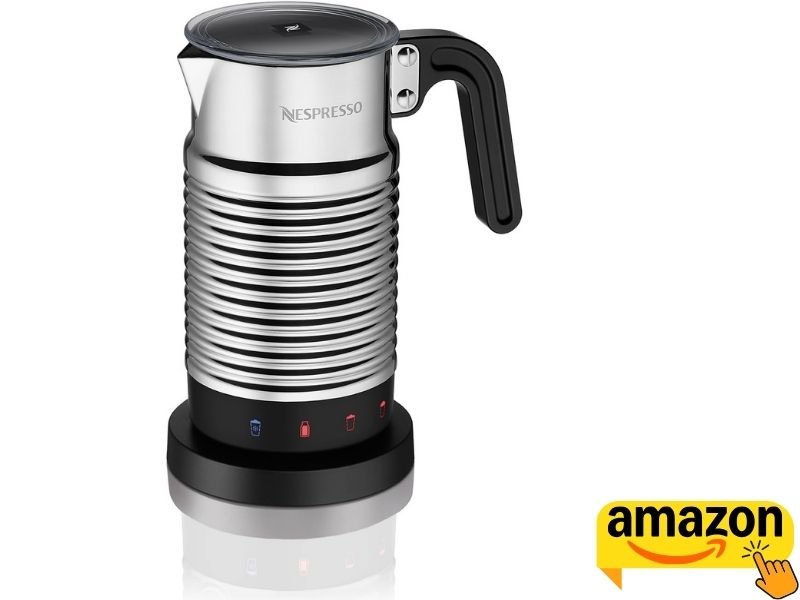
The Aeroccino4 is a heavy, shiny metal jug. It looks very handsome sitting next to my grinder.
You just pour cold milk inside the chamber. You push one button on the base. Walk away and do something else. The machine operates quietly. Two minutes later, you have hot, fluffy foam waiting for you.
Morning Routine Reality Check
The absolute best part is the dishwasher-safe jug. Older models had to be washed carefully by hand. Now I just rinse it quickly and drop it in the top rack.
The hot foam setting makes a very stiff peak. It is completely perfect for a classic afternoon cappuccino.
The bad news is the steep price tag. It costs a lot of money for a single-task machine. It also holds a rather small amount of liquid. You can only make one large drink at a time. If you have guests over, you will be running cycles over and over.
3. Instant 4-in-1 Milk Frother: The Value Pick
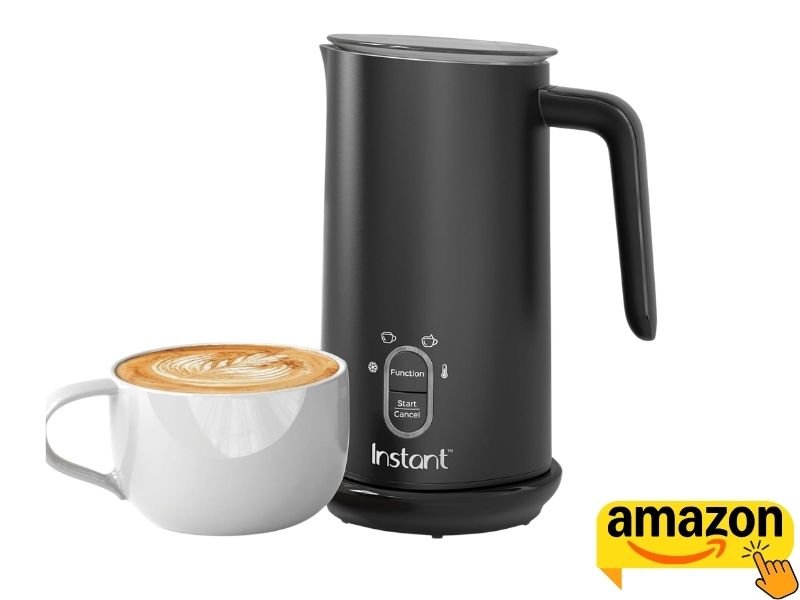
I really enjoy saving money. I also like finding clever gear that works well. The makers of the famous Instant Pot created this handy frother. It looks exactly like the expensive jugs but costs much less.
I ordered this one online to see if it was any good. It arrived on a Friday afternoon. I unboxed it and made a cold foam drink right away. The cold setting is super fun for iced coffees during the hot summer months.
A Budget-Friendly Surprise
It features a small pouring spout on the top rim. This detail makes pouring so much easier. I hate when foam splatters out of perfectly round jugs. The little spout gives you complete control. It also warms the liquid very fast.
The inside is coated with a dark non-stick layer. You must be gentle when washing it out. Never use hard sponges or metal spoons inside. A soft cloth and warm water are all you need.
If you scratch the bottom coating, hot milk can stick and burn there. Treat the surface gently, and it should stay easier to clean.
4. Bodum Latteo Glass Frother: The Manual Workhorse
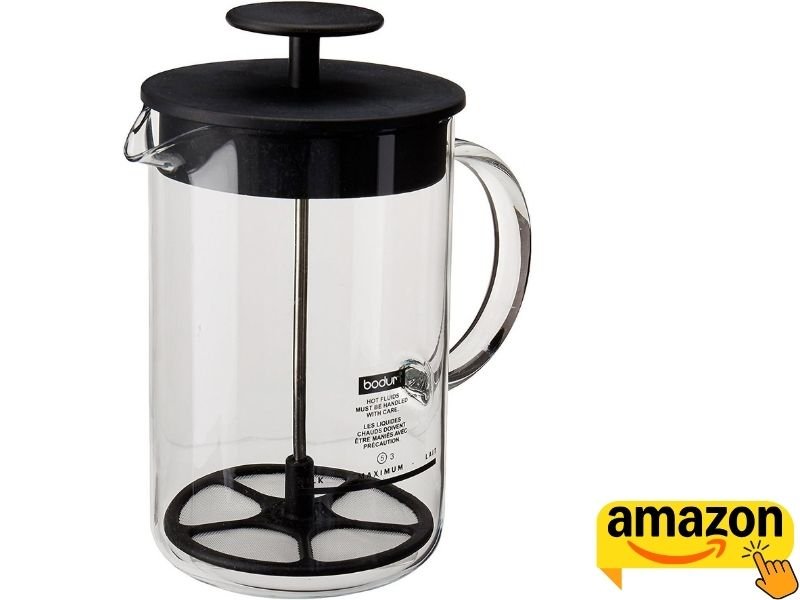
This tall gadget looks exactly like my old French press. It uses a glass jar and a plastic plunger. The plunger has a fine mesh metal screen attached to the bottom.
There are zero power cords. There are zero batteries to die on you.
You pour cold milk directly into the clear glass jar. You can put the jar right into the microwave to warm it. I heated mine for forty seconds on high power. Then you put the tight lid on and pump the handle up and down.
Pumping for Perfect Foam
I felt like I was churning butter on a farm. You only need to pump vigorously for about thirty seconds. The liquid rapidly doubles in size. It gets incredibly thick.
This method makes the biggest, most pillowy foam of the whole group.
It is definitely a bit of a workout. Your arm might actually get tired. The resulting foam is also very airy and stiff. It is not the wet microfoam you need for fancy cup art.
But if you want a huge, fluffy cloud resting on your dark roast, this is a great tool.
5. Zulay Kitchen Original: The Cheap Thrill
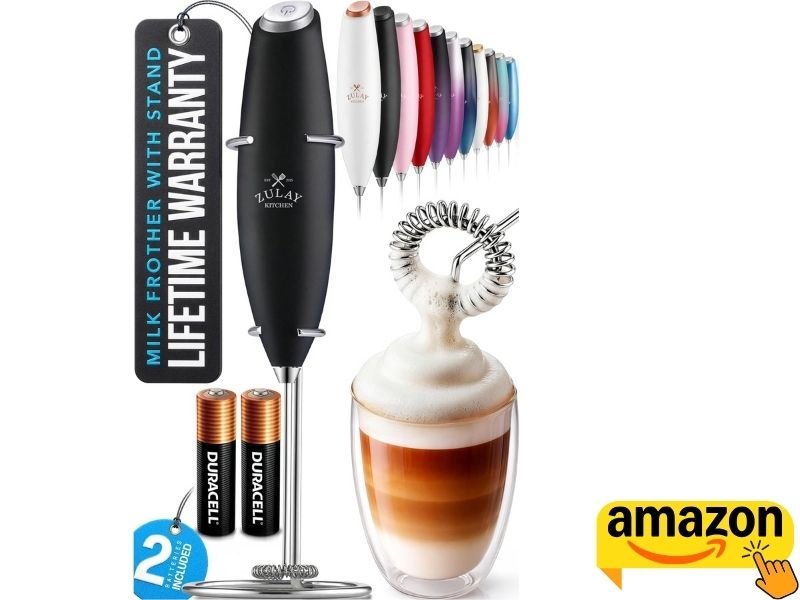
This is a popular inexpensive wand. It comes in dozens of bright colors. I bought a simple black one. It cost less than a small bag of good coffee beans. It runs on two standard AA batteries.
The design is extremely basic. It has a thin metal coil at the end of a long stick. You push the rubber button on top and the coil spins.
The motor is quite loud. The plastic handle vibrates heavily in your hand.
Quick Fix for Quick Coffee
Whenever I am in a massive rush, I grab this tool and warm some milk directly in my coffee mug. Then I drop in my Zulay frother and spin it for about ten seconds.
It creates a decent layer of nice bubbles. It is certainly not perfect. The bubbles tend to pop pretty fast.
These tiny motors are surprisingly strong. But the metal shaft is very thin. If you bend it by accident in a crowded drawer, the tool can become difficult to use. The wand may wobble and splash your drink everywhere.
Thankfully, it comes with a nice metal stand. It sits neatly on my counter and stays safe. For the low price, it is a very handy kitchen gadget. Just remember to change the batteries when needed.
My Final Thoughts on Picking the Best One
Finding the right tool really changes everything. You do not need to spend ten dollars at a cafe every single day. You just need a little patience and the right kitchen gear.
For me, the Best Nespresso frother depends on what kind of coffee routine you want.
If you want the absolute best cafe-style texture, get the NanoFoamer. It pairs beautifully with a strong morning brew. If you want zero physical effort, buy the Nespresso jug. It does all the hard work while you wake up.
The Best Nespresso frother for someone on a budget may be a simple handheld wand. It will not create the same microfoam as the NanoFoamer, but it is inexpensive and easy to store.
Think closely about your normal morning mood. Pick the tool that actually fits your daily life. A smooth coffee routine brings a lot of quiet joy.
For my overall balance of convenience, foam quality, and daily usability, the Best Nespresso frother is the Nespresso Aeroccino4. However, the NanoFoamer remains my choice when foam texture matters most.
I hope my messy kitchen tests help you make a solid choice. Now go brew something great.
Milk Frother Tools: Frequently Asked Questions
Q: Will my milk frother battery die fast in a cold kitchen?
A: Handheld tools like the Zulay use simple batteries that may drain faster in cold conditions. Keep your gear in a dry, room-temperature drawer to help protect the batteries and motor.
Q: Is the Subminimal NanoFoamer powerful enough for heavy daily use?
A: This tool uses a high-speed motor designed to create fine foam. Its rechargeable battery makes it convenient for regular use, especially when you want more control over milk texture.
Q: How do I clean my Instant 4-in-1 jug without damaging it?
A: Treat the jug gently and skip metal scrubbers. Use a soft cloth and warm water to protect the non-stick surface and keep it ready for your next morning brew.
Q: Does the Nespresso Aeroccino4 hold up in a busy household?
A: The Aeroccino4 is designed for convenient everyday milk frothing. Its automatic operation makes it useful when you want consistent results without manually working a wand.
Q: Can a Bodum manual frother handle thick cream or just milk?
A: The mesh screen provides good leverage for heavier liquids, but it requires more arm strength. It is a simple cordless option when you want to avoid electrical parts.