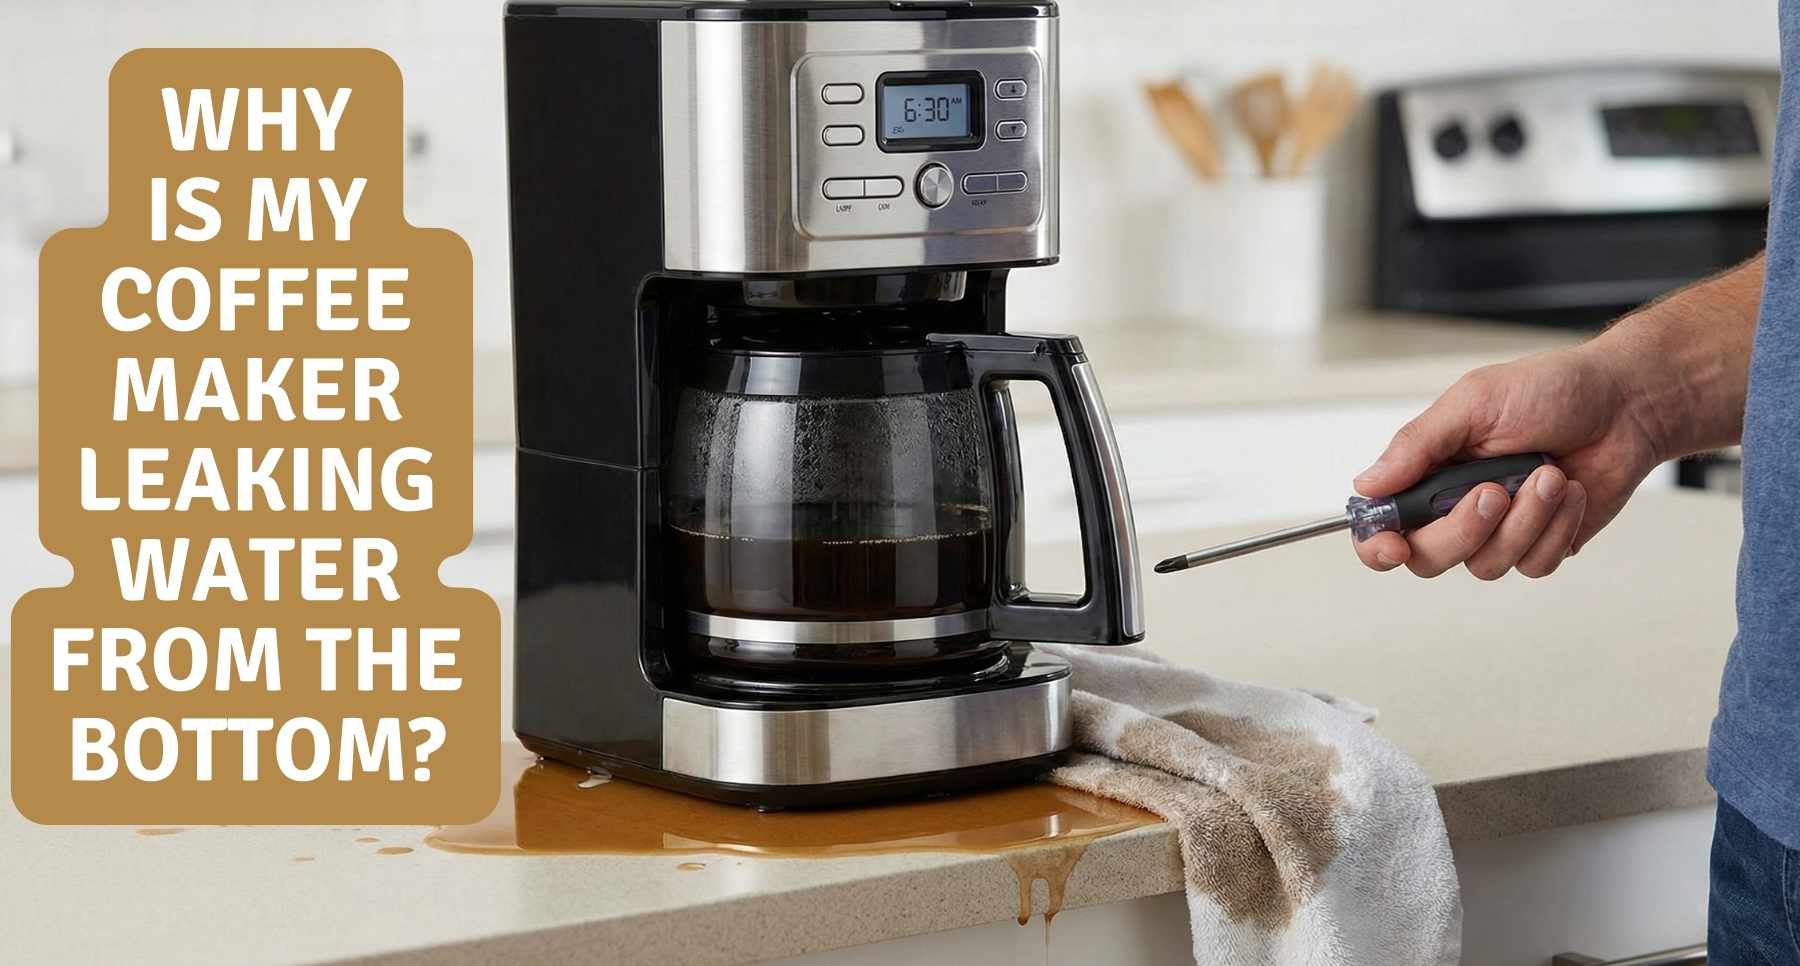
It’s Tuesday. 6:45 AM. You are barely awake. You shuffle into the kitchen in your socks to escape the cold floor. You hit “Brew.” You wait for that fresh coffee smell to fill the room.
But there is no happy gurgle. Instead, your machine starts wheezing. It is sputtering loudly. Steam goes everywhere like a sauna, but the pot is barely filling up. It just goes drip… by… drip.
Nothing ruins a morning faster. But don’t panic. And please, don’t trash it yet. I have fixed dozens of these grumpy machines right here in my own kitchen. It is usually a simple clog, not a broken part. If you are looking for a guide on a coffee maker brewing slowly and steaming: how to fix it, you are in the right place. Let’s get that liquid gold flowing again.
Why Is My Coffee Maker Brewing So Slowly?
Here is the honest truth. Your machine is probably not broken. It is likely just choked up. I see this all the time. People think the pump died, but the machine is actually just trying to breathe through a straw. Before you shop for a new one, let’s look at why it is struggling.
The Silent Killer: Mineral Buildup (Limescale)
Do you use tap water? If you do, you are pouring dissolved rocks into your machine. We call this “hard water.” It contains tiny bits of calcium and magnesium. When the water heats up, it leaves these minerals behind inside the plumbing.
Think of it like cholesterol in your arteries. Over time, that mineral layer gets thicker. The heating tubes inside get narrower and narrower. The water literally cannot squeeze through. Instead of flowing, it gets stuck and turns into steam. That is why you hear that loud hissing and spitting sound.
Do a quick check: Go look at your water reservoir. Run your finger along the bottom or the sides. Do you see or feel a rough, white, chalky film? That is limescale. And it is strangling your brew speed.
Clogged Valves and Tubing
It gets messy inside the deep recesses of a coffee maker. Over months of daily use, tiny coffee grounds can escape the filter basket. They float down into the guts of the machine. Coffee oils build up too. They form a sticky sludge over time.
There is a small, critical part called a “check valve.” It acts like a one-way gate. It pulls cold water in but stops hot water from flowing backward. If a single crumb of coffee or a bit of sludge gets stuck in that gate, the seal fails. The pressure drops instantly. The water stops moving up toward the pot and just sits in the pipes.
Is It Mechanical? (Heating Element Issues)
This is the worst-case scenario. It is rare, but I have seen it happen. Your machine relies on a heating coil to boil the water rapidly. That boiling force is actually what pushes the water up the tube.
If that metal coil is failing, or if the thermostat is broken, the water never gets hot enough. It won’t create enough pressure to climb the pipe. However, don’t assume this is the problem yet. 90% of the time, a good cleaning fixes the issue.
The Quick “Sanity Check” Fixes
Before we get messy with cleaning solutions, let’s pause. We need to rule out the silly stuff. This is the stuff that happens to the best of us, usually when we haven’t had our caffeine yet. Check these simple things first.
Check the Water Reservoir
Is the tank actually seated correctly? It sounds obvious, but look again. Most removable tanks have a spring-loaded valve at the very bottom. It connects the tank to the machine. If that tank is pulled up just a fraction of an inch, the valve stays closed. No water gets in.
I have to confess something here. I once spent a full hour fighting with my Keurig. I was ready to throw it out the window. I thought the motor was dead. Then, I looked closer. The tank was sitting slightly crooked. I gave it a firm push. Click. It bubbled to life immediately. I felt a little foolish, but at least I finally had my coffee. So, give it a firm push. Make sure it clicks.
The “Paperclip” Trick for Needles (Pod Machines)
If you use a single-serve machine, this is a common headache. These machines use sharp hollow needles to puncture the pod. Those needles are tiny. It is very easy for a stray coffee ground to get stuck inside the tip. When that happens, the water has nowhere to go.
Here is the fix. Go find a standard metal paperclip. Unbend one end so it is straight. Lift the handle of your machine to expose the needle. Gently poke the wire up into the needle to dislodge the plug. Move it around a little bit. You will be surprised at the gunk that falls out. It is a five-second fix that works wonders.
The Golden Fix: Descaling Your Machine
This is the answer 90% of the time. Truly. If your coffee pot is brewing slowly, it does not need a mechanic. It just needs a bath. We call this “descaling,” and it clears out all that rock-hard buildup inside.
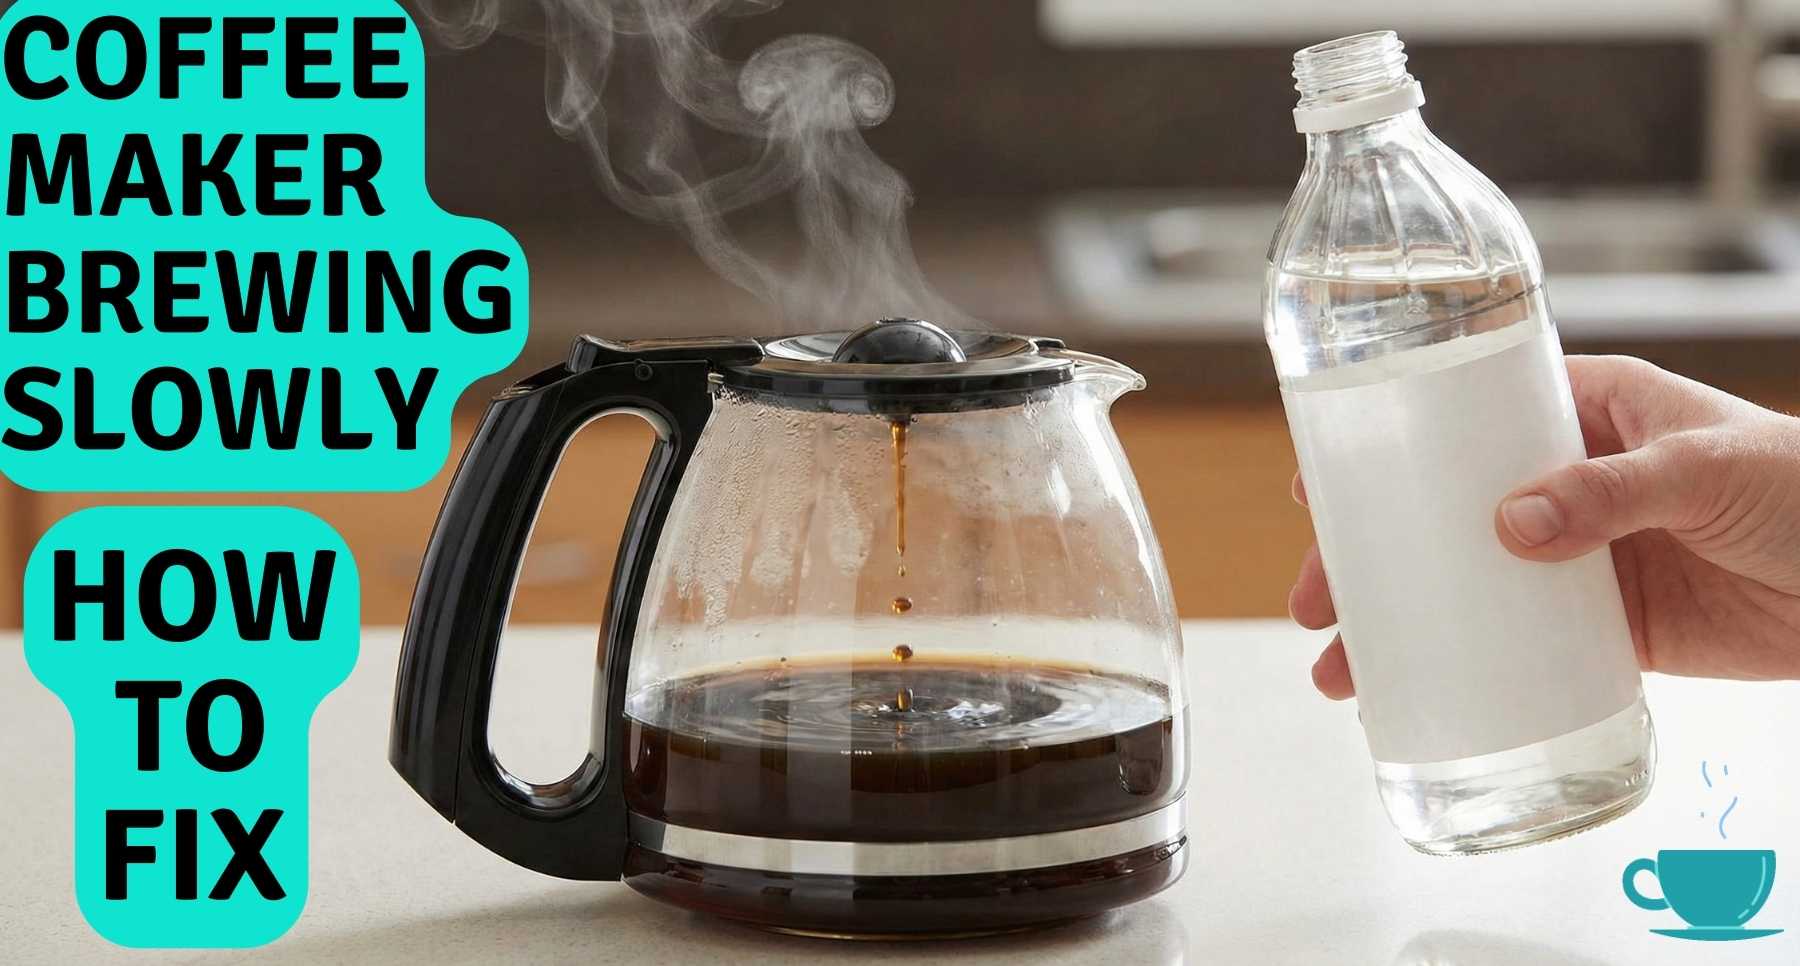
Method 1: The White Vinegar Solution (Cheap & Effective)
This is my go-to method. It costs pennies and works incredibly well. The acidity in the vinegar eats right through the calcium deposits.
Here is the recipe:
- The Ratio: Mix 1 part white distilled vinegar with 1 part water.
- The Process: Pour this mixture into your water reservoir. Fill it to the max line.
- The Brew: Start a brew cycle. Do not put coffee grounds in the basket.
- The Soak: This is the secret. When the pot is half full, turn the machine off. Let that hot vinegar sit inside the tubes for 20 minutes. It needs time to dissolve the gunk.
- Finish: Turn it back on and let it finish brewing.
A fair warning: Your kitchen is going to smell like a salad bar. Or maybe like you are dyeing Easter eggs. It is pungent. I always crack a window before I start this.
Method 2: Commercial Descaling Solution
I get it. Some people hate the smell of vinegar. Or maybe you have a fancy machine. If you own a high-end brewer like a Breville or Nespresso, check your manual. They often tell you to skip the vinegar.
In that case, buy a bottle of commercial descaling solution. It is odorless. It is also formulated to be gentle on specific internal rubber gaskets. It costs a few dollars, but it is safer for expensive pumps.
The All-Important Rinse Cycle
Please, do not skip this step. I did this once. I was in a rush and only rinsed the pot once. My next cup of coffee tasted like warm pickles. It was awful.
Once the vinegar or cleaner is gone, fill the tank with fresh, clean water. Run a full brew cycle. Then, do it again. You want to flush the system completely. Two or three cycles of fresh water will ensure your morning roast tastes like beans, not sour cleaning fluid.
Troubleshooting Specific Machine Types
Not all robots are built the same way. I have taken apart many different brands on my kitchen counter. They all have unique quirks. Here is what I have learned about the big names.
Why is my Keurig running slow?
I love the speed of a Keurig. But when it slows down, it is painful to watch. The stream gets thin and weak.
First, check that needle again. I know we talked about it, but it is the number one culprit. If the needle is clear, the internal pump might be struggling. On newer models, look at the display. Is the “Descale” light on? Do not ignore it.
I used to ignore that light. I thought it was just a suggestion. It is not. The machine knows it is clogged. Some models will actually slow down the water flow on purpose to protect the heater. It is trying to save itself. You have to run that descaling cycle to reset the brain of the machine.
Why is my drip coffee maker steaming excessively?
Does your kitchen look like a sauna? This is a very specific symptom. You hear a loud hissing sound. Steam is shooting out of the top vents. But the coffee pot is barely filling up.
Here is what is happening inside. The heating element is working perfectly. It is boiling the water. But the water hits a wall of calcium in the tube. It cannot go up. It has nowhere to go. So, it turns into steam and escapes.
It is basically a traffic jam. The water wants to move, but the road is closed. If you see this much steam, your blockage is severe. You need a strong vinegar soak immediately.
When to Call It Quits (Hardware Failure)
Sometimes, sadly, a machine has brewed its last pot. I hate admitting defeat. I am the guy who tapes broken remote controls back together. But sometimes, the hardware just fails. If you have tried everything and the coffee is still not flowing, it might be time to say goodbye.
Signs the Pump is Dead
Here is the ultimate test. You descaled the machine. You did it twice. You even poked the needle with a paperclip. But still, nothing happens.
Turn it on and listen closely. Do you hear a loud, straining hum? Does the machine sound angry? If it is vibrating on the counter but the water level does not move, the pump is likely dead. It is trying to pull water, but the internal motor is shot. It is frustrating, but no amount of vinegar will fix a broken motor.
The Cost-Benefit Analysis
So, do you repair it or replace it? You have to do the math.
Let’s be real. Do you own a basic $20 Mr. Coffee from 2015? It has served you well. But a new pump will cost more than the machine is worth. It makes no sense to fix it. Thank it for its service and go buy a new one.
However, if you have a $300 Moccamaster or a high-end Breville, do not trash it. Those machines are built like tanks. You can usually find replacement parts online. In that case, it is worth the effort to save your investment.
Hearing your coffee maker sputter is stressful. It is a terrible sound, especially at 6 AM. But do not worry. It is rarely fatal. Your machine is tough. It usually just needs a little help to breathe again.
So, go grab that bottle of vinegar. Open the windows to let the smell out. Run a deep cleaning cycle right now. It takes twenty minutes. But the reward is worth it. Tomorrow morning, you won’t hear wheezing. You will just smell fresh, hot coffee. And honestly, you earned it.
Frequently Asked Questions
Why is my coffee maker brewing slowly?
It is likely clogged with minerals. Hard water builds up inside the tubes. This slows down the flow. You need to clean it. A vinegar wash fixes it fast. It works well.
How do I fix a coffee maker that steams?
Steam means a bad blockage. The water cannot move up. It boils and turns to steam. You must descale it. This clears the tube so water can flow freely. It is easy.
What is the best way to clean my coffee maker?
You need to descale it now. Mix white vinegar and water. Run a brew cycle with it. This clears the clog. It makes the machine run fast again. It saves time.
How much vinegar do I use for descaling?
Use a simple mix. Add one cup of vinegar to one cup of water. Pour it into the tank. Run the cycle. This acid eats the gunk. It is safe and works well. Rinse it after.
Can coffee grounds clog my machine?
Yes, grounds can stick. They get trapped in the deep valves. This stops the water flow. You can fix it. Use a wire or clip to poke the needle gently. It clears the path.