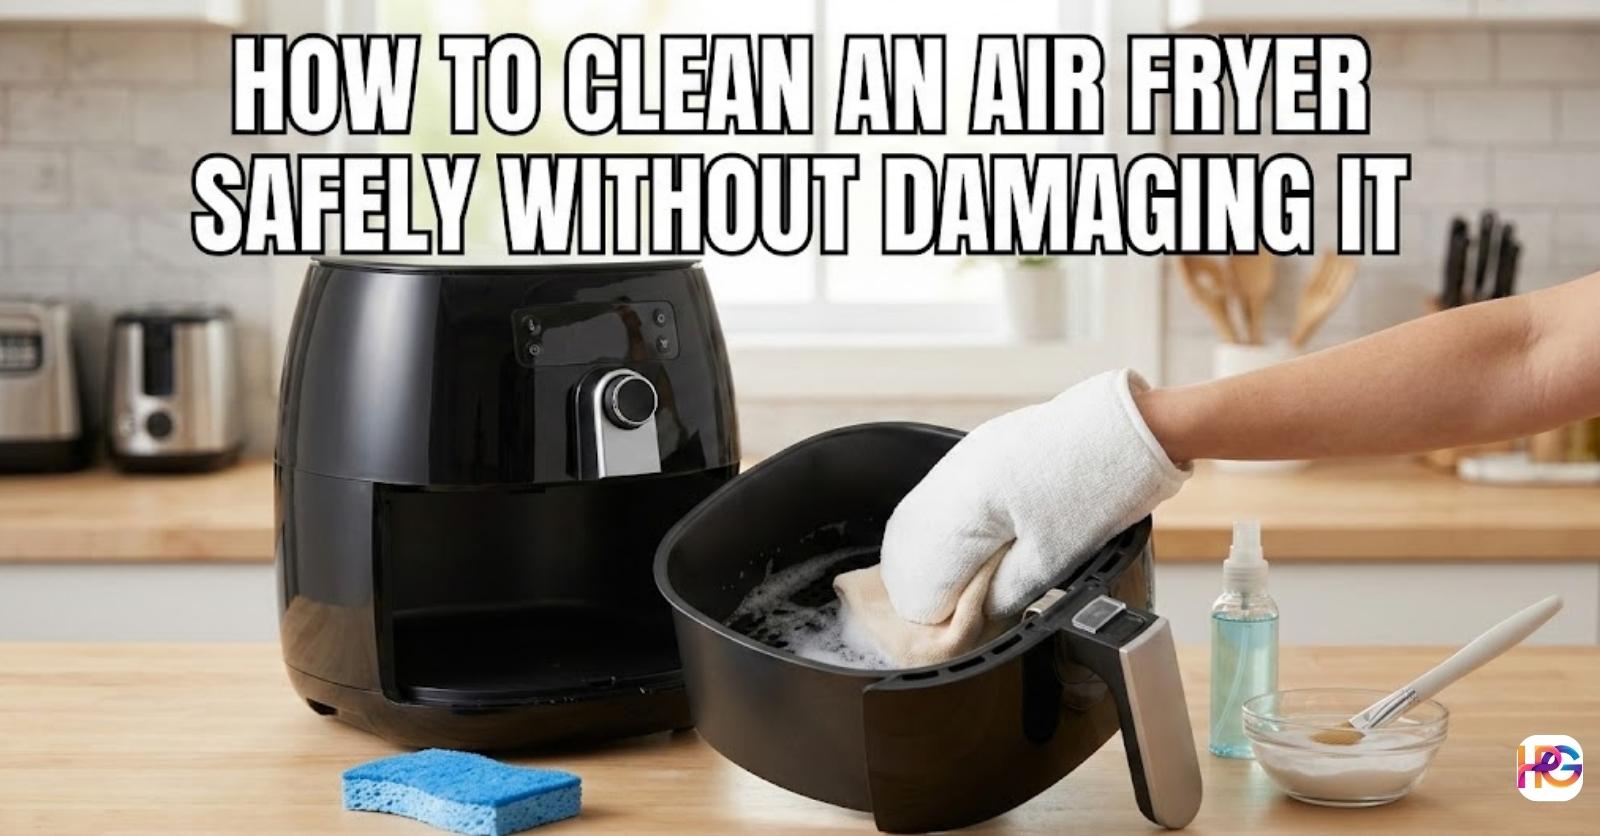
👉 How to Clean an Air Fryer Safely Without Damaging It
It was a wet Sunday here in Alabama. The cold rain made me want a hot snack. Cooking spicy chicken wings felt like a great plan. They came out so crisp and quite tasty. The mess left inside the pan was very bad. Thick sauce stuck hard to the side walls.
Burnt food fat filled the dark bottom tray. Washing it all seemed like a huge, hard job. Scrubbing it fast was simply a bad choice. Testing home tools for Home Pick Guide taught me a lot. Ruined pans are a very common sad sight. One rough pad can rub the soft top off.
Flaking black bits make the whole tool unsafe. Showing you how to clean an air fryer safely without damaging it is my main goal. Sharing my real steps will help you stay safe. You will learn to save cash and keep your food clean. Let us look at the best ways to wash your tool.
Picking Safe Tools for the Job
Grabbing the first sponge you see is a huge mistake. Many kitchen sponges have a rough, dark green side. That hard pad will ruin a soft pan fast. Scratching an old cooking pot taught me this hard truth. Using soft things is the only safe way now.
Soft cloths act as the best wash tools here. They grab the wet grease with no tiny scratches. Plain sponges work very well for this daily task too. Mild dish soap cuts through the fat with ease. Harsh sprays do not belong near your fresh food. Baking soda acts as a fine dust for tough spots.
| Safe Items | Harmful Items |
| Soft cloth rags | Steel wool pads |
| Mild liquid dish soap | Heavy spray cans |
| Plain baking soda | Stiff metal brush |
| Soft old toothbrush | Rough green pads |
| Warm tap water | Bleach or acid |
My Easy Soaking Method
The bottom pan catches all the hot cooking oil. Bits of food stick firmly to the thin metal grate. Trying to scrape dry crusts off is just a pain. Scraping hard will also scratch your nice kitchen tool. Using a wet soak saves a lot of time instead.
Water does the hard work while you sit back. Setting this up right after you eat is a smart move. My daily routine always starts with a good warm soak. You can fix the mess without rubbing your hands raw. This simple trick keeps the pan looking bright and new.
Let the Machine Cool Down
Pouring cold tap water into a hot pan is bad. Sudden heat drops force the thin metal to bend. Parts that bend will never slide back in well. Waiting a full half hour is a strict rule here. The metal parts must feel cool to your bare hand. Building this habit saves your kitchen gear from the trash.
Add Soap and Hot Water
Taking the cool parts to the sink is the next step. Squirt a small drop of mild soap in the pan. Fill the main box up with warm tap water. Sink the inner cooking grate deep under the soapy mix. Heat from the water melts the solid white fats. Dish soap breaks the oils apart so they float up. Seeing the thick grime lift off feels very nice.
Wait and Wipe It Clean
Leaving the dirty pan in the sink is the best part. I let it sit for twenty full minutes to soak. Stepping away to make a hot drink is my habit. My office has a Bunn Velocity Brew that works very fast. The soak ends right as I sip my fresh cup.
Hard burnt bits turn into soft, wet mush. Taking a soft cloth lets you wipe the walls fast. Rinse every part under the running tap until clear. Dry everything with a clean towel before you put it away. Wet pans can rust if you skip the drying step.
Dealing with the Heating Coil
People often forget about the top part of the fryer. The heating rings sit right above the hot cooking food. Splashing hot oil hits those metal rings during every meal. Ignoring the coil causes old grease to bake on hard. Stale smoke will soon fill your room during future cooks.
Checking my top coil twice a month keeps things running well. Getting a clear look at it takes a weird neck angle. Cleaning this part helps the hot air flow safely. Your food will cook much better with a clean heat source. Keeping this zone clean stops bad smells from forming.
Unplug and Turn It Over
Safety must always be your top rule in the kitchen. Pulling the thick plug out of the wall comes first. Double check that the machine has rested for long hours. The metal rings must be stone cold before you touch them. Flipping the whole unit upside down makes the job easy.
Resting it on a soft towel protects the plastic top. This neat trick gives you a clear view of the mess. Tiny brown spots of baked oil become very easy to see. You can reach the hidden parts without hurting your hands.
Wiping Away the Splatters
Grab a wet cleaning cloth for this exact task. Squeezing it out well stops drops from falling deep inside. Gently rub the metal rings to take off the top fat. Most loose oil spots wipe away without much of a fight. Finding a hard baked crust means you need a brush.
An old soft toothbrush works quite well for these spots. Brushing softly knocks the burnt crumbs right off the metal. Keep wet sponges away from the deep wire parts. Let the open machine dry outside before you turn it back. Using it while wet can cause a big shock hazard.
Building a Monthly Deep Clean Routine
Washing the pan daily stops quick messes from building up. Doing a deep clean keeps the whole machine like new. Testing tools constantly shows me the value of good care. Floating kitchen grease slowly coats the outside plastic shell. Picking one day a month for a full check is smart.
A short bit of work prevents total system stops later. Taking care of your stuff means you save hard cash. You do not have to buy a new one each year. Setting a clear schedule helps you stay on track. Here is a chart to help you plan your care.
| Care Task | How Often |
| Wash pan and grate | After every single meal |
| Wipe outside plastic shell | Once a full week |
| Clean top heating rings | Twice a full month |
| Look at power cord | Once a full month |
| Clear rear air vents | Once a full month |
Cleaning the Outside Case
Sticky films build up on the shiny plastic shell over time. Mixing a drop of soap with warm water makes a dip. Dipping a soft rag into the bowl is the first move. Squeezing out almost all the wet drops is very key here. Wiping down the full outer shell takes the film away.
Cleaning near the handle and soft buttons takes extra care. Ugly dark smudges and oily finger marks vanish right away. The main unit looks bright and ready for my next test. Keeping the outside clean stops bugs from coming to your space.
Clearing the Exhaust Vents
Proper air flow is vital for these tools to work right. Pulling cool air in and blowing hot air out is normal. Dust clogs the back air vents if you ignore them long. Blocked paths force the small inner motor to get too hot. Sweeping the dry dust away takes a small soft brush.
Using a tiny hand vacuum works quite well for this step too. Clean air holes mean the fan works with much less stress. Your meals will cook faster and much more evenly this way. The machine will not make loud sounds when the air flows free.
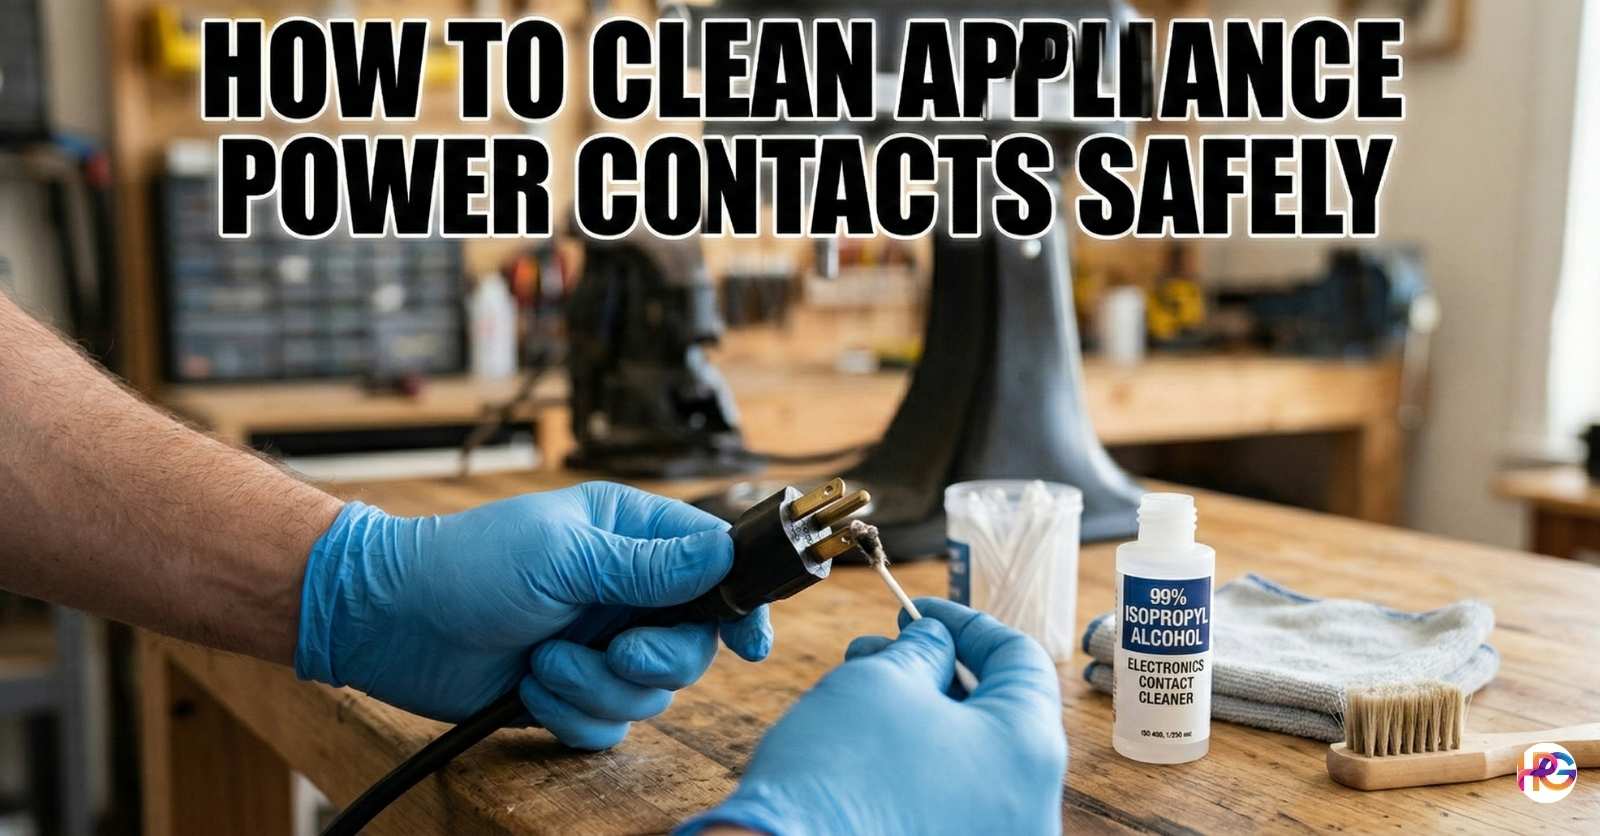
Checking the Power Cord
Home safety relies on checking your thick wires very often. Running your hand along the main cable finds hidden breaks. Searching for deep cuts or sharp bends is a must do. Looking at the metal plug tips is another very quick task. Straight and clean tips connect to the wall safe and sound.
Stopping all use is a must if you spot any wire cuts. Frayed cables act as huge fire risks in any home space. Careful touches keep power cords working fine for many years. Wrapping the cord loosely helps stop sharp bends from forming. Never yank the plug out of the wall by its long tail.
Dealing with Stubborn Stains Naturally
Normal soap fails to remove some very thick sticky messes. Cooking a sweet glaze often leaves thick dark burn spots. Reaching for a steel wool pad might feel like a fast fix. A much better trick exists right in your food pantry. Baking soda acts as a true wonder powder for home gear.
Using this soft dust has saved many of my metal pots. It tackles hard carbon marks without scratching the soft pan walls. You do not need to buy costly spray cans from the store. This safe trick works fast and keeps your hands soft.
Making a Cleaning Paste
Grab a small clean bowl from your top wood shelf. Pour two simple big spoons of baking soda right inside. Add just a tiny drop of plain sink water to it. Stirring the mix turns it into a thick wet white paste. The feel should be just like a heavy thick toothpaste.
Too much water makes it run off the black burn stain. This thick mix serves as a strong tool against burnt sugar. You can make more paste if the stain is very large. Getting the mix right takes just a few fast tries.
Applying and Removing the Paste
Smearing the wet powder right onto the black mark is easy. Letting it rest still for ten full minutes does the trick. Soft reactions slowly lift the hard carbon away from the pan. Taking a damp wet sponge lets you rub the spot smooth. Stains break apart and lift up into the white foam.
Rinsing the spot under the tap washes the leftover paste off. The dark pan floor looks smooth and totally clean once again. You can wash the pan with mild soap one last time. Drying it well leaves it set for a brand new meal.
Keeping Your Air Fryer Smelling Fresh
Strong smells stay stuck after cooking garlic or hot fish meals. The next meals might soak up those bad old kitchen smells. Nobody wants their sweet treat to taste like old spicy salmon. Fixing bad smells requires a very simple and fast neat trick. Normal home items handle this big problem with zero harsh sprays.
The Lemon Juice Trick
Cutting a fresh yellow lemon in half starts the fix process. Squeezing the sour juice into a small heat safe cup works. Adding a tiny splash of clear water stops it from burning. Placing the small cup into the empty pan basket comes next. Running the tool for three minutes on low heat works best.
Warm sour steam fills the small inner cooking space very fast. The wet steam kills awful food odors almost in a flash. You will smell a bright fresh scent in your whole room. This safe step uses no bad spray cans or fake smells.
Wiping It Out Safely
Taking the hot glass cup out takes a bit of care. Letting the machine cool down a bit stops any bad burns. Grabbing a dry paper towel helps you wipe the inner walls. Water drops from the hot lemon steam clean the metal nicely. The whole inside space will smell bright and totally brand new.
Your kitchen tool is now ready for making sweet hot treats. A few weeks ago, I made a cake inside my pan. It was right after testing a Ninja Creami ice cream maker. The baked cake tasted perfect with zero leftover garlic smell. Sweet smells make the kitchen feel like a happy warm place.
Final Thoughts on Appliance Care
Taking care of home tools takes just a bit of time. Rushing the wash job can break the soft parts fast. Testing home goods shows me how fast things get ruined. Soft pan layers give huge value but need soft care. Using good soft cloths adds long years to their life.
Soaking hard messes saves you from painful sore arm rubbing sessions. Looking closely at heat rings and air vents protects your home. Keeping a simple clear routine truly saves cash on new tools. Your favorite cooking box will last for years and cook well. Spending a few extra calm minutes on care is always smart.
Frequently Asked Questions
Can I use a wire brush to clean my air fryer basket?
Never use wire brushes on this kitchen tool. Hard metal ruins the soft non-stick layer fast. Stick to a soft wet cloth to keep your tool safe and working well.
How do I clean an air fryer heating element safely?
Always pull the power cord before you touch the hot rings. Wipe the cold metal with a damp rag to cut tough grease. This stops bad smoke and keeps it safe.
Will soaking my Ninja air fryer pan cause bad rust?
Soaking your clean Ninja pan in warm soapy water is very safe. Just dry the metal parts fully before you store the tool. Dry pans will not rust in a cold room.
What is the best way to cut tough cooked grease?
Plain baking soda is a top choice for tough hard grease. Mix a thick white paste and let it sit on the dark burn spots. It lifts the fat with zero hard work.
Does a dirty air fryer lose its high cooking power?
Yes, blocked back air vents make the small inner motor work too hard. Dust builds up and slows the hot air flow right down. Keep vents clean for top power.