How I Found and Fixed a Vacuum Leak in My Car
It was a rainy Tuesday morning last month. Running late for a meeting was stressful enough. I jumped into my old car and turned the key. The engine cranked but it sounded awful. Shaking like a wet dog in the cold, the car struggled. My steering wheel vibrated loudly in my hands. Then the dreaded check engine light popped on. Fear of a huge repair bill sank my heart. Fixing it myself seemed like the only real option. My trusty mechanics tool set sat on the garage shelf. Popping the hood, I stared at the dirty engine block. Finding the true problem was my new daily mission.
After some quick reading, I learned about vacuum leaks. This car stuff sounded quite scary at first. Pro repair skills are really not my strong suit. Learning how things work is just a fun hobby of mine. The actual fix turned out to be very easy. Sharing my personal story with you feels right. Doing the work yourself can save you serious cash. Below is exactly what I experienced in my own garage. Tracking down and fixing an air leak is very doable.
What Does a Vacuum Leak Even Mean?
Engines act just like giant metal air pumps. They need a perfect mix of air and gas to run right. An internal computer tells the car how much gas to use. This exact math relies on the fresh air coming in. Cool air travels through a special black tube system.
A vacuum leak changes everything almost instantly. Sneaky air gets into the hot engine without warning. This extra air enters through a crack or loose hose. Your car brain does not know about this extra wind. The whole fuel balance gets thrown off completely. Receiving too much air and not enough gas is very bad. Repair shops usually call this running lean. Your ride will drive very poorly because of it.
Knowing this science stuff was totally new to me. My car just felt deeply broken at the time. Knowing about the air made the whole thing make sense. The motor was literally choking on way too much air. Finding where the breeze sneaked in became my real goal.
The Bad Signs I Noticed
Cars often tell you when they feel sick. Mine certainly complained loudly on that cold day. A few clear warning signs quickly caught my attention. Watching out for these clues will help you greatly.
Rough Idles and Weird Noises
Driving fast on the highway actually felt completely fine. The real trouble happened when I came to a full stop. Waiting at a red light felt truly awful. Sputtering and shaking took over the entire front end. The dash needle bounced up and down rapidly. Stalling out in traffic felt like a real threat. A faint hissing noise also caught my ear. Opening the hood while running revealed the true source. A soft whistle came from the back of the metal block. It sounded just like a tiny angry snake.
The Check Engine Light
That little orange dash light is always annoying. Seeing it glow ruins your whole morning routine. Buying a cheap code reader online was my first step. Plugging it into the dashboard port was super easy. The tiny screen showed an error code called P0171. This specific number means the fuel system is too lean. My worst fear was confirmed right then and there. An air leak was definitely the main issue. Now the long hunt for the broken hose began.
How I Searched for the Leak
Finding the actual crack is often the hardest part. Under the hood is very crowded and dark. Dozens of black rubber lines twist everywhere. They all look exactly the same to a beginner. Spending an hour staring at them gave me a headache. My lower back hurt from leaning over the cold fender. Black grease quickly covered both of my bare hands.
My First Failed Attempt
Starting with a visual check seemed like a smart move. Squeezing every single tube I could reach took time. Deep cracks or visible tears were what I sought. Pushing on plastic connections helped test for loose ends. Absolutely nothing looked wrong to my tired eyes. Every single line appeared totally fine on the surface. Deep anger and heavy fatigue set in very fast. Giving up and calling a local shop crossed my mind. But fixing it myself remained my ultimate goal. A better way to test was clearly needed.
Trying the Smoke Test
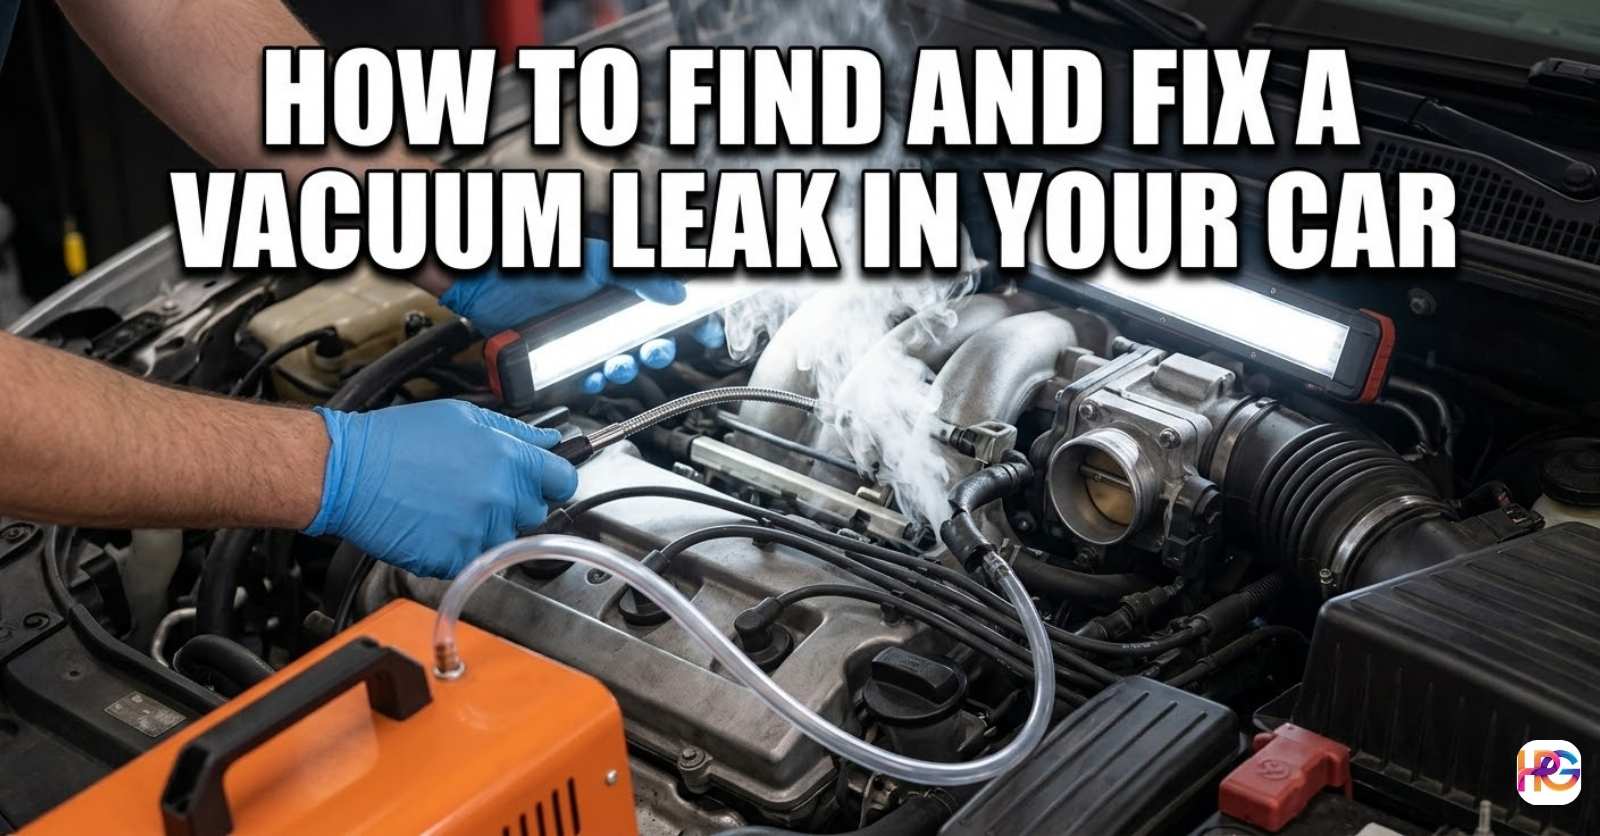
A good friend told me about the smoke test. This smart trick is the best way to find a sneaky hole. Pumping safe vapor into the engine works total wonders. The thick cloud fills all the empty air tubes. Pressure forces the vapor out through any existing crack. Seeing exactly where the hole hides becomes super easy.
Buying a cheap smoke machine online solved my problem. It cost around eighty bucks with fast shipping. Going to a repair shop would cost way more money. Sealing the main air box was the very first step. A thick plastic bag and a rubber band did the trick. Hooking up the metal machine only took two minutes. Thick white fog flowed into a small vacuum line.
The Tools I Used for the Job
Having the right gear makes this job very simple. Keeping a neat pile on my workbench is my habit. Staying organized helps you work much faster and safer.
| Tool Name | Why I Needed It | Cost Estimate |
| Code Reader | To check the engine light dash code | $20 |
| Smoke Machine | To find the exact hidden air leak | $80 |
| Mechanics Tool Set | To remove parts and tight brackets | $50 |
| New Rubber Hose | To replace the broken engine part | $5 |
| Bright Flashlight | To see behind the dirty dark engine | $10 |
Using the correct tools made me feel very confident. Expensive pro brands are totally not required here. Simple and cheap hand tools work just fine for this.
Finding the Hidden Problem
Waiting for the fog to fill the system felt like forever. It really only took about five short minutes. Then a tiny visual clue finally appeared. A thin wisp of white smoke floated straight up. This thin vapor came from under a dirty metal bracket. Shining my flashlight on the spot revealed the truth. Leaning in close gave me a much better look. The sweet smell of the fake smoke filled my nose. Baby oil is what the cloud actually smelled like.
A small rubber hose was the main cause. Hooked to the metal block, it looked fine from above. The bottom side of the rubber was completely split open. Measuring about an inch long, the crack was well hidden. Seeing it purely by looking was flat out impossible. The cool smoke test saved me so much wasted time. Finding the bad part brought a huge wave of relief.
Fixing the Leak Step by Step
Doing the actual repair work was the next phase. Fixing the bad line is easier than finding it. Special pro skills are not needed for this simple part. Basic patience is the only real requirement.
Taking Off the Bad Hose
The heavy metal block was still a bit warm. Waiting an hour for it to cool down was smart. Burning your fingers is never a fun time. Grabbing the cracked tube, I pulled very hard. The old rubber felt stuck tight to the metal fitting. High heat makes rubber glue itself to metal over time. A small pick tool from my kit saved the day. Breaking the tight seal around the edge took gently prying. The ruined part then slid right off the metal. Hard and crusty rubber crumbled right in my fingers. Bending it caused the tube to snap right in half.
Putting on the New Hose
Taking the broken piece to the parts store was easy. The friendly store clerk helped me find an exact match. Two feet of fresh line was my grand prize. Four dollars was the total cheap cost for the fix. The fresh rubber felt incredibly soft and flexible. Cutting a new piece to the exact same length was quick. Pushing one end onto the metal block took a little force. Sliding the other end onto the sensor finished the job. It fit snugly and perfectly without any open gaps. Metal hose clamps were not even needed here. A naturally tight fit holds it securely in place forever.
Testing the Car After the Fix
Clearing my tools away from the bay was the final step. Taking off the plastic bag from the intake is very important. Sitting back in the soft driver seat felt great. Holding my breath, I turned the metal key. The motor fired up instantly without a single stutter.
The change in raw power was truly amazing. Idling smoothly at last, the old car felt brand new. Shaking steering wheels were a thing of the past. That annoying snake hissing sound vanished completely. Driving the car around my street proved the fix worked. The nasty dash light stayed off for good. Power output returned to a totally normal level. My trusty ride felt happy and strong again. Feeling very proud of my hard work was a nice bonus. Fixing a major car issue for cheap is a great thrill.
What I Learned from This Mess
This whole stressful week taught me a very good lesson. Car problems do not always equal a total disaster. Huge loud symptoms sometimes have a very tiny cause. A little split in a four dollar line ruined my morning commute. It caused so much extra stress and deep daily worry.
Trusting a simple visual check is a bad idea. Black hoses hide their deadly flaws very well. Running a real smoke test is required to find the truth. Buying the test machine was worth every single penny. It takes all the blind guesswork right out of the job. Seeing the actual problem with your own eyes builds trust.
How to Stop Future Air Leaks
Stopping rubber from getting old is basically impossible. Intense heat and daily fast driving will eventually dry it out. Doing a few simple things can help slow the decay.
Keep the Engine Bay Clean
Leaking motor oil can destroy soft parts very fast. Oil makes solid lines swell up and get very soft. A soft line will quickly burst under high pressure. Fixing fluid drips quickly protects your vital air tubes. Wiping down dirt and road grime is always a smart move. A clean space makes spotting dark problems much easier later. Keeping some clean rags in my garage is a strict rule.
Use Quality Replacement Parts
Buying the cheapest tube online is a huge mistake. Cheap replacement lines break down very fast under pressure. Upgrading to good heat rated lines is a smart choice. Premium materials handle extreme heat much better than normal rubber. Staying soft and flexible for many years is the main benefit. Spending a few extra dollars upfront makes a lot of sense. It prevents another massive headache down the road.
Check Things During Oil Changes
Doing a quick look every few months is my new habit. Looking at my lines during oil changes takes two minutes. Gently squeezing the main air tubes tells me their health. Feeling for hard or crunchy spots warns me of danger. Replacing them before they completely crack open is brilliant. This one simple habit saves me a lot of future trouble.
Common Questions People Ask
People always ask me questions about my repair story. Helping friends understand their own rides is a lot of fun. Here are some common things people wonder about this issue.
Can I Drive with a Vacuum Leak?
Driving a short distance is usually totally fine. Limping the broken car home or to a shop is okay. Driving it for many weeks is a very bad idea though. The lean fuel mix makes the motor run super hot. Extra heat destroys expensive exhaust parts very fast. Fixing it quickly saves you from bigger repair bills later.
How Much Does a Shop Charge?
Taking your ride to a pro is always an option. Shops usually charge a flat diagnostic fee right away. This set fee covers the time spent doing a test. Expect to pay around one hundred dollars just for checking. The actual tube swap might cost fifty dollars more in labor. Doing it yourself keeps that money safe in your bank account.
Is the Soapy Water Trick Real?
Old timers talk about spraying soapy water on lines. Bubbles clearly show you where air leaks out of tires. Engine systems suck air inside instead of blowing it out. Soapy water does not bubble up on an intake hole. Spraying water around a running belt is also quite messy. Using a real fog machine is the only reliable method today.
This tiny fix changed how I view daily car care. A little bit of learning goes a very long way. Popping the heavy hood no longer fills me with intense dread. I hope my honest story gives you some needed confidence. Grab a bright flashlight and check your own lines today. Your trusty car will definitely thank you for it.
Frequently Asked Questions About Vacuum Leak Tools
Will a cheap code reader find a rough idle vacuum leak?
A cheap code reader finds the lean dash code very fast. It shows you the true air leak problem right away. You do not need a costly pro automotive diagnostic tool for this simple test.
How do I store my car smoke machine in a cold garage?
Freezing winter temps can crack the clear plastic fluid tank. Always drain the test oil before cold garage storage. Keep the unit on a high shelf to save the soft rubber test hoses.
What mechanics tool set handles a broken vacuum hose best?
A giant kit is overkill for this very fast hose fix. A small mechanics tool set with good pliers works perfectly. Firm hand grip matters most when pulling off old bad rubber pieces.
Will standard vacuum lines survive a very hot engine bay?
Normal cheap rubber dries out and cracks in deep summer heat. Buying thick silicone tubes gives you much better heat safety. They stay very soft and will not melt on hot metal car parts.
Is a smoke test machine safer than the old propane trick?
Pumping safe thick smoke is the best way to find a crack. Spraying raw gas near a hot motor is a massive fire hazard. A real smoke machine keeps your home workshop totally safe today. Choosing the right tool always helps you pick better and work smarter.