Diagnosis: Pinpointing the Failure in Your Coffee Maker’s Core
It was a dark and rainy Sunday afternoon here in Wood Dale. I was sitting at my desk working. A warm cup would help keep my brain going. After a few minutes, I walked into my small kitchen and grabbed my favorite mug.
First, the back tank gets filled with fresh water. Next, dark roast grounds go into the paper filter. After closing the lid, I push the power button with a smile and wait for that happy brewing sound.
Usually, I hear a nice bubbling noise right away. But this time, the room stayed totally quiet. There was no sound at all. No white steam came up from the top. Five long minutes went by.
I touched the glass pot. It was freezing cold. My heart sank. The moment felt both sad and frustrating. As someone who tests a lot of home gear for my site, that bad feeling is all too familiar.
The heart of my machine was dead. But how could I be sure? I did not want to just throw it away.
I like to fix things. Today, I want to share my own clear steps with you. I will show you exactly how to know if coffee maker heating element is broken. You do not need a fancy degree.
You just need your eyes and maybe one simple tool. Let us look at the signs together. It is very easy to do.
The First Signs Of A Broken Heating Element
Before you take any screws out, just watch your machine. The machine will give you clues. You just have to pay attention. Here are the three main signs I always look for first.
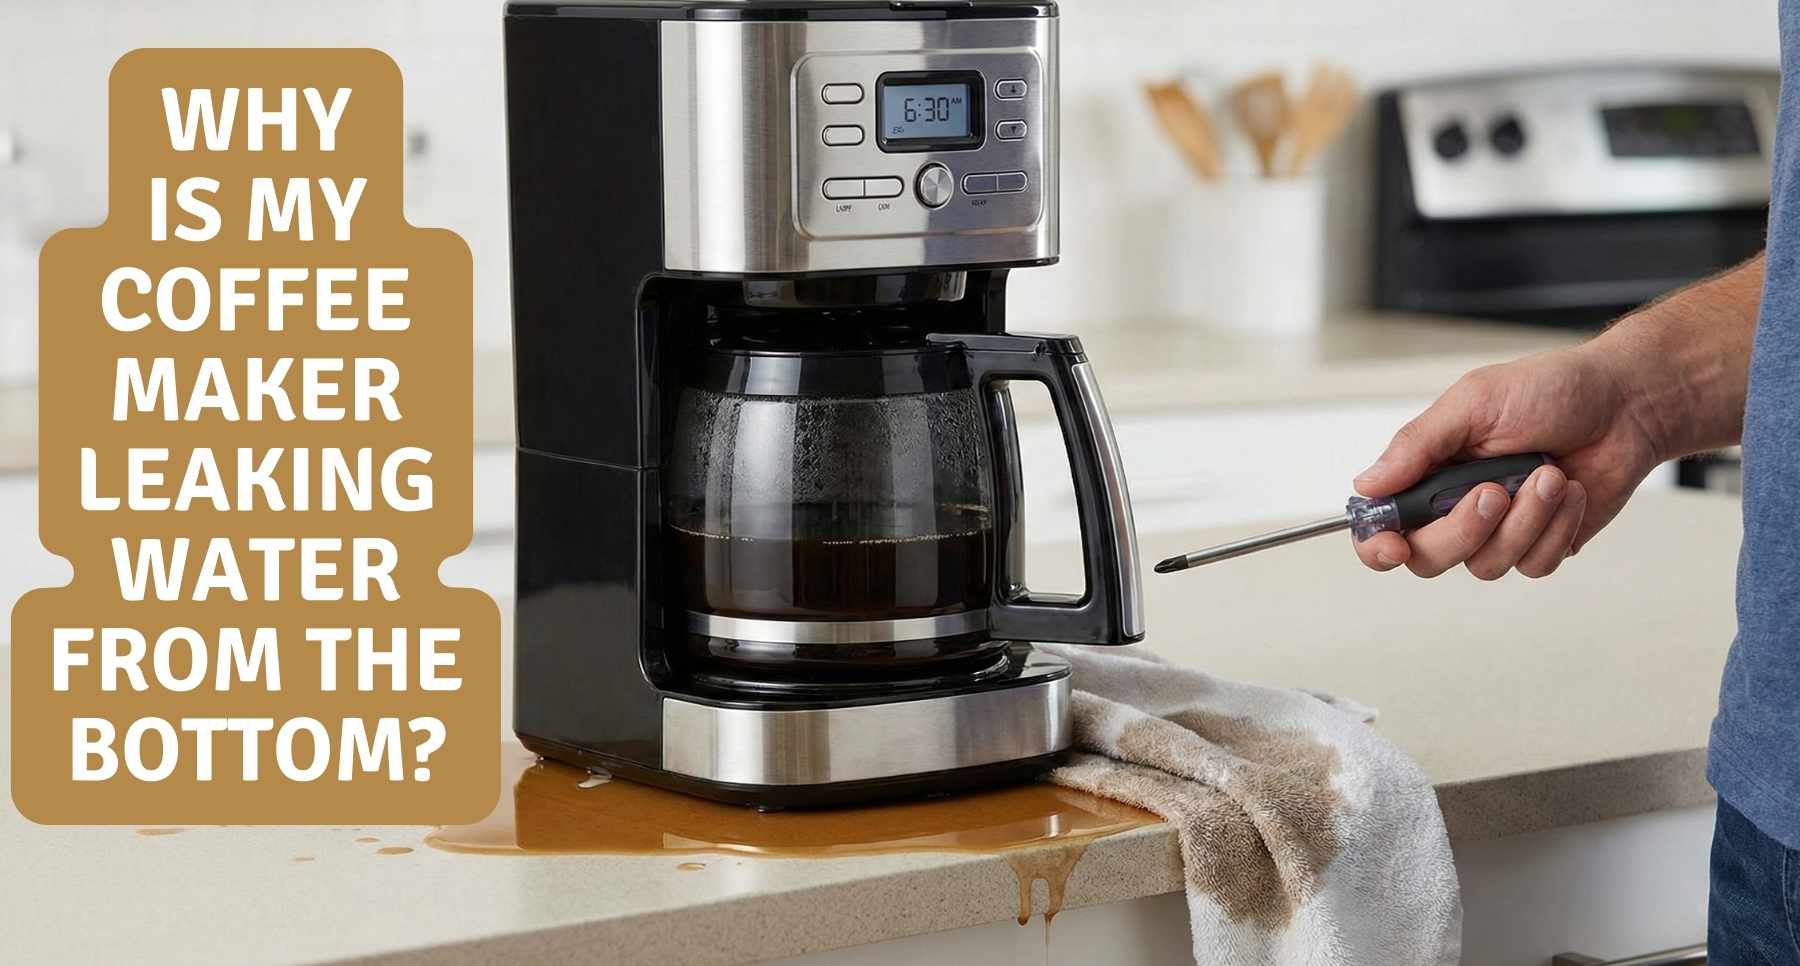
The water will not move at all. A drip machine is a very simple tool. The metal heater boils the water at the bottom. The boiling action pushes the water up a tall plastic tube.
Then the hot water falls over your coffee grounds. If the water never gets hot, it cannot climb up the tube. It just sits in the back tank forever. If your machine turns on but does not brew a single drop, the heater is likely the problem.
The bottom plate is ice cold. Sometimes a machine will act weird. It might push a tiny bit of lukewarm water out. But when the brew time is done, you touch the pot.
It is not hot. The bottom metal plate has one big job. It keeps your glass pot warm. The main heater runs right under that round metal plate. If the plate never warms up, the part under it has failed.
The power cuts out the second you turn it on. This is a scary thing to see. Once, a cheap test model was plugged in inside my kitchen. After pressing the button, a loud pop filled the room.
The lights in my kitchen went dark. The machine tripped the safety breaker switch in my house wall. When the heater part breaks inside, it can let the electricity go the wrong way. It pulls way too much power.
If your machine turns off your house lights, do not plug it back in. The heater is totally fried and unsafe. It needs to go in the trash.
Why Do Heating Elements Go Bad?
You might wonder why this part breaks. These parts are made of thick, heavy metal. They look very tough in your hands. But they die all the time. I have seen it happen a lot in my work.
The biggest enemy is hard water. Tap water has tiny rocks in it. We call them hard minerals. When water gets hot and boils, it leaves these white minerals behind.
This builds up a hard white crust. We call this crust scale. The crust coats the inside of the metal water tube. The heater has to work extra hard to push heat through that thick crust.
Over time, the metal gets way too hot. It burns out and breaks. Age is the next big reason. Nothing works forever.
Think about how much you use it. If you make two pots every single day for five years, that part works very hard. The metal gets super hot. Then it gets totally cold.
It does this thousands of times. The metal gets tired. It eventually gets weak and snaps on the inside.
Common Causes And How They Hurt Your Machine
Here is a very easy look at what kills these machines fast. I made this chart to help you see the main problems. You can avoid these issues with good care.
| Cause | What Happens Inside | How To Stop It |
| Hard Water Scale | Traps heat and burns the wire | Clean with plain vinegar often |
| Heavy Daily Use | Wears out the metal fast | Buy a strong commercial brand |
| House Power Surges | Melts the thin inside wires | Use a safe surge plug |
| Leaving The Pot Empty | Overheats the dry metal tube | Turn off right after you pour |
How To Test The Coffee Maker Heating Element
Watching the clues is a good start. But taking a look inside is much better. I like to be totally sure before I toss a machine in the trash bin. You can check the part right on your kitchen table.
It is not hard to do. You just need one cheap test tool. It is called a basic multimeter. This tool checks for a safe wire path.
Step 1: Unplug and Prepare the Machine
Always unplug the black power cord first. This is my number one rule. Never open a tool that is plugged into the wall. You could get a very bad electrical shock.
Be smart and be very safe. Unplug it and put the cord on the table where you can see it. Empty out all the water and old coffee. Take out the glass pot.
Set it aside. Take out the plastic filter basket. Turn the whole machine upside down over your kitchen sink. Shake it a little bit.
Get all the loose water out. You do not want wet drops spilling onto the dry wires when you open the bottom.
Step 2: Open the Bottom Cover
Take off the flat bottom cover. Put a soft dry towel on your table. Put the machine upside down on the soft towel.
Get a simple tool like a screwdriver. Look for the small screws on the bottom plate. Take them out slowly. Put them in a tiny cup so you do not lose them.
Pull the plastic bottom cover off. Look around inside the dark space.
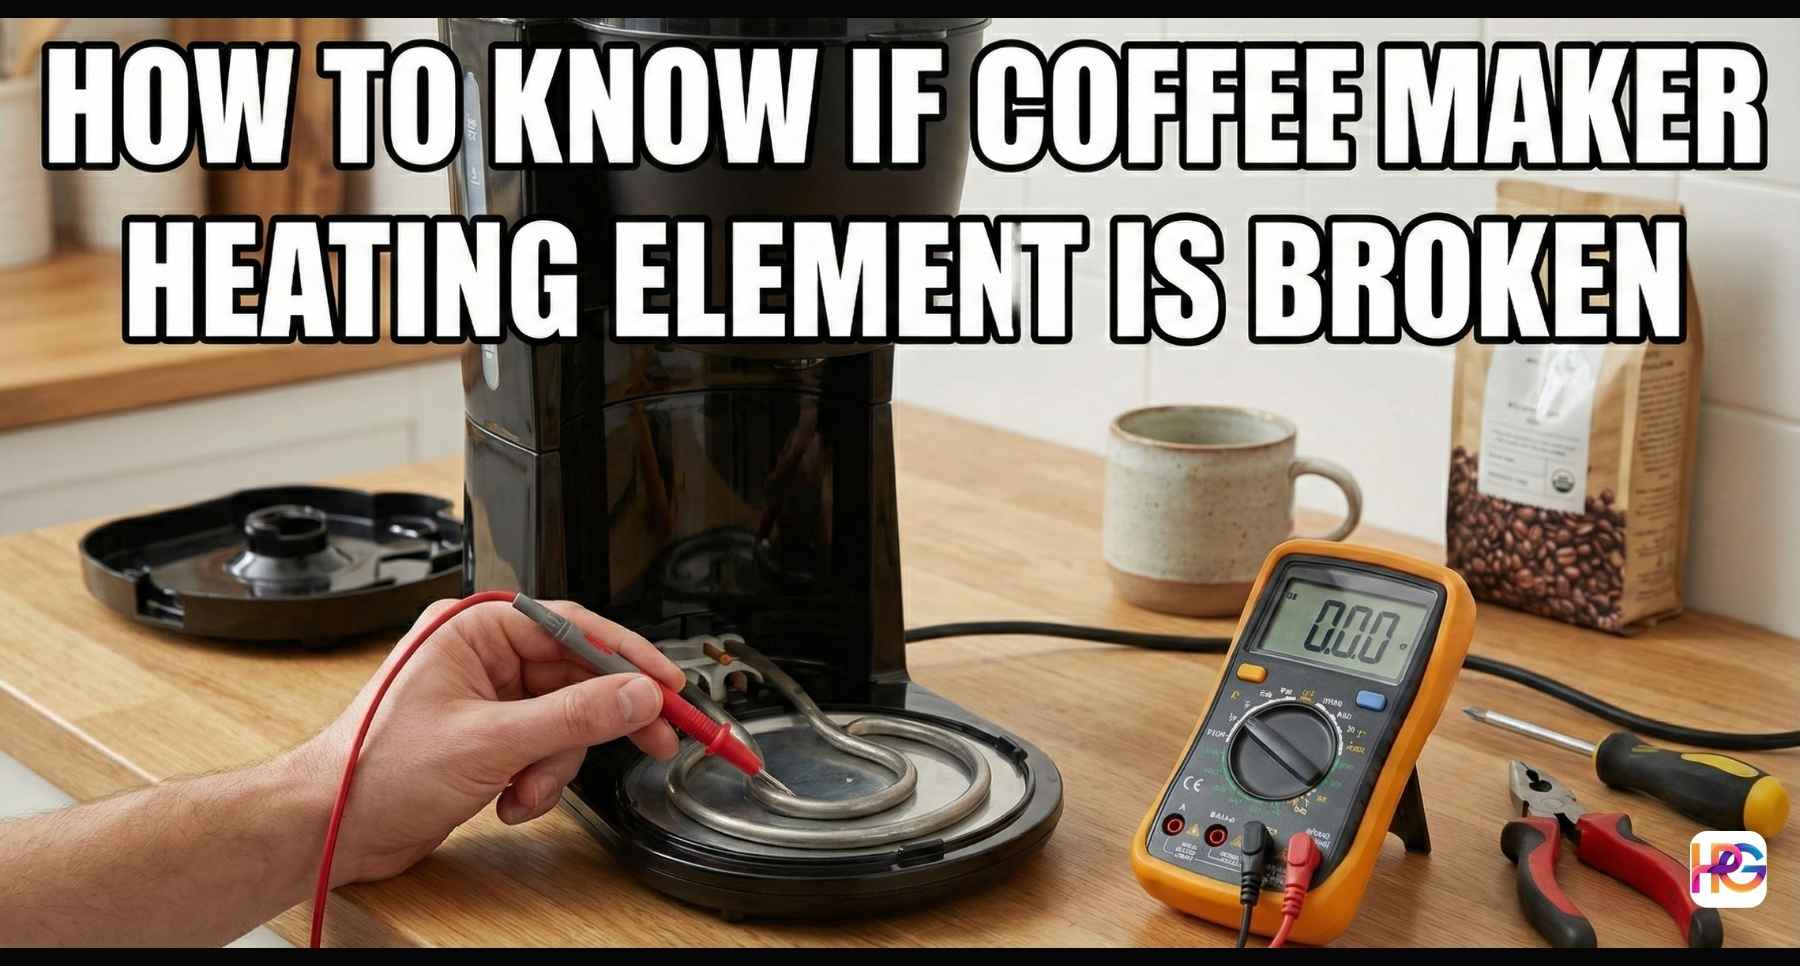
Step 3: Find the Heating Element
You will see a shiny metal tube. It is shaped like a letter U or a half circle. That is the heating element. It sits tightly right under the hot plate.
Look closely at the ends of the metal tube. You will see wires hooked up to it. Look carefully for black burn marks, melted plastic bits, or loose and broken wires.
Sometimes the only problem is a wire that fell off. If everything looks clean and neat, it is time for the real test.
Step By Step Multimeter Test
A multimeter is a small test box with a glass screen and two long wires. It checks if electric power can flow through a solid part.
If the power can flow in a circle, the part is good. If the path is cut or broken, the part is dead.
I use this handy box all the time for my site reviews.
Step 1: Set the Multimeter
First, you must set your tool. Turn the round dial on the front. Point it to the sign that looks like a small horseshoe.
This checks for a clear and open wire path. We call it checking the ohms.
Sometimes the box has a setting that makes a loud sound. You can use the sound setting too. I like the sound setting best.
Step 2: Disconnect One Heater Wire
Take one wire off the heater tube. The metal heater has two ends. Each end has a colored wire attached to it.
Gently pull just one wire off the metal tab. You only need to take off one single wire.
This step is very important. It makes sure you only check the heater part and nothing else around it.
Step 3: Test the Heating Element
Touch the metal probes. Take the red wire probe from your test box. Touch its metal tip to one end of the heater tube.
Take the black wire probe from your box. Touch its metal tip to the other bare end of the heater.
Hold them very still with your hands. Look at the glass screen.
Step 4: Read the Test Result
If the part is good and healthy, the screen will change. It will show a small number right away. The number might be ten or maybe forty.
If your tool has a beeper, it will beep very loudly. This loud sound means the power path inside is clear and safe. Your heater is fine.
If the part is bad, the glass screen will not change at all. It might just show a number one on the far left side. It might say the letters O L.
The test tool will stay completely quiet. There will be no beep.
This means the hidden wire inside the thick metal tube has snapped in half. The power cannot jump across the empty gap. The part is broken for good.
What If The Element Is Fine?
I have opened up a machine on my table, tested the main heater, and found it was perfectly fine. I felt so lost and confused. Why was my morning drink still totally cold? It turns out, there are other tiny hidden parts inside that can fail.
Let me tell you about two common ones. Look for the small thermal fuse. This is a very tiny safety part. It looks like a little silver bullet wrapped in a wire.
It sits right on the main wire that goes directly to the heater. Its only job is to die if the machine gets way too hot. It is there to stop a bad fire. If the thick white scale makes the machine run too hot, this fuse will pop.
The big heater might be fine, but the popped fuse stops all the power from reaching it. You can test this tiny fuse with your tool exactly the same way. Touch both ends. If the tool does not beep, the fuse is dead and needs to be swapped out.
Check the small round thermostat. This little part tells the whole machine exactly how hot it is. This small round metal disc sits flat on the metal heater tube. Its job is simple—it clicks on and off to keep the heat steady.
If this little disc breaks inside, it might never tell the heater to turn on. Your test tool can check this part too. It should beep loud when the machine is cold.
Should You Fix It Or Buy A New One?
This is the biggest question of all. You found the exact broken part. Now what do you do next? I face this hard choice all the time with my own kitchen tools.
It really depends on a few simple things. Think about the real cost. Heating tubes are very hard to find for cheap machines. Big brands do not want you to fix a twenty dollar pot.
They just want you to throw it away and buy a new one. If you have a very cheap model, just let it go. It is not worth your time or your money to hunt for parts.
If you have a very nice, heavy machine, it might be worth fixing. Good brands often sell spare parts online. A new tube might cost you thirty or forty dollars. If the machine cost two hundred dollars brand new, the fix is a very smart move.
But you need to know how to use basic tools safely. Making a smart choice saves you money.
Cost To Repair Versus Replace
Here is exactly how I usually decide what to do with my own gear. I look at the brand and the total cost. This helps me avoid wasting my free time.
| Machine Price Tag | Part Cost To Fix | My Best Advice For You |
| Under Fifty Dollars | Very hard to find | Buy a brand new machine today |
| Fifty to One Hundred | About Twenty Dollars | Replace it to save your free time |
| Over One Hundred | Thirty to Fifty Bucks | Fix it if you really like DIY tasks |
| Fancy Espresso Maker | Very High Part Cost | Call a real pro to fix it right |
My Final Thoughts On Broken Coffee Makers
A broken machine can really ruin your morning mood. I know it totally ruins mine when I am trying to work. But finding out exactly what is wrong feels really good. It is like solving a fun puzzle right in your own kitchen.
I hope my simple stories help you feel more brave today. You can look inside your own home tools. You do not have to be scared of them. If your heater is indeed broken, do not feel bad at all.
It happens to the best of us eventually. Clean your next machine very often. That simple step will help it last a very long time. Pouring plain white vinegar through the water tank once a single month does wonders.
It keeps the water tube totally clear and happy. Have you ever tried to open up a kitchen gadget before? I would love to hear about it. If you want to learn exactly how to swap out that little thermal fuse I talked about, let me know.? I would love to hear about it. If you want to learn exactly how to swap out that little thermal fuse I talked about, let me know. I can share the steps for that next.
Frequently Asked Questions
FAQ 1: Can any standard shop multimeter test a broken coffee maker heating element?
Yes, basic digital meters work perfectly for this. Just set your Fluke or Klein tool to the lowest ohms setting. You want a safe, clear reading on the screen.
FAQ 2: Is it safe to check my coffee maker heating element in my home garage?
Always unplug the long cord from your standard 120V wall plug first. Do not test live parts on your shop workbench. This rule keeps you completely safe from a bad shock.
FAQ 3: Will a cold winter garage change how my test tool reads the metal heater?
Extreme cold can make cheap test wires very stiff and hard to use. Keep your main test tools inside the warm house. You will get a much better and truer reading.
FAQ 4: Should I use heavy power tools to open up the coffee maker heating element?
No, do not use big DeWalt or Makita impact drills for this small job. The plastic base is very thin and cracks fast. Just use a simple hand tool to be extra safe.
FAQ 5: What if the coffee maker heating element is fine but the machine stays cold?
A bad thermal fuse is likely your main problem here. You can easily check this tiny safety part with your meter. It breaks if the heating element gets too hot.