It was a rainy Tuesday afternoon last month. I was driving home from my day job. My trusty old sedan started acting very strange. I stopped at a long red light. The whole car began to shake uncontrollably. It felt like I was sitting on a cheap broken massage chair. A deep sense of dread washed over me instantly. The check engine light blinked brightly on the dashboard. Panic set in right away.
I pulled into my driveway at a snail’s pace. The harsh smell of unburned gas drifted through the humid air. My mind raced with terrible thoughts of massive repair bills. I genuinely love doing things myself around the house. I always try to pick better ways to maintain my stuff. It helps me live smarter and save cash for things I actually want. But car engines always felt a bit too complex for my skills.
That evening, I sat alone at my kitchen table. I opened my laptop and started searching automotive forums. I read hundreds of posts about shaking engines and bad gas mileage. All the signs pointed to one incredibly common problem. My car desperately needed new spark plugs. I took a deep breath. I decided I would tackle this garage job myself.
When to Replace Spark Plugs
Car parts do not last forever. I learned this lesson the hard way. My owner manual clearly said to change them at 100,000 miles. My dashboard odometer was staring back at me with 114,000 miles. I had pushed my luck way too far this time.
You might be wondering how to tell if yours are bad. Your car will actually give you plenty of warning signs. You just have to pay close attention to how your vehicle drives every day.
Signs Your Car Needs New Plugs
- Rough idling at stop signs or traffic lights.
- The engine stumbles or hesitates when you press the gas pedal.
- It takes a very long time for the car to start in the morning.
- You find yourself filling up the gas tank much more often.
- A sudden lack of power when trying to pass someone on the highway.
- The exhaust smells heavily of raw fuel.
I experienced almost all of these issues at once. My fuel economy had dropped by four whole miles per gallon. I honestly just thought the engine was getting old and tired. Now I know the real reason behind the sluggishness. The spark was incredibly weak. The fuel was not burning right inside the cylinder.
Tools Needed for the Job
The next morning, I drove down to my local auto parts store. The morning air was crisp and chilly. I felt a weird mix of nerves and pure excitement. I walked down the long aisles looking for the right gear. A friendly counter worker named Dave stepped up to help me out.
Dave asked what kind of car I drove. He typed the details into his dusty old computer. He brought out four tiny cardboard boxes. These contained my brand new iridium plugs. He also asked if I had the right tools sitting at home. I thought my basic starter tool set would be enough. Dave smiled and showed me what I actually needed to succeed.
My Spark Plug Tool List
| Tool Name | Real Purpose | My Actual Cost |
| New Spark Plugs | Creates the electric spark to run the engine | 32 dollars |
| Spark Plug Socket | Grips the porcelain plug safely without breaking it | 8 dollars |
| Standard Ratchet | Turns the metal socket to loosen or tighten | Already owned |
| Extension Bar | Reaches deep down into the dark engine block | Already owned |
| Spark Plug Gap Tool | Measures the tiny space on the plug tip | 2 dollars |
| Torque Wrench | Tightens the metal plug exactly the right amount | 45 dollars |
I almost skipped buying the special spark plug socket. That choice would have been a huge mistake. A regular deep socket does not have a soft rubber grip inside. You absolutely need that rubber piece to pull the loose plug out of the deep hole. It also protects the fragile white porcelain from cracking under pressure.
I also finally bought a real torque wrench. Dave told me it was completely vital for this job. If you tighten a plug too much, you can ruin the aluminum engine block. That turns a cheap Saturday project into a thousand dollar nightmare. I gladly paid for the extra peace of mind.
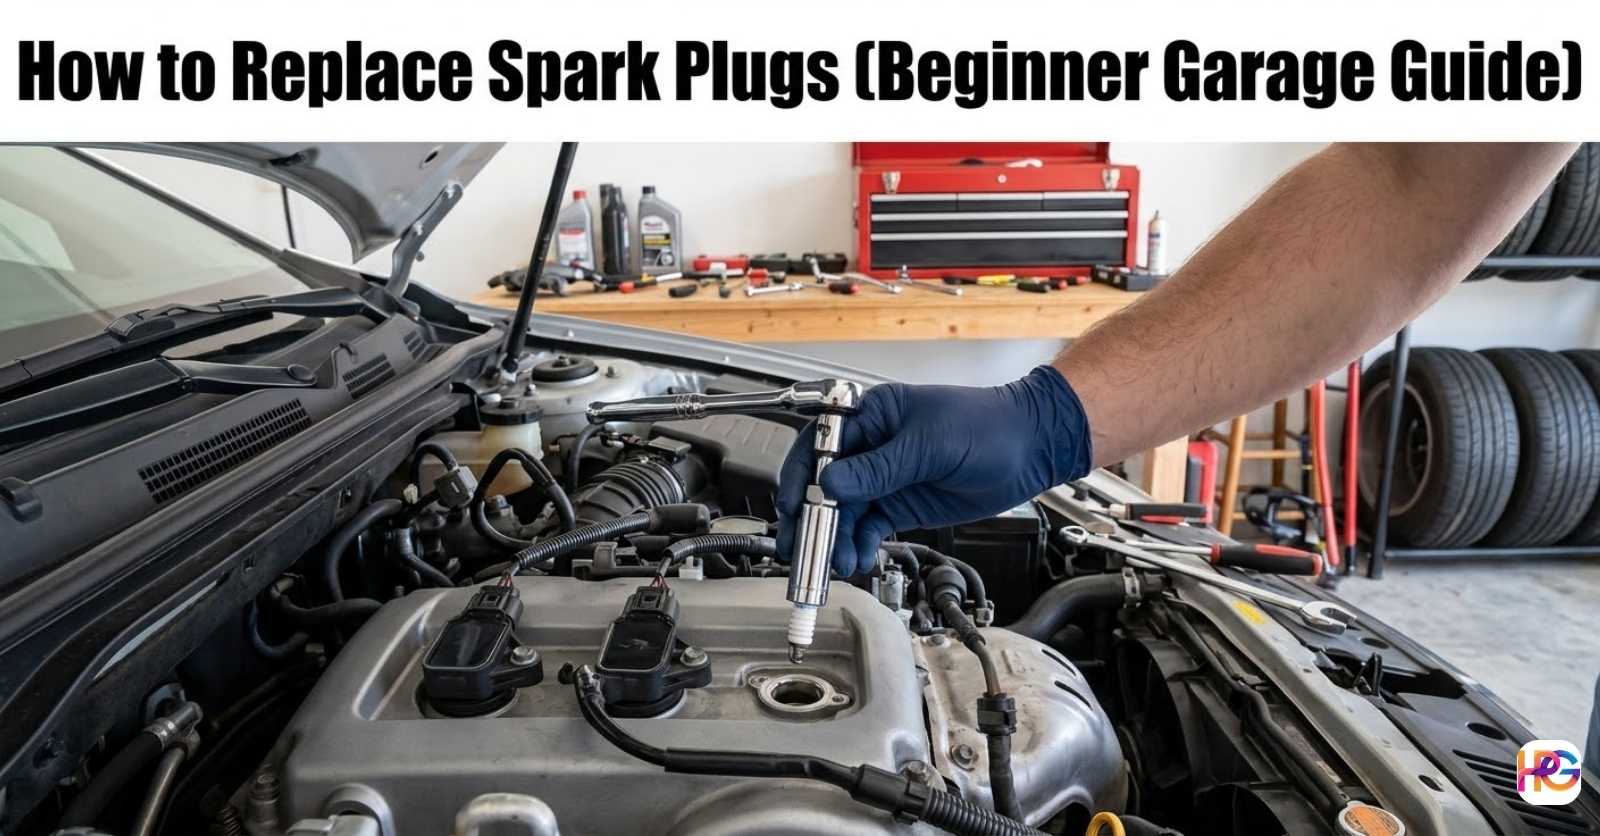
Step-by-Step Guide to Changing Plugs
I got back to my home garage and laid everything out clearly. I put on some old dirty clothes. The solid concrete floor felt freezing cold under my shoes. I popped open the hood and stared directly at the engine. It looked extremely intimidating at first glance. There were rubber hoses and dusty wires everywhere.
I took a deep calming breath. I told myself to just take it one simple step at a time. Here is exactly how my very first spark plug replacement went.
Step 1: Let the Engine Cool Down
Patience is definitely not my best trait. I wanted to start tearing things apart right away. My car engine was still piping hot from the short trip to the store. I accidentally touched a metal bracket and quickly pulled my hand back. It was way too warm to touch safely.
Working on a hot engine is very dangerous. You can easily burn your skin on the metal parts. Hot metal also expands naturally. If you try to remove a tight plug from a hot engine, you might strip the delicate threads. That means you strip the metal right inside the engine block. I forced myself to wait two full hours. I drank some black coffee and read the manual again.
Step 2: Remove the Wires Carefully
Once the engine was finally cool, I started with the first cylinder. I located the thick black ignition wire sitting on top. Some modern cars have bulky coil packs instead. My older model sedan just had basic thick wires.
I grabbed the thick rubber boot at the bottom of the wire. You should never pull directly from the soft wire itself. Pulling the wire housing can easily break the delicate connection inside. I twisted the rubber boot back and forth very gently. It was stuck incredibly tight. I wiggled it some more with steady pressure. Suddenly, it popped off with a loud wet smack. My knuckles smashed right into the hard plastic engine cover. I muttered a bad word, but the wire was successfully off.
Step 3: Take Out the Old Plugs
This was the scariest part of the entire process. I snapped my new rubber-lined socket onto the long extension bar. Then I securely attached my trusty ratchet. The metal tool slid down into the dark engine hole. After moving it around slowly, the socket finally caught the hex shape of the plug. With a firm grip, the ratchet handle turned hard counter-clockwise.
It felt really tight at first. I applied firm and steady pressure. Then I heard a very sharp metal squeak. My stomach dropped instantly. I truly thought I broke something important. But the stubborn plug just finally broke loose.
I spun it the rest of the way out easily. I pulled the long tool up towards the ceiling. The old plug was sitting perfectly inside the socket. I inspected the metal tip closely. The end was pitch black and covered in hard crusty soot. The vital metal gap was completely worn away. No wonder my car was shaking so violently. It looked absolutely terrible.
Step 4: Check the Gap on the New Plug
I opened up one of the new little boxes. The fresh plug looked so incredibly shiny and clean. Dave at the store told me they were pre-gapped from the factory. But he also warned that I should always check them anyway. Sometimes they get dropped during rough shipping.
I took out my cheap little gap measuring tool. It looks exactly like a round metal coin. The outer edge gets thicker as it goes around the circle. I slid the edge between the two small metal pieces at the tip of the plug. My car manual called for a gap of zero point zero four four inches. The tool slid right to that exact perfect mark. Dave was right again. They were completely ready to go.
Step 5: Put in the New Plugs
I pushed the new plug firmly into my socket. The inner rubber insert held it very snug. I lowered it carefully into the dark engine hole. This next step is incredibly important for beginners. You must start threading it completely by hand.
I took the heavy ratchet off entirely. My hands only held the metal extension bar. I slowly twisted the bar clockwise with my bare fingers. Feeling the threads catch smoothly was my main goal. If it feels hard to turn right away, stop immediately. You might be cross-threading the hole.
Mine went in perfectly smooth. I spun it by hand until it completely stopped. Then I grabbed my shiny new torque wrench. I set the dial to the fifteen foot-pounds my manual required. I tightened the handle down very slowly. Then I heard a beautiful loud clicking sound. The wrench let me know it was perfectly tight. Not too loose. Not too tight.
Step 6: Reconnect and Repeat
I wiped a tiny dot of special dielectric grease inside the rubber wire boot. This prevents it from getting horribly stuck next time. I pushed the greased boot back down over the new plug. I pushed hard until I felt a very solid mechanical click. It felt very secure in place.
I smiled broadly. I had just finished my very first cylinder. There were only three more left to do. The next three went much faster than the first. I got into a really good working rhythm. Pull the wire. Remove the old plug. Check the gap. Thread the new one. Torque it down. Replace the wire.
The whole job took me about an hour and a half total. A real professional mechanic could probably do it in twenty minutes. But I truly did not care about the time. I felt a massive sense of personal pride.
Cost Comparison: Doing It Yourself vs a Shop
Before I started this entire DIY journey, I called a local auto repair shop. I simply asked for a quick quote to change my spark plugs. The man on the phone sounded incredibly busy and annoyed. He bluntly told me it would be around two hundred and fifty dollars.
That felt like a whole lot of money to spend. I knew the actual parts were not that expensive. Shops naturally charge a high hourly rate for their physical labor. They also heavily mark up the retail price of the parts. I decided to closely track my exact spending for this project.
Breaking Down the Savings
| Expense Type | Shop Estimate | My Actual Cost |
| Parts Cost | 80 dollars | 32 dollars |
| Labor Cost | 170 dollars | 0 dollars |
| Tools Kept | 0 tools | Torque Wrench, Gap Tool, Socket |
| Total Price | 250 dollars | 87 dollars |
I saved over one hundred and sixty dollars today. Plus, I now proudly own a real torque wrench. I can easily use that tool for many other garage jobs. Every single time I do this job in the future, it will only cost me thirty bucks. The math makes total sense to me now.
The Final Test Drive
I closed the heavy metal hood of my car. My tools went right back into their plastic cases. I swept the cold garage floor with a stiff broom. Then I climbed excitedly into the familiar driver seat. I slid the metal key into the ignition slot. My hands were still slightly dirty with black grease. I took a deep breath and quickly turned the key.
The engine roared to life instantly. There was absolutely no hesitation. The rough violent shaking was completely gone. The engine idle was silky smooth. The motor was so quiet that it was barely noticeable. After cautiously backing out of the steep driveway, I took the car for a long spin around the neighborhood.
When I pressed the gas pedal down, the car jumped forward eagerly. The lost engine power had fully returned. It honestly felt like I was driving a brand new vehicle.
Tackling this scary job felt absolutely amazing. Replacing spark plugs is truly a realistic beginner garage task. It just requires basic patience and the correct basic tools. If you follow the simple steps slowly, you can easily do it too. You will save a lot of money. You will learn something valuable. Best of all, you will feel a great connection to your vehicle. Next time your engine starts shaking, do not panic. Just grab your tools and get to work. You have got this handled.
Frequently Asked Questions: Spark Plug Tools & Tips
Do I really need a special spark plug socket?
Yes, you absolutely need one. It has a soft rubber grip inside that holds the plug safe. This prevents the fragile white porcelain from breaking in a cold garage.
Why is a torque wrench vital for this garage job?
A torque wrench stops you from tightening the metal plug too much. Over-tightening can easily strip the engine block threads. This keeps your engine safe and secure.
Can I store my gap tool in a hot, humid garage?
Yes, a basic metal gap tool handles hot and humid garage heat just fine. Just wipe it clean with a dry shop rag after use. This simple step stops thick rust from forming.
Will dielectric grease help my old spark plug wires?
It helps a lot. A tiny dab of dielectric grease stops the rubber wire boots from sticking to the hot plugs. It makes taking them off much easier the next time around.
Are expensive iridium spark plugs worth the extra cost?
Yes, they offer much better durability than cheap copper ones. Iridium plugs last far longer in tough driving conditions. You will not have to replace them as often.