It’s 7 AM on a Wednesday. You toss frozen strawberries and kale into the pitcher, expecting a silky Green Goddess smoothie. But ten seconds later? You are chewing your drink.
It is not your recipe. It is your dull blades.
We all know the signs. The motor makes that high-pitched whining sound. You start to smell warm electronics. It feels like your appliance is dying.
But don’t trash it yet. You do not need a new $200 blender.
I will show you how to sharpen blender blades right at home. We will fix that dull edge using simple stuff you already have in your kitchen drawers. Let’s save your smoothie (and your wallet).
First, Let’s Check the Damage (Is It Actually Dull?)
Here is the thing—sometimes it isn’t even the blade’s edge. Sometimes it is just dried kale gunk stuck in the wrong places slowing things down.
Before we start grinding up eggshells, we need to look closer. I do this quick check every few months just to see how my appliance is holding up.
The “Fingernail Test”
Unplug it! Seriously, unplug it right now.
Do not just trust the “off” switch. I always pull the plug from the wall before I put my hand anywhere near the bottom of the pitcher. It is not worth the risk.
Once you are safe, reach in. Run your finger very carefully along the edge of the blade.
What do you feel?
If it feels smooth and round like a butter knife, we have a problem. A healthy blade should have a “bite” to it. It does not need to be razor-sharp like a chef’s knife, but it should feel like it wants to cut you.
Next, take the pitcher over to a window or good light. Look closely at the metal wings. Are there tiny nicks or bends? If the edge looks like a saw blade but is supposed to be smooth, we definitely have work to do.
The Motor Whine vs. The Blade
We need to know if the problem is the metal or the machine.
I learned this the hard way with my old mixer grinder. If the food just spins around in a whirlpool without getting cut, your blades are dull. The motor is spinning fine, but the edge just can’t slice through the food. That is an easy fix.
But if you hear a high-pitched scream or smell burning plastic? That is the motor dying.
Also, watch the base. If your blender starts dancing across the counter while you make your morning smoothie, it is usually because the blades are dull. They get stuck on a frozen strawberry, causing the whole machine to shake and struggle.
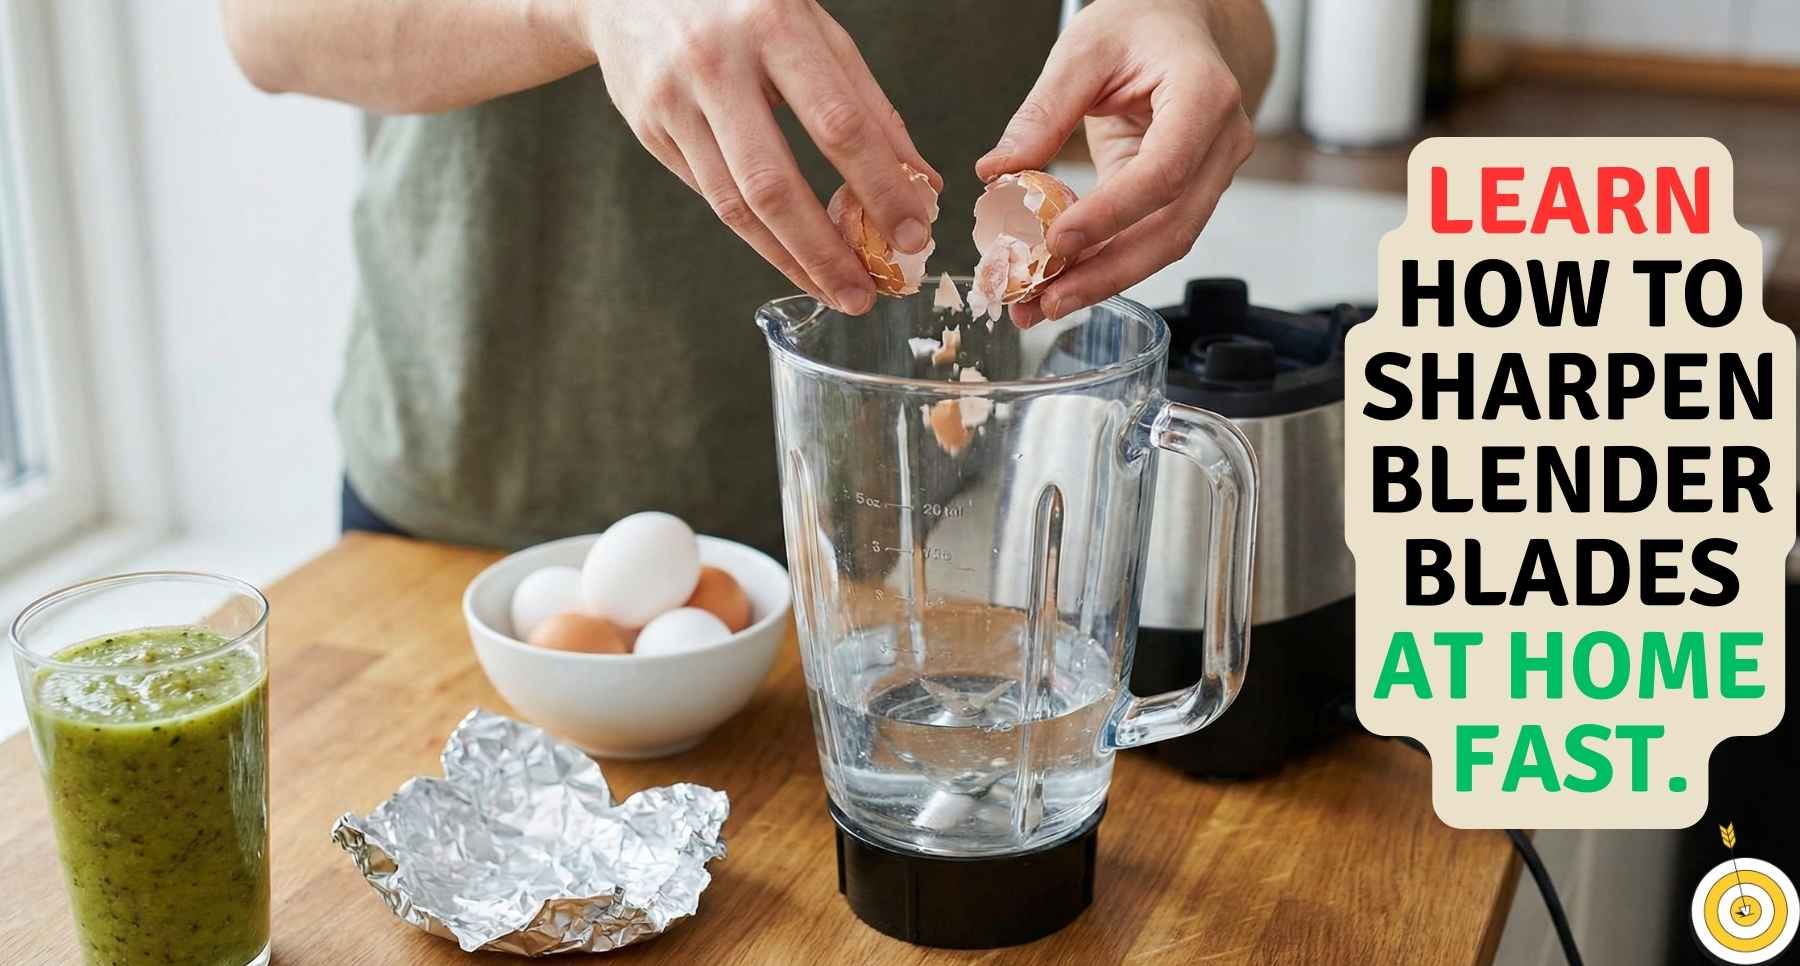
Method 1: The Eggshell Hack (The “Breakfast” Method)
This sounds like an old wives’ tale. I was skeptical the first time I heard it, too. But I tried it on my ancient Ninja blender, and it actually works. It won’t restore a broken blade, but it hones the edges surprisingly well.
Save Your Scraps
First, do not use wet, slimy shells straight from the pan. That is just messy.
After you crack your morning eggs, give the shells a quick rinse. Shake off the water and toss them into a bag in your freezer.
Why freeze them? This step is the secret sauce. Freezing makes the calcium carbonate in the shells brittle and hard. This makes them more abrasive. You need that extra hardness to effectively sharpen a blender blade as they crush against the metal.
The Crunch
Once you have a decent pile (maybe 3 or 4 eggs’ worth), grab them from the freezer.
Toss the frozen shells into the pitcher. Add just a splash of water—not too much, just enough to help the debris move around.
Now, brace yourself. It is going to be loud.
Like, “scare the cat out of the kitchen” loud.
Turn the dial to high and let it rip for about 60 seconds. As the blades pulverize the hard shells, they act like a fine sandpaper polish. It clears off minor burrs and cleans up the metal edge. When you are done, dump the gritty water and rinse well.
Method 2: The Aluminum Foil Trick
Maybe you don’t eat eggs. Or maybe the idea of keeping shell scraps next to your ice cream just feels gross. I get it.
If you want a quick fix without the “yuck” factor, just grab the roll of foil from your pantry. It works on the same principle of friction, and it is much cleaner.
Prepping the “Stones”
Tear off a few sheets of standard aluminum foil. You do not need the heavy-duty stuff.
Now, crumple them up.
Here is the trick: You want them tight. Do not just wad them up loosely. Squeeze them hard until they are dense, solid balls about the size of a large marble. You want minimal air gaps. If they are too fluffy, the blade will just slice them without getting honed.
Shredding It Up
Drop four or five of these foil balls into the bottom of your dry pitcher. Do not add water this time.
Put the lid on tight and pulse it.
As the steel cuts through the aluminum, the friction helps remove tiny burrs and hone the edge. It is very similar to how people sharpen mixer grinder blades using rock salt. The resistance forces the blade to realign itself.
Your foil will turn into a pile of grey dust and flakes. That means it worked. Dump the metallic confetti, rinse the pitcher thoroughly to get every speck out, and feel the difference.
Method 3: The Sharpening Stone (The “Expert” Way)
Okay, the hacks above are great for maintenance. But sometimes, foil and eggshells just won’t cut it. If your blades are totally “butter-knife” dull, we need to take this thing apart.
This is the most effective way to sharpen blender blades, but it takes a little more focus.
Disassembly (The Tricky Part)
Real talk: This is where people get nervous. It makes me nervous, too.
Flip the pitcher upside down on your counter. You usually need to unscrew the plastic base to pop the blade assembly out.
Be careful here. Some older models are reverse-threaded. That means “righty-tighty” is wrong. If it feels stuck when you turn it left, try turning it gently to the right. Do not force it! You don’t want to crack the plastic.
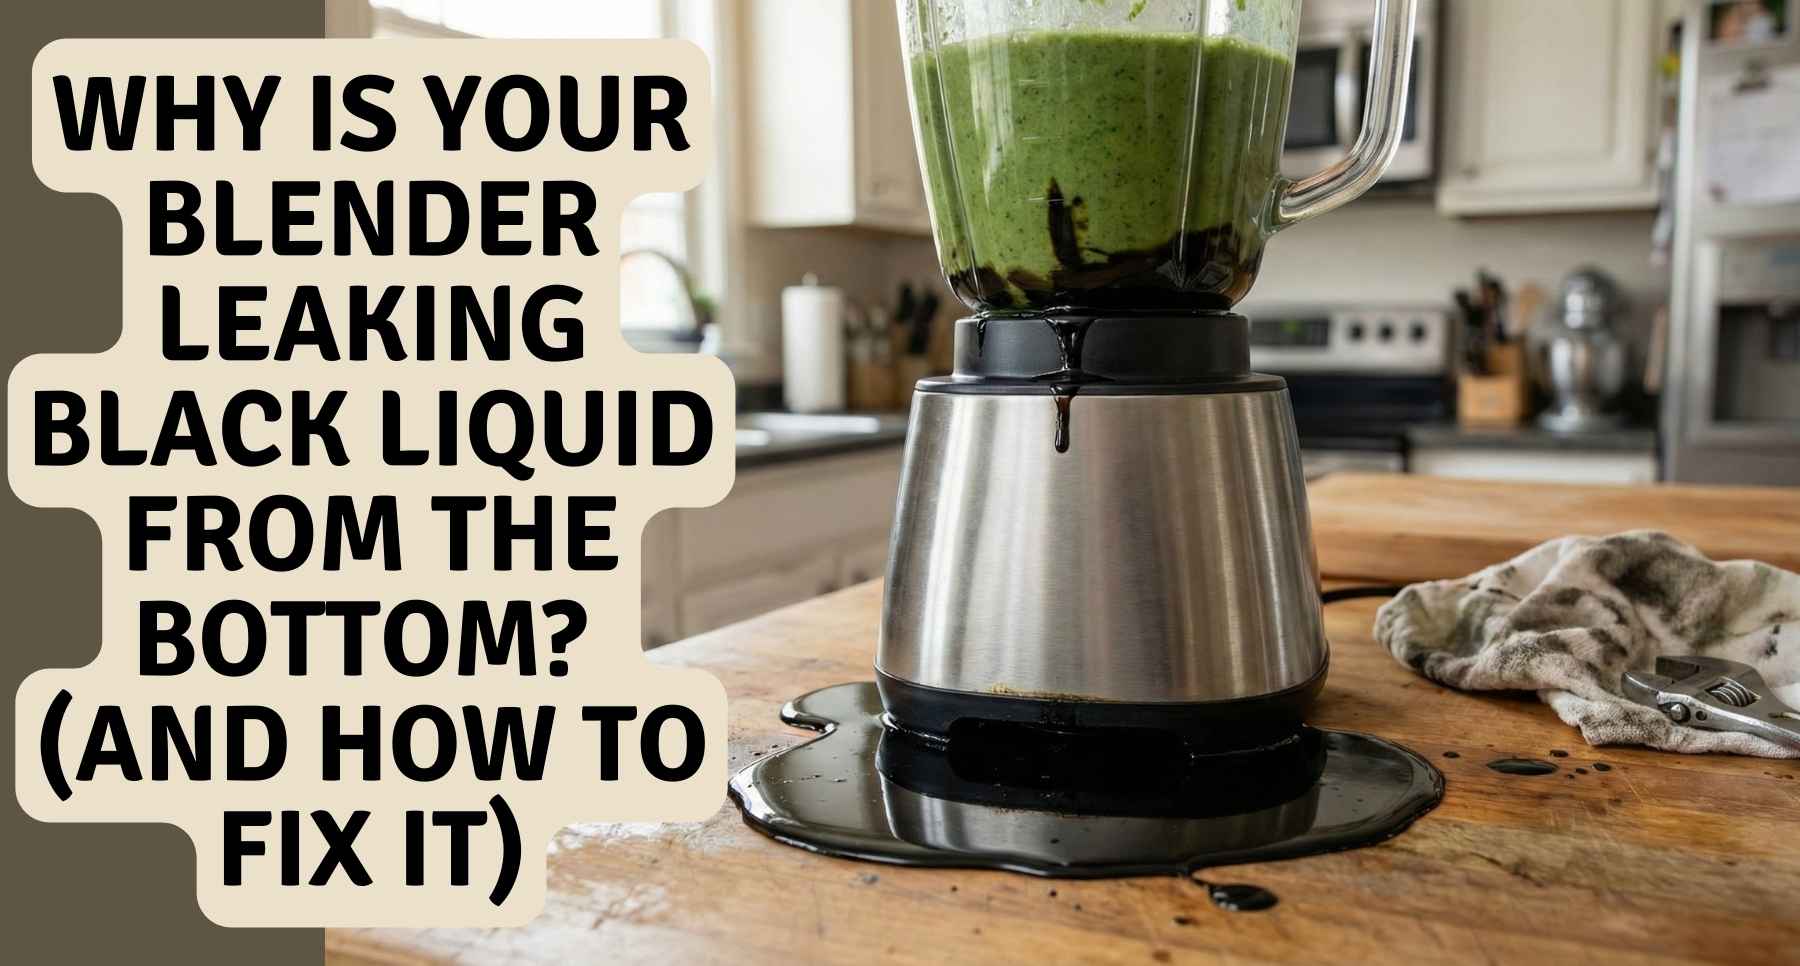
Also, watch out for the little rubber ring (the gasket). It likes to roll away or fall into the sink. If that ring cracks or gets lost, your green smoothie will end up leaking all over the motor base. That is a sticky mess you do not want to clean up on a busy morning.
Using the Stone or Dremel
Once the blade is out, hold it safely by the thick center part. You will need a simple whetstone or a sharpening rod. I keep a small stone in my junk drawer for this exact reason.
The Angle: You are not trying to shave with this. Look at the existing slope of the metal wing. It is usually angled at about 30 to 45 degrees. Just match that slope.
The Action: Slide the stone along the edge, moving away from the center of the blade. You don’t need heavy pressure. Just slide it smooth and steady.
Do this 5 to 10 times for each wing. You will see the shiny metal edge come back.
Expert Tip: Do not sharpen the flat underside of the blade. Leave that side alone. If you grind that down, you create a tiny gap between the blade and the pitcher floor. Food will get stuck there, it will rot, and it is impossible to clean. Keep the bottom flat.
Keeping It Sharp (So You Don’t Have to Do This Often)
Laziness is the enemy of a sharp blade. I can admit this mistake openly. My last blender—a decent mid-range model—was ruined because ingredients were tossed into the pitcher without thinking. Instead of treating it like a precision tool, I handled it more like a garbage disposal.
If you want to avoid sharpening your blades every month, you have to treat them right.
The Order Matters
I used to drop frozen strawberries in first. I thought, “They are hard, so they go on the bottom.”
That is a blade killer.
Think about the physics. When you put a rock-hard chunk of ice at the bottom, the blade has to go from zero to full speed instantly against a solid wall. It dulls the edge and strains the motor.
The Better Way: Always load your liquids first. Water, milk, or juice goes in the bottom. Next, add your soft greens and fresh fruit. Put the frozen stuff and ice on the very top.
This lets the blades create a whirlpool (a vortex) in the liquid. The whirlpool pulls the hard ice down gently. Do not force your blades to bench press the ice. Let gravity do the work.
The “Self-Clean” Cycle
We have all done it. You make your smoothie, rush out the door, and leave the dirty pitcher in the sink.
By the time you get home, that leftover kale and strawberry goop has turned into cement.
Hardened sugar and acidic fruit bits are terrible for metal. If they sit on the blade for hours, they can cause micro-corrosion. This makes the edge rough and dull over time.
My Routine: As soon as I pour my drink, I take ten seconds to clean it.
- Add a cup of warm water.
- Add one drop of dish soap.
- Put it back on the base and run it on high for 10 seconds.
It cleans itself. The force of the water blasts the gunk out of the tiny crevices you can’t reach. Rinse it out, dry it, and your blades will stay sharp for years.
When to Give Up (The “Trash It” Phase)
Sometimes, no amount of foil or eggshells will save you.
I hate to be the bearer of bad news. But if you have tried everything and your blender still sounds like a jet engine, we might have a bigger problem. Here is when you need to stop sharpening and buy a replacement part.
The Wiggle Test
This is the final check.
Take the pitcher off the base and flip it over. Grab the blade by the center hub (safely, watch your fingers).
Now, try to wiggle it side to side.
Does it feel solid? Or does the whole metal assembly move and wobble in its socket?
The Verdict: If it wobbles, the bearings are shot.
Sharpening cannot fix broken bearings. If you keep using it, the seal will fail. You will eventually find black motor grease leaking into your food.
That is gross. Do not drink that.
If you fail the wiggle test, stop. But do not throw the whole machine away! You don’t need to spend $200 on a new blender. Just go online and buy a replacement blade assembly. It usually costs about twenty bucks, and it screws right into your existing pitcher.
Conclusion
There is a real satisfaction in that first blend after you sharpen your blades.
You hit the button, and the whirlpool forms instantly. The motor hums smoothly instead of screaming at you. Best of all? You can finally stop chewing your morning drink.
You do not need to be a mechanic to fix this. If you are unsure where to start, try the eggshell method first. It is free, it takes two minutes, and it uses trash you already have.
Give it a shot tomorrow morning. Your smoothie—and your sanity—will thank you.
FAQ On How to Sharpen Blender Blades at Home.
How do I sharpen blender blades at home?
Use frozen eggshells or foil. It is easy. Pulse them in the pitcher. This sharpens the metal fast. It takes just one minute to do.
Does the eggshell method really work?
Yes, it works well. Freezing makes shells hard. They act like sand. This polishes the blade edge. It makes your smoothie smooth again.
Can aluminum foil sharpen a blender?
Yes. The metal cuts the foil. This friction hones the edge. It clears burrs and sharpens the blade. Make sure the foil balls are tight.
How do I know if my blender is dull?
Your drink will be chunky. The motor might whine. If food just spins, the blade is dull. You will see bits of kale or fruit left over.
Can I sharpen mixer grinder blades too?
Yes, you can. Use rock salt or foil. Run it on high speed. This fixes the dull edge quickly. It works just like a blender.