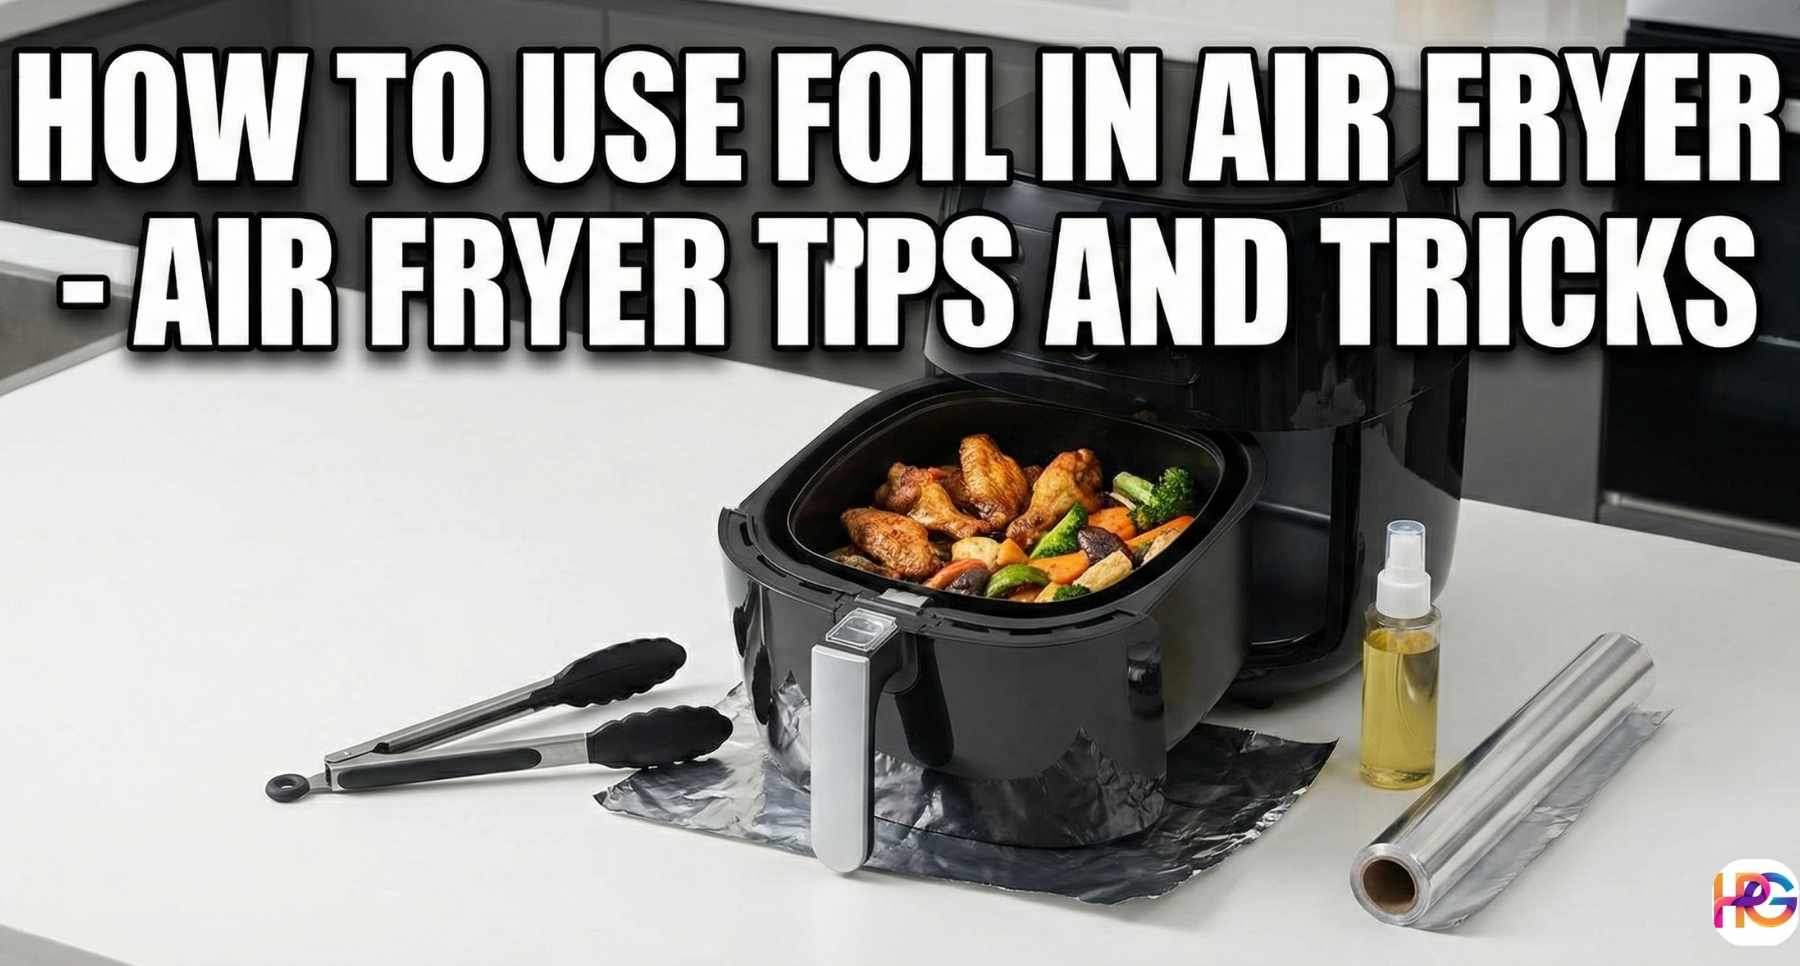
A Hot Day and a Dead Fryer
It was a hot day here in Alabama. Work was long and hard, and I felt very tired. My kid wanted food right away. I did not want to bake. The house was already too warm for the main oven. I took out my Ninja air fryer. Running a site about home gear means testing tools that help people live smarter, and this small machine has earned my trust. Frozen food went into the main tray, and with a quick press of the start button, it was ready to go.
Nothing happened at all. The digital screen stayed totally black.
I felt a quick flash of anger. We use this item nearly every day. I really did not want to buy a new one. I took a deep breath. Then I set out to fix it. I know that most faults have very easy fixes. You just need to know where to look. That stressful night taught me a lot. I learned the hidden quirks of this device. Now I want to share my notes with you.
You might have a blank screen today. Or your food feels wet and sad. Maybe your kitchen is full of dark smoke. Do not throw the unit in the trash. We can likely fix it right now.
Fixes for a Tool That Will Not Turn On
A dead tool is very scary. You push the button and get absolutely no response. This exact thing happened to me. Check the most basic stuff first. Do not panic just yet.
First, look at the main power cord. Is it snug in the wall? Cords get bumped loose a lot in busy kitchens. Pull it out and push it back in firmly. You should also test the wall plug itself. Plug a small lamp into that exact same spot. The outlet works fine if the bright lamp turns on.
Next, look at the big pull out drawer. This is a very common trap for new users. The unit has a tiny hidden safety switch. It will not run if the tray is even slightly loose. Push the drawer in hard. You must hear a loud click. Check for stuck food if it will not close all the way. A stray french fry can block the path. I found a hard crust blocking mine once.
You might also need a quick software reset. Tiny computer chips run these modern tools. The brain of the unit gets confused sometimes. Unplug the whole cord from the wall. Walk away for ten full minutes. This simple wait lets the inside parts clear their mind. Plug it back in and try your luck. This easy trick fixes lots of weird bugs.
Why Your Food Is Not Getting Crispy
We all want that perfect loud crunch. That is the whole point of owning this tool. It makes me sad when my meal feels wet. I made bad soggy batches for weeks at first. Then I learned the true rules of the game.
The biggest fault is filling the tray too high. I used to dump a whole bag of fries inside. The hot air needs clear space to move around. The wind gets stuck if you pile things up. The top layer gets way too dark. The bottom part stays wet and soft. You must lay your food flat in one layer. Cook your meal in two separate runs if needed. It takes more time, but the fresh crunch is worth it.
You also need a tiny bit of spray oil. This tool is not pure magic. It uses way less fat than deep frying. But it still needs some help to crisp up your snack. I use a simple pump oil spray. Give the food a quick mist before you cook. This helps the outer skin turn bright gold.
Do not forget to shake the hot tray. Pull the drawer out halfway through the total cook time. Give it a good hard toss. This moves the flat pieces around. It helps all sides touch the hot wind. I always regret it if I forget to shake. The meal is never as good as it could be.
Dealing with Scary Smoke in the Room
Smoke from a cooking tool is bad news. It sets off the loud fire alarm fast. It scares the whole house. I have had this happen a few stressful times. The color of the cloud tells you the real problem.
White smoke is mostly safe but very annoying. It happens when you cook foods with rich heavy fat. Think about things like thick bacon or cheap meat. The grease melts fast as it gets hot. It drips down to the bottom metal floor. The hot coils heat up the whole closed box. That flat pool of grease starts to burn. This makes the thick white smoke.
I use a quick easy trick for this issue. Put a little bit of tap water in the bottom pan. Do this before you cook fatty meats. Use just enough water to cover the metal floor completely. The hot grease hits the cool water when it drips. It cools down fast and does not burn at all. This stops the white smoke flat.
Black smoke is a much worse story. Unplug the unit right away if you see black smoke. This dark smoke means something inside is truly on fire. It could be a bad electric wire. Or a plastic tool fell inside and melted. Do not plug the unit back in. It is not safe to use at all.
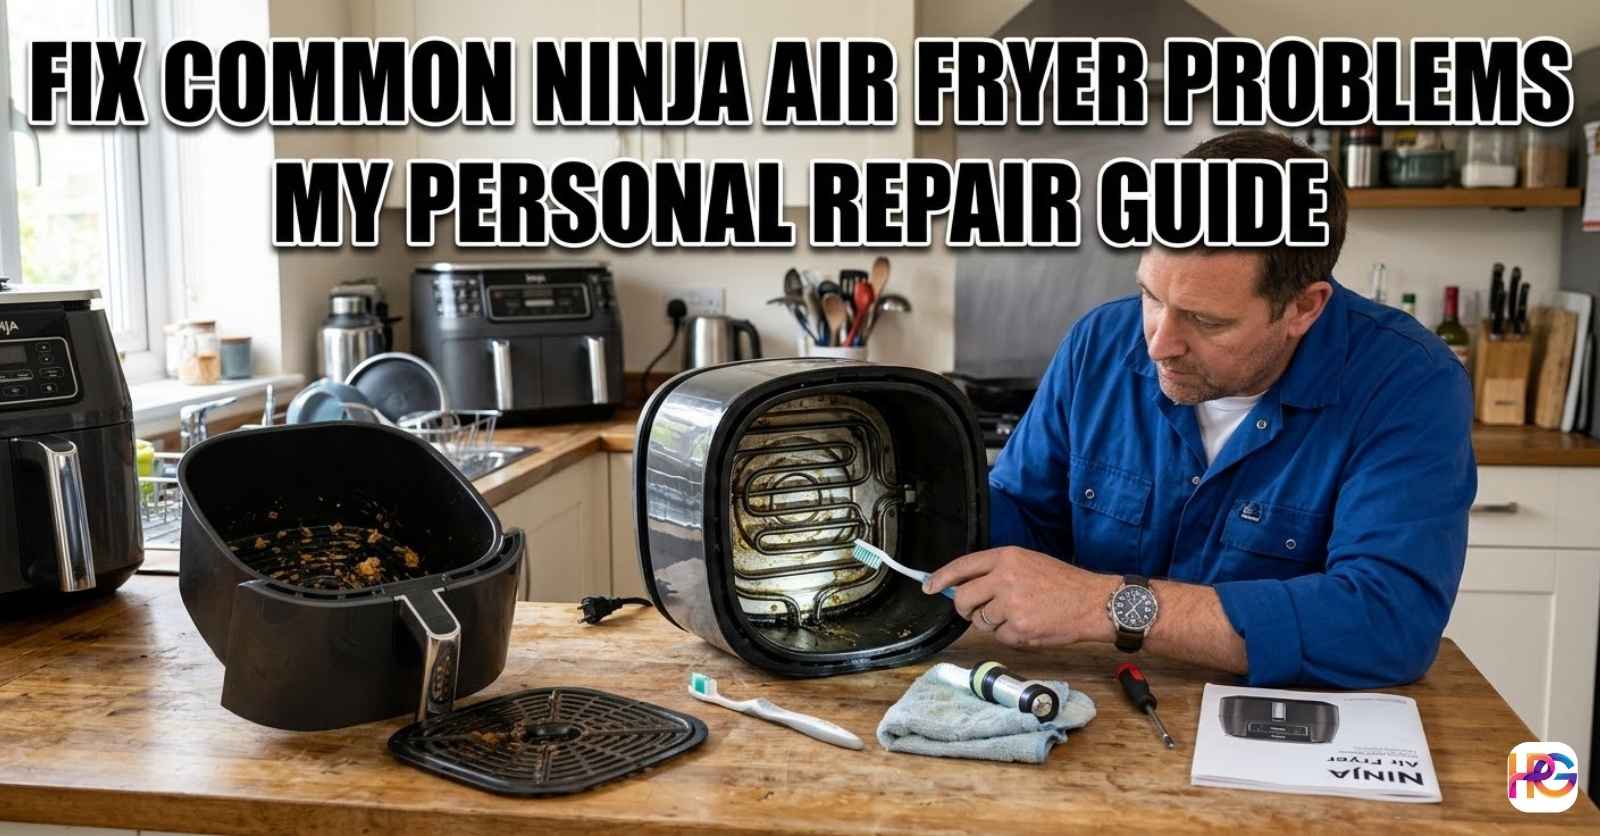
How to Clean the Heat Coils the Right Way
The thick heat coil is the true heart of the unit. It lives up high in the flat roof. Baked grease coats it over long periods of time. This makes the tool run slow and smell bad. I clean mine every few weeks now to stay safe.
My Simple Step by Step Routine
You have to be very gentle with this cleaning part. Never clean the tool while it is hot. Let it sit for a long hour after a cooked meal. Pull the main plug out of the wall first.
Take the main tray out of the outer shell. Flip the whole tool upside down on the clear counter. This looks odd, but it gives you a great clear view. Grab a small bright light. Shine it directly onto the curved metal rods. You will likely see a lot of brown sticky spots.
Do not use harsh scratch pads here. Rough steel pads will ruin the fine metal skin. I like to make a mild liquid soap mix. Get a small cup of warm tap water. Add two small drops of mild dish soap. Dip an old soft toothbrush into the wet cup.
Gently rub the soft brush over the dirty rods. Take your time and do not rush the job. The wet soap will slowly melt the thick grease. Wipe the wet dirt away with a damp soft rag. You might have to repeat this a few times to win. Let the whole thing sit and dry for a whole day.
When to Buy Parts or Buy a New Tool
A deep clean is not always enough to save it. Hard parts break down after long years of heavy use. You must decide if it is truly worth fixing. I use a very simple math rule for this hard choice. I buy a brand new tool if the fix costs more than half the full price.
Here is a plain look at common machine break points.
Cost and Choice Repair Guide
| Broken Part | Is It Hard to Fix | My Clear Advice |
| Flat Rack | Very simple job | Buy a new flat rack. They cost very little online. |
| Main Tray | Very simple job | Buy a new main tray. It makes the unit work like new. |
| Power Cord | A bit tricky job | Fix it only if you know safe house wire steps. |
| Heat Coils | Very hard job | Buy a new tool. The bare internal wires are a risk. |
| Inside Fan | Very hard job | Buy a new tool. A raw heavy motor costs too much. |
Buying small cheap parts makes very good sense. A new flat plate costs very little cash. It pops right in with zero extra tools. But opening the main plastic shell is always risky. You can break the weak case fast. You will also lose your brand warranty forever.
Strange Loud Noises Inside the Box
These tools have a large flat fan hidden inside. This strong fan blows the hot wind down onto your food. Sometimes this fan starts to make a loud bad noise. I heard a rough sound from mine last month. It sounded exactly like an old truck motor breaking down.
I turned the unit off right away. I let it cool down all the way. Then I took out the main lower food drawer. I looked up at the fan blades with my light. A small piece of hard clear plastic was stuck up there. It blew in from a cheap thin food wrapper. The fan blade hit it over and over.
I used long metal tongs to pull the small trash out. I turned the tool back on. The loud grinding sound was totally gone. It purred like a soft cat once again. Sometimes the loud noise means the motor is dying. The motor is completely dead if you clean the roof and it still grinds. You will need to buy a new base unit soon.
How I Keep the Slick Coating Safe
The inside food part has a dark slick skin. This thin cover makes it very easy to wash off. Wet hot food slips right off the smooth metal. But this thin layer is very weak. I ruined my very first pan by being completely silly.
I used a hard metal fork to grab hot meat. The sharp fork tips dug into the bottom floor. A few days later the dark skin started to peel up. Small black flakes stuck to my nice hot food. It looked gross and was definitely not safe to eat. I had to throw that ruined pan in the outdoor trash.
Now I only use safe soft food tools. I bought a nice set of soft rubber tongs. They never scratch the inner metal walls at all. I also stopped using hard scrub pads in the kitchen sink. I just soak the dirty pan in warm wet soap. Ten short minutes of soaking melts the old grease. Then I gently wipe it clean with a soft wet sponge. My new pan still looks totally great after a full year.
Dealing with Bad Smells from the Vent
Sometimes your hot tool just stinks bad. You turn it on and the whole room smells weird. It might smell like old dead fish or burnt wire. I absolutely hate when my home smells like bad trash.
The burnt plastic smell is common with brand new boxes. The new parts have strange factory oils painted on them. You need to do a blank hot heat run first. Turn the empty box on high heat for twenty full minutes. Open your house windows very wide. Let the chemical factory smell blow far outside.
Old foul food smells mean the whole box is dirty. Soft wet grease hides in tiny deep cracks. The upper roof might be filthy even if the pan is clean. You have to scrub the heat rods like I showed you above. You can also put half a fresh yellow lemon in the tray. Cook the sour fruit on low heat for ten minutes. The fresh sweet scent helps kill the bad room smells fast.
Final Thoughts on Care and Use
Taking care of your nice kitchen gear saves you money. A small bit of daily care goes a very long way. I spent a little time learning how my unit works inside. That small bit of work kept it running for long happy years.
Listen to how your tool sounds and smells daily. It might need a good wash if food takes long to cook. Wash the tray out fully after every single meal. Do not let old wet grease sit there all night.
We rely on these fast tools to feed our loved kids. It makes us mad when they break down and fail. But most daily faults truly have very simple quick answers. You just need a tiny bit of clear calm patience. Keep this easy guide near for the next time things stop. I hope this friendly advice helps you live a smarter life. Have a great time making your next hot meal.
Frequently Asked Questions
Why won’t my Ninja Air Fryer start even when it is plugged in?
Check the basket first. Most Ninja models have a safety switch. The unit will not start if the drawer is not clicked into place firmly. This keeps the hot air inside and you safe.
How can I get my Ninja Air Fryer to make food crispy again?
Do not crowd the tray. Hot air needs room to move around your food. Use a light oil spray and shake the basket halfway through to get a perfect, loud crunch every time you cook.
Is white smoke from my Ninja Air Fryer a sign of a fire?
Usually, no. It means grease is burning on the bottom metal floor. Add a little water to the pan to stop the fat from smoking. This keeps your kitchen air clean and very safe.
Can I store my Ninja Air Fryer in a hot garage or shed?
High heat can warp plastic and ruin wires. It is best to keep your tools in a cool, dry room. This helps the motor and the touch screen last for many more years of daily use.
Should I fix a broken heating coil or buy a new Ninja Air Fryer?
Heating coils are hard to swap and can be a fire risk if done wrong. If the fix costs over half the price of a new one, buy a new unit. Your home safety is the most important part.