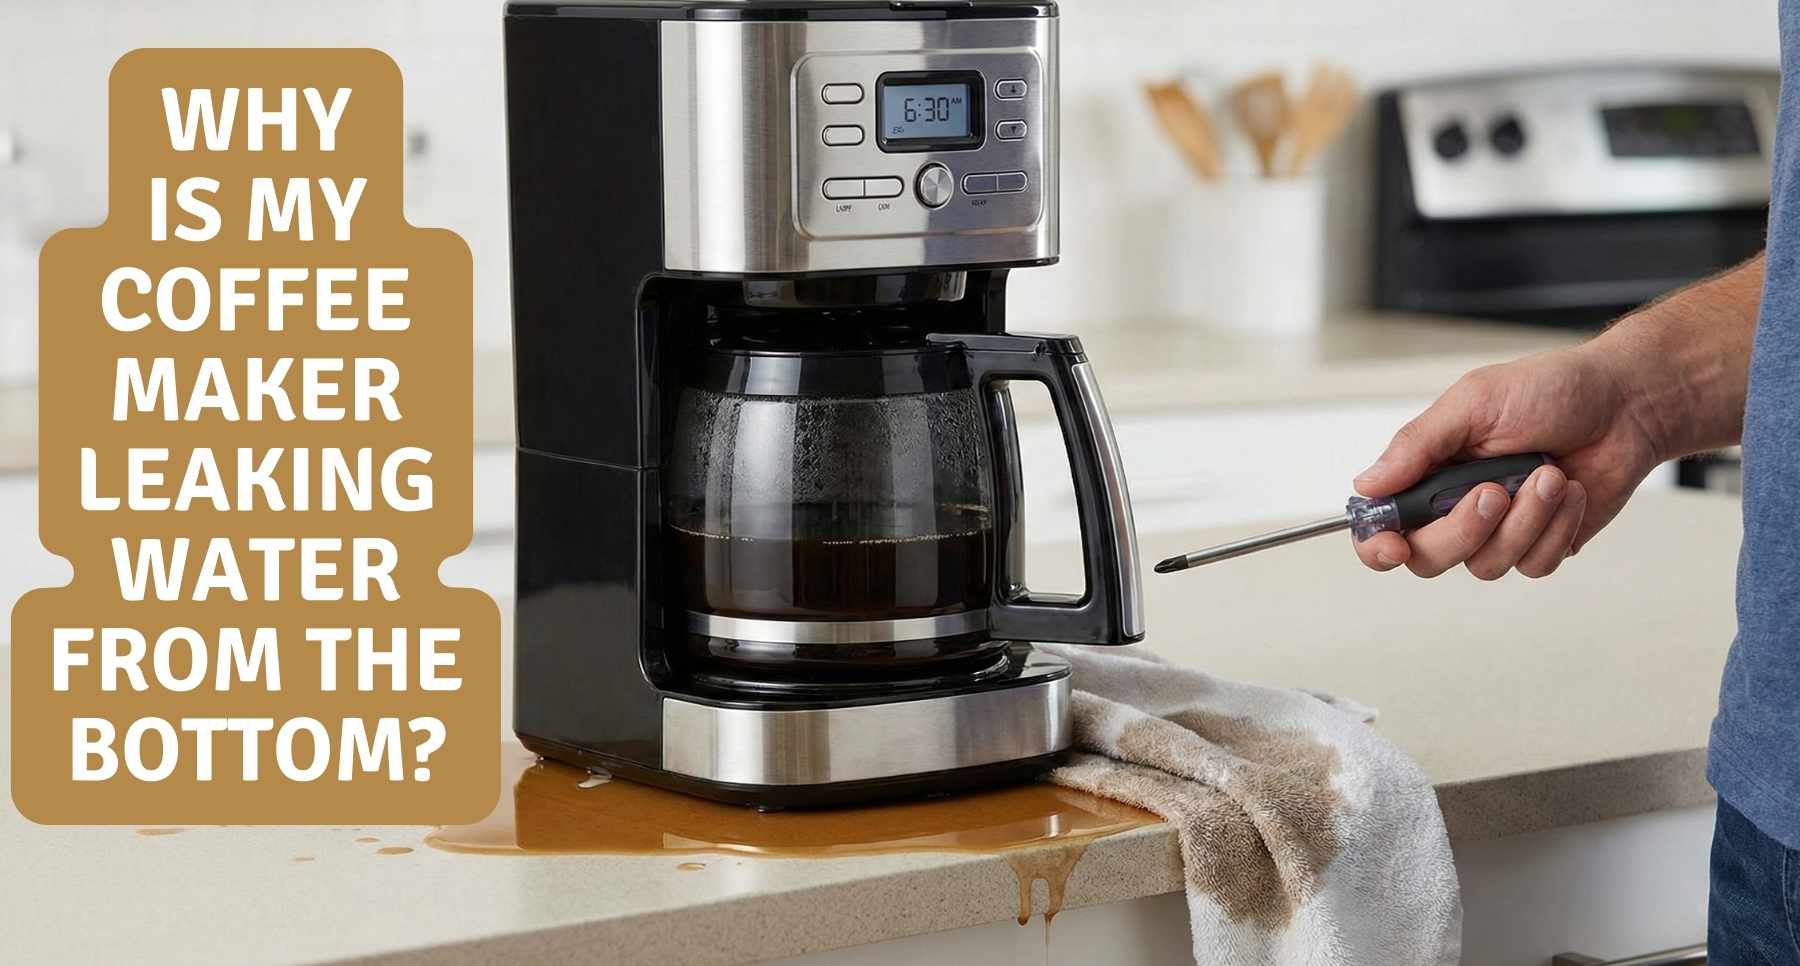
It’s a groggy Tuesday. The house is cold. You need that hot cup to wake up. You press “Brew.” The machine hums. It clicks. Then… nothing. Just a sad trickle of dark water and a blinking light.
You dig for that orange cleaning tool. It’s gone. It is likely buried in the junk drawer abyss.
Don’t panic. You can save your morning. I will show you how to unclog a Keurig needle without the tool. You just need a paper clip. I figured this out last winter when my own machine jammed up tight. I was desperate for caffeine. This simple fix worked in minutes. Let’s fix yours.
Why Is My Keurig Sputtering?
You know the signs. I definitely do. It starts with a weird noise. The machine doesn’t hum smoothly anymore. It strains. It hisses like a leaking pipe in the basement. You wait for that rich aroma, but the stream is just a sad, slow dribble.
Then you look down at your mug. You pressed the button for a large coffee. You only got four ounces of dark sludge. It is the dreaded “short cup.”
So, what is actually clogging things up?
It is usually rogue coffee grounds. Tiny bits of wet coffee escape the top of the K-Cup foil. They get pushed up into the narrow exit needle. When the machine cools down, those grounds dry out. They harden like tiny plugs of cement and block the water flow.
We are all guilty of this. I never really thought about how to perform needle maintenance on Keurig without tool kits until my brewer stopped working entirely. We just assume the machine will keep running forever. But don’t worry. Your brewer is likely not broken. It is just choked up with old coffee.
The Paperclip Method (Your DIY Fix)
This is the gold standard. It is cheap. It works. You definitely have a paperclip in a drawer somewhere. When I finally learned how to clean Keurig needle with paper clip items, I felt like a genius. It saved me twenty bucks and a trip to the store.
Safety First: Power Down
Please, unplug the machine. Do not just hit the power button. Pull the plug from the wall. You are about to stick metal into a gadget that uses water and electricity. Let’s not turn a clogged needle into a shocked finger.
The silence of the unplugged machine is actually kind of peaceful. It gives you a moment to focus before you start.
Prep Your “Surgical” Tool
Go grab a standard metal paperclip. The plastic-coated ones work too, but you might need to peel the tip.
Straighten one end of it out. It does not need to be perfect; it only has to be straight enough to fit. In function, the piece behaves just like the official maintenance accessory, except it lacks the fancy orange plastic handle.
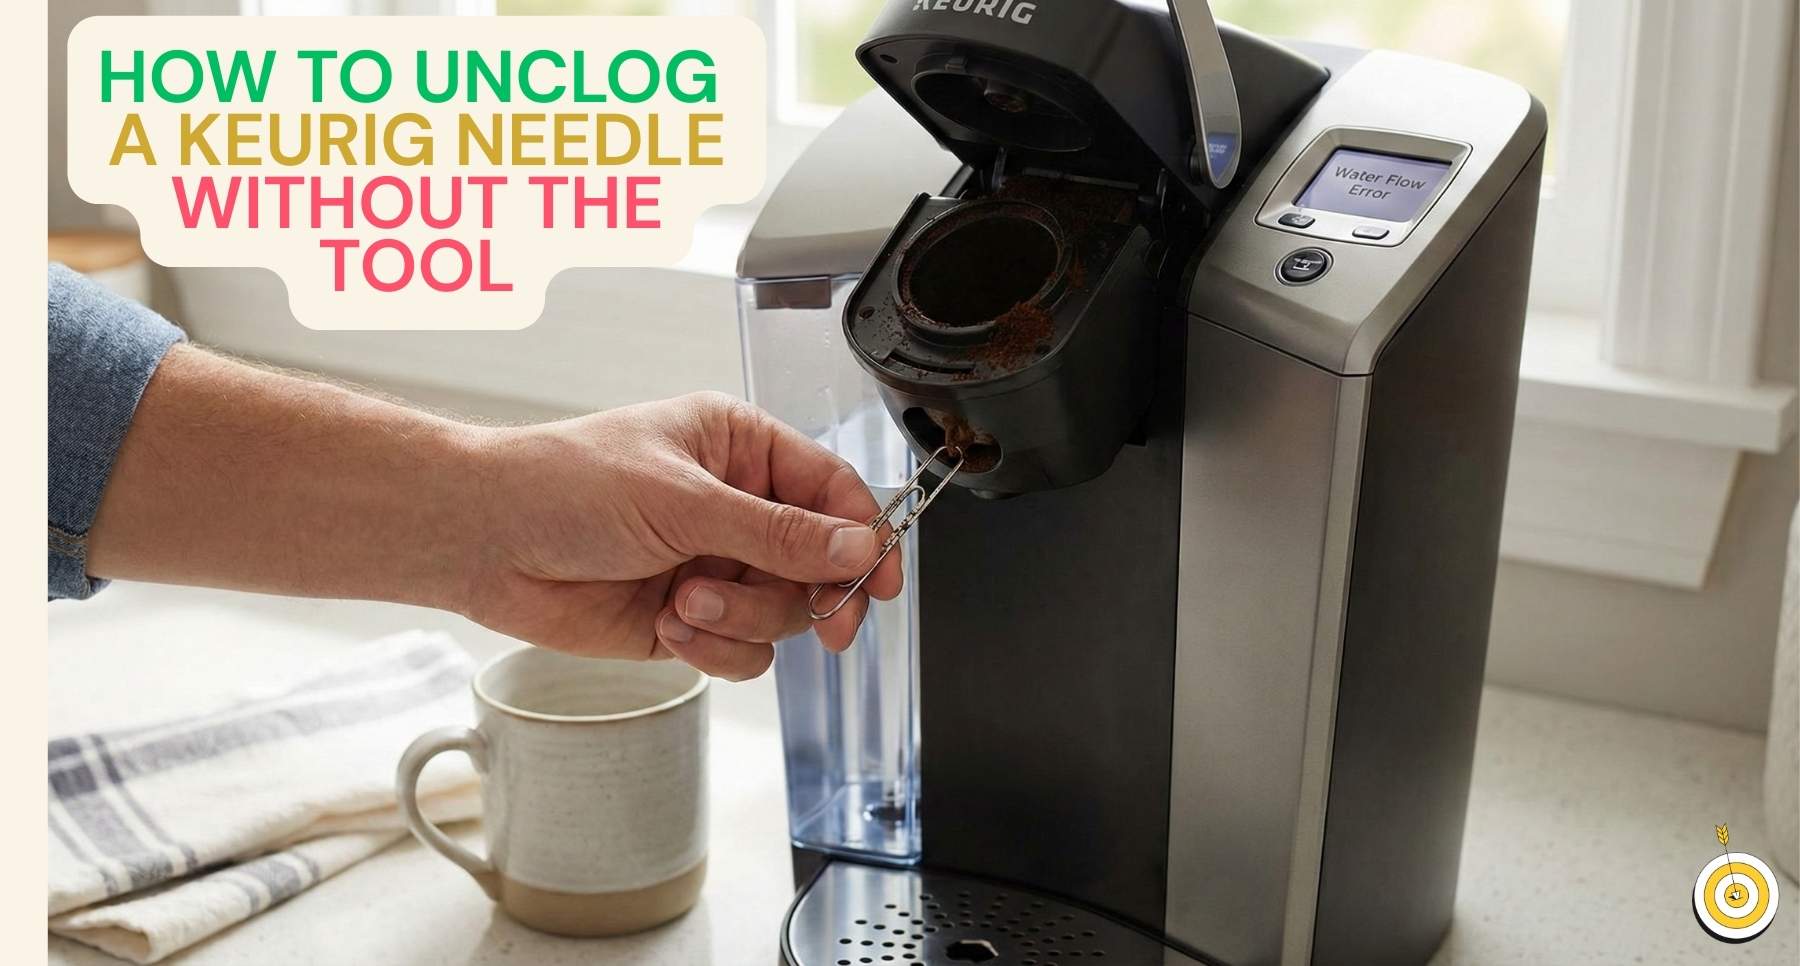
Cleaning the Exit Needle (The Bottom)
Lift the handle. Look inside the black pod holder. There is a needle at the bottom that punctures the K-Cup.
Insert the straight end of the paperclip gently. Wiggle it around. You want to loosen the packed grounds.
Caution: Do not be the Hulk. The needle is sharp, but it is fragile. Gentle moves only.
Cleaning the Entrance Needle (The Top)
Now look under the lid. There is another sharp needle pointing down. This one punctures the foil top.
Repeat the motion. Use the clip to unclog a Keurig needle without the tool by carefully dislodging the gunk. Watch for dark flakes falling out. That is a good sign. It means you are winning.
The Keurig 2.0 Special Instructions
Do you have the fancy model? The one that can brew a whole carafe? I have used these too. They are great, but they are sensitive. They have more sensors than the older units.
If you are stuck on how to clean Keurig 2.0 needle without tool kits, do not worry. It is actually a bit easier. Why? Because the parts come out.
Here is the trick I use:
- Lift the handle. Open it up just like you are loading a pod.
- Remove the holder. You might wonder how to remove Keurig needle housing without breaking it. It is simple. Grab the top of the black plastic pod holder. Push up from the bottom while pulling the top. It should pop out with a snap.
- Poke the holes. Look at the detached holder. You will see the exit needle. Use your paperclip here. Clean any other holes you see too.
- The Sink Rinse. Take the holder to your sink. Run it under warm water. This flushes out the loose grounds you just poked loose.
Snap it back in. Make sure the white arrow lines up. You are done.
The Flush: Rinsing Out the Gunk
Now that you have poked the bear—or the grounds—you need to finish the job. You have loosened all that debris with the paperclip. But it is still sitting inside the system. You definitely do not want that grit ending up in your next fresh cup. You need to wash it out.
The Water-Only Brew
This is the easiest part. It is satisfying too.
- Close the lid. Do not put a pod inside. Just leave the chamber empty.
- Pick the size. Select the largest brew cycle available. I usually hit the 10oz or 12oz button.
- Watch the flow. Press brew. Watch the water as it fills your mug.
- Check the color. The first cup might look like weak tea. That is the old clog washing out.
- Repeat it. Do this two or three times. Keep going until the water runs perfectly clear and the stream is strong and steady.
When to Use Other Household Items
Sometimes you just cannot find a paperclip. I have been there. I dug through my entire desk and found nothing but old receipts. If you are stuck, here are a few other ways on how to perform needle maintenance using items from your junk drawer.
- Safety Pin: This is my second choice. It is strong. It does not bend easily like a cheap paperclip might. Just be careful. The point is very sharp. Do not prick your finger while you work.
- Sewing Needle: This is effective. It is thin enough to fit easily into the hole. But it is very hard to hold. I am always terrified I will drop it inside the machine. If you use one, grip it tight.
- Toothpick: Please avoid this. Do not do it. Wood can snap off inside the needle. If that happens, you are really in trouble. Wood swells when it gets wet. It will just make the clog worse.
Keeping It Flowing (Prevention)
I definitely do not want to fix this every single morning. I am too lazy for that. Once I got my machine working again, I started doing a few simple things to keep the needle clean. It takes almost zero effort.
- The Post-Brew Run: If you brew something sticky like hot cocoa or sweet tea, run a quick shot of just hot water right after. Sugar is the enemy. It gums up the works fast. This rinses it away.
- Regular Descaling: I know. It is boring. But running a vinegar solution or a descaling mix through the machine every few months really helps prevent mineral buildup.
- Pod Removal: Do not leave used pods in the machine all day. I used to do this. It lets the wet grounds dry out and cement themselves to the needle. Throw them out while they are still warm.
Conclusion
You did it. Listen to that hum. That is the sound of victory. The coffee is brewing. Best of all? You did not have to order a new part or call a repair guy.
Next time you see a “prime” error or a sad, slow drip, do not panic. You know exactly what to do. You have the power of the paperclip.
Now, go enjoy that hot cup. You earned it.
Frequently Asked Questions
How do I know if my Keurig needle is clogged?
Your coffee brews slowly or you get a short cup. You might hear the pump straining. Coffee grounds often block the water flow. It is a simple fix to do at home.
Can I use a paperclip to unclog a Keurig needle?
Yes, a paperclip works great to unclog a Keurig needle. Straighten one end to make a tool. It clears the exit needle just like the kit. It is safe if you are gentle.
Where is the Keurig exit needle located?
It is inside the black pod holder. Lift the handle to see it at the bottom. This needle punctures the K-Cup. Be careful, as the point is very sharp and fragile.
Why does my Keurig say “prime”?
The “prime” error often means water cannot flow properly. A clogged needle is the likely cause. Cleaning the needle with a paperclip usually clears this error fast.
How often should I clean my Keurig needle?
Clean it when the flow slows down. If you brew sugary drinks, do it more often. Regular maintenance helps your machine last longer and keeps your coffee tasting fresh.