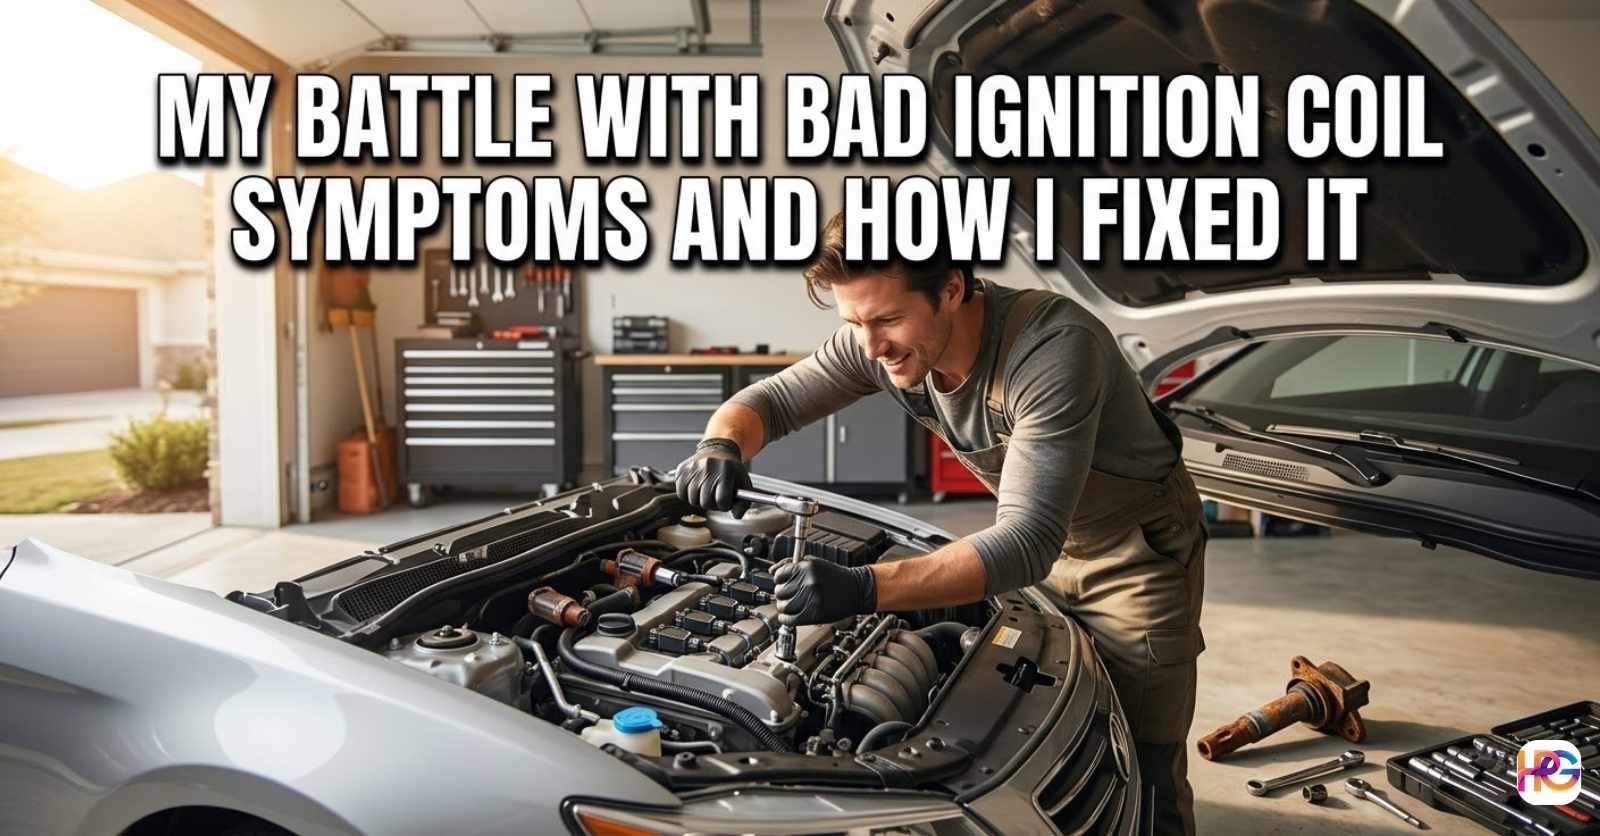
My Battle with Bad Ignition Coil Symptoms and How I Fixed It
It was a normal Tuesday morning. The sun was shining bright. I just wanted to get some fresh coffee beans from the store. My car had other plans for me. I turned the key and started the engine. The car felt a little weird right away. I put it in gear and drove down the street. Suddenly, my steering wheel began to shake in my hands. The whole car felt like a cheap washing machine.
I looked down at the dashboard. A yellow check engine light flashed back at me. My heart dropped into my stomach. A flashing light usually means serious engine trouble. The car rolled to the side of the road. After shutting the engine off, I took a deep breath and noticed a faint smell of unburned gas.
This was my first real test with bad ignition coil symptoms. I am always looking for ways to pick better and live smarter. So, I decided to figure this out myself instead of calling a tow truck.
The First Signs of Trouble on the Road
You never forget your first engine misfire. It feels like your car is hiccuping. The engine stumbles and gasps for air. I sat on the side of the road and thought about the signs. My car had been giving me small hints for days. I just ignored them.
The first hint was a rough idle. I noticed this while waiting at a red light earlier in the week. The car would vibrate just a little bit. It was not a smooth hum. It felt rough and jumpy. The next hint was bad gas mileage. I found myself at the gas pump way more often than usual. The final sign was the scary flashing light on my dash. All these things pointed straight to an ignition problem.
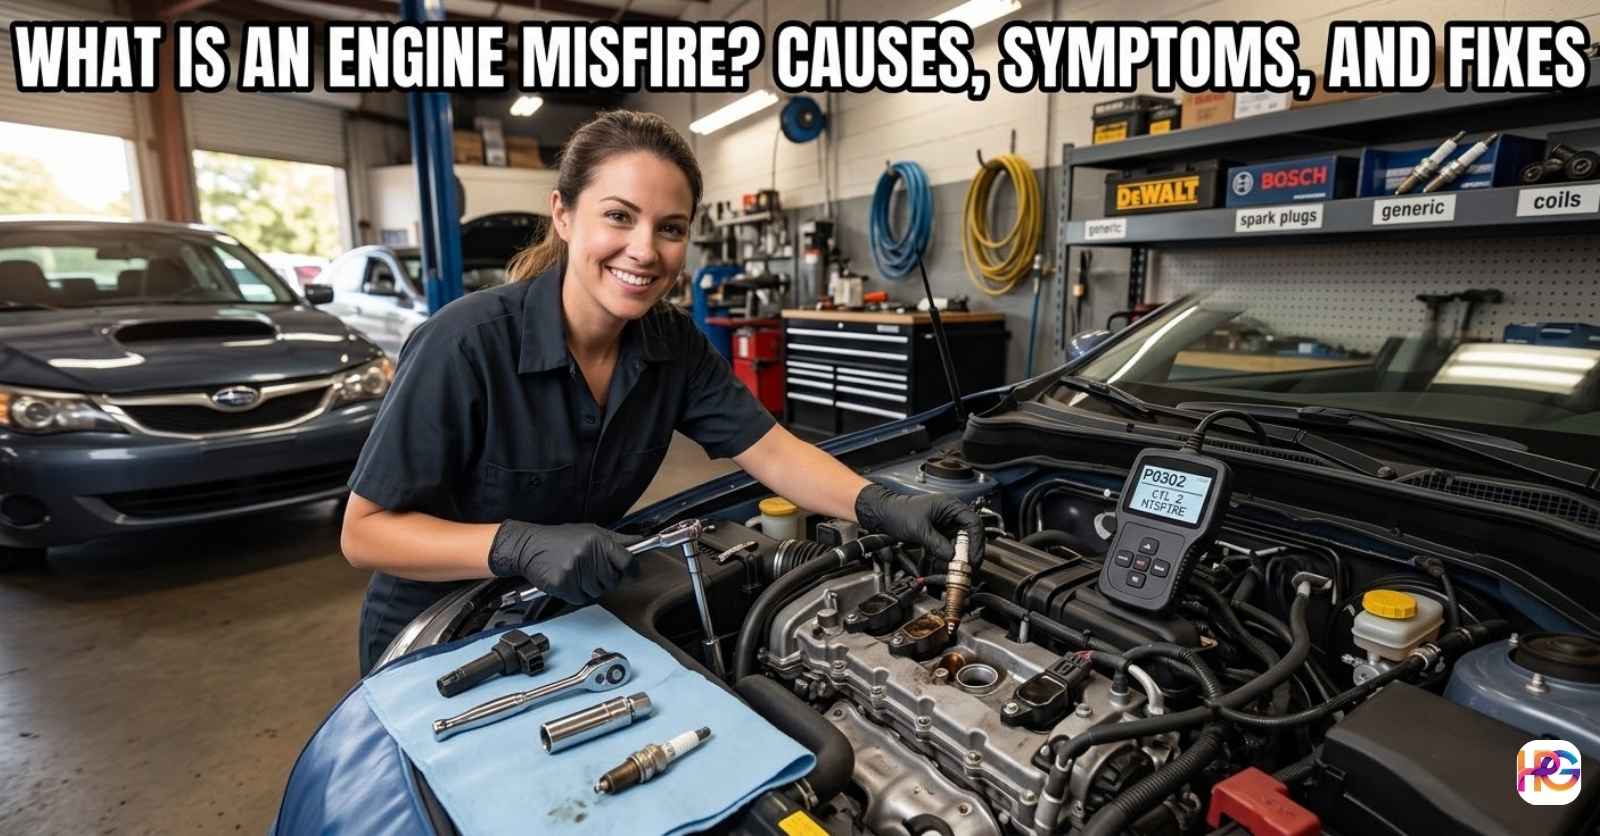
What Exactly Is an Engine Misfire?
A car engine needs three things to run. It needs air, fuel, and spark. The spark is very important. It sets the fuel on fire inside the engine cylinder. The ignition coil is the part that makes this spark. It takes low power from the battery and turns it into high power. This high power shoots down into the spark plug.
When a coil goes bad, the spark plug gets no power. The fuel inside the cylinder does not burn. The engine skips a beat. That skipped beat is an engine misfire. You feel a sudden loss of power. The unburned fuel goes out the exhaust pipe. This is why I smelled gas when I pulled over.
Diagnosing the Problem Without a Mechanic
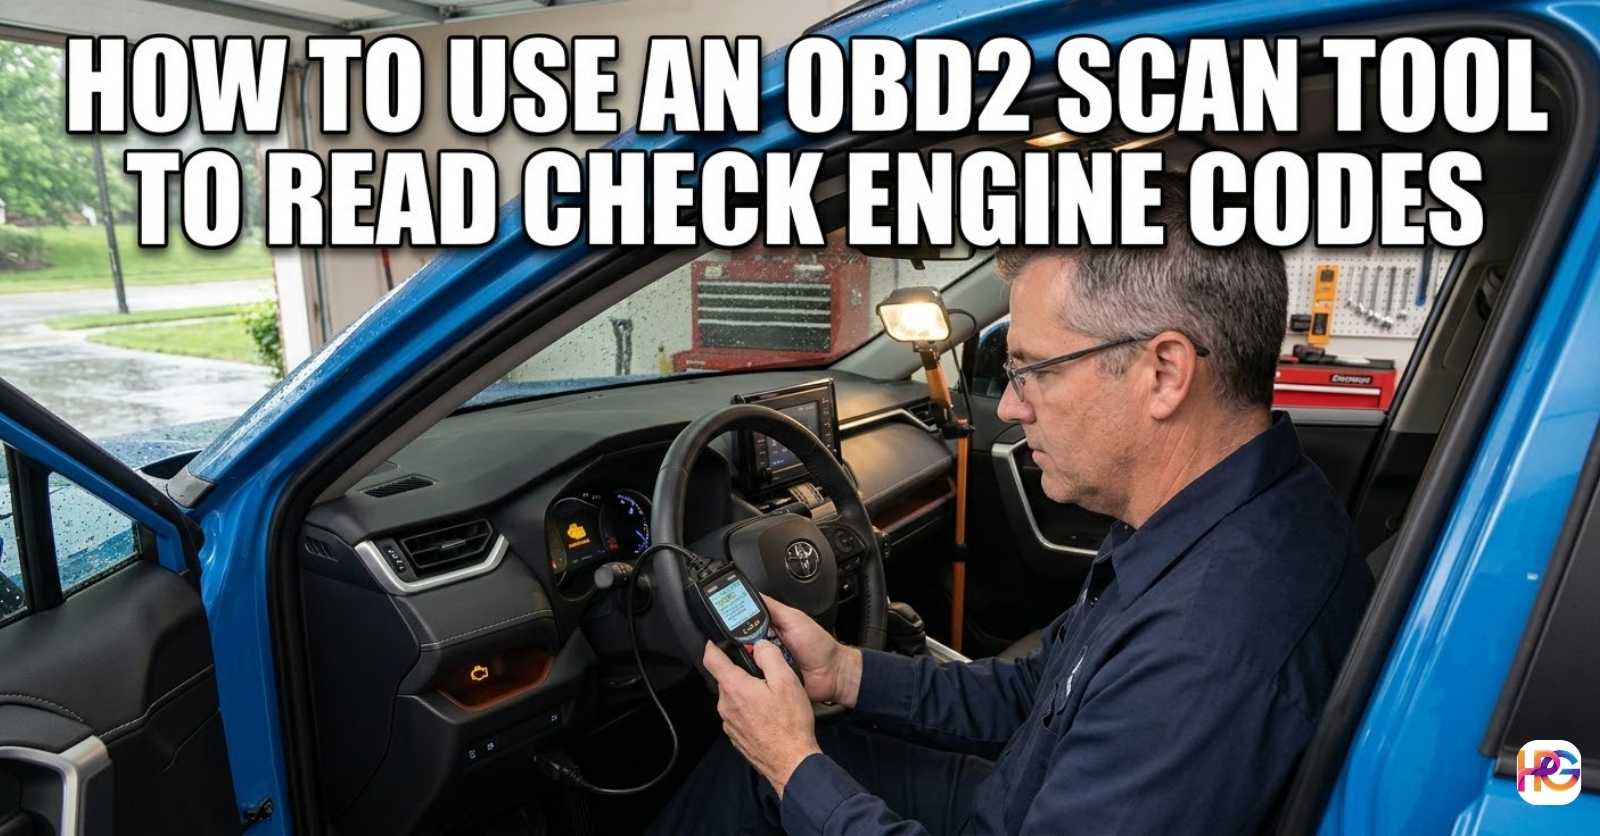
I managed to limp the car back to my driveway. It was time to play detective. I did not want to pay a shop just to look at my car. I went to my garage and opened my main mechanics tool set. This set has saved me a lot of money over the years. I also grabbed one of my handy automotive diagnostic tools. You plug this small code scanner into a port under the steering wheel.
I turned the key to the on position. I did not start the engine. The scanner lit up and read the car computer. It gave me a specific code. The screen said P0301. I knew exactly what that meant. The number one cylinder was misfiring. I finally had a real clue to work with.
Testing the Suspect Coil
I opened the hood of my car. I looked at the top of the engine. There were four plastic coils sitting in a row. These are called coil on plug systems. The first one on the left was cylinder number one. This was my main suspect. To confirm the problem was the coil and not a bad spark plug, a simple trick came to mind. The coil from cylinder one was swapped with the one from cylinder two, and the error codes were cleared on my scanner.
Then, I started the car again. The engine still shook violently. I plugged the scanner back in and read the new code. The screen now said P0302. The misfire moved to cylinder number two. The bad coil moved, and the misfire moved with it. I had found the exact broken part.
The Tools You Need for This Fix
Fixing this issue is surprisingly easy. You do not need a massive garage full of gear. You just need a few basic items. I laid everything out on my workbench before I started. This helps keep things organized. Here is a quick look at what I used.
| Tool Name | Why You Need It | Estimated Cost |
| OBD2 Code Scanner | Finds the exact misfire code | $20 to $50 |
| Socket Wrench | Removes the mounting bolt | Included in tool sets |
| Dielectric Grease | Keeps moisture out of the boot | $5 |
| New Ignition Coil | Replaces the broken part | $30 to $75 |
This small list of tools was all I needed. You probably have a socket wrench in your house already. The grease comes in tiny packets at the parts store. It is very cheap but very important.
Step by Step DIY Replacement Guide
My wife’s car took me to the auto parts store for a quick trip. A brand-new coil and a small packet of grease came home with me, and the repair work began shortly after.
It was time to get my hands dirty. The process was much faster than I thought it would be.
Removing the Old Broken Part
Safety must always come first. I made sure the engine was completely cool. Working on a hot engine is a bad idea. I unhooked the negative cable from the car battery. This stops any random electrical shocks.
I walked over to the engine. I found the bad coil sitting on cylinder number two. A small wire plug connected to the side of it. I pressed down on the plastic tab. The tab was very old and stiff. I wiggled it gently so it would not snap. It finally popped off. Next, I took my socket wrench. I used a ten millimeter socket to turn the holding bolt counter clockwise. The bolt came out easily. I grabbed the top of the coil. I pulled it straight up. It made a funny popping sound as it came loose from the spark plug.
Putting the New Part In
The old coil looked dirty and burnt. The rubber tip was cracked. The old coil went straight into the trash bin. Next, the shiny replacement came out of the box, and the small packet of dielectric grease was opened. A pea-sized drop went inside the rubber boot.
This grease blocks water and dirt. It helps the spark flow better.
The new coil slid down into the engine hole with a firm push. A satisfying click confirmed it had seated onto the spark plug. After that, the small bolt went back in and the wrench tightened it snugly.
You do not want to over tighten this bolt. It can crack the plastic housing. Finally, I pushed the wire plug back into the socket. It clicked into place perfectly.
Getting Back on the Road Again
Once the battery cable was reconnected, the hood closed and I climbed into the driver’s seat. Holding my breath, the key turned in the ignition.
The engine roared to life. I waited for the shaking to start. Nothing happened. The engine purred like a happy cat. The idle was perfectly smooth. I looked at the dashboard. The check engine light was gone.
I took the car for a quick test drive around the block. I pressed the gas pedal down hard. The car leaped forward without any hesitation. The power was completely back to normal. A huge wave of relief washed over me. I fixed it myself in less than an hour.
The Cost Difference: DIY vs Repair Shop
Saving money is a great feeling. Car repairs can drain your wallet very fast. Taking your car to a mechanic for this problem can be costly. Shops charge for parts and hourly labor. Doing it at home saves a huge chunk of cash. I like to track my savings on these projects.
| Repair Method | Part Cost | Labor Cost | Total Estimated Cost |
| Repair Shop | $80 | $120 | $200 |
| DIY at Home | $45 | $0 | $45 |
The math speaks for itself. I saved over one hundred and fifty dollars by doing the work myself. That money can go toward better things. It felt amazing to keep that cash in my pocket.
Mistakes I Made Along the Way
I am far from a perfect mechanic. I make silly mistakes just like anyone else. Sharing these failures is just as important as sharing the wins. My biggest mistake happened right after I put the new part in.
I was so excited to test the car. I jumped in and turned the key. The engine cranked but would not start. Panic hit me hard. Did I buy the wrong part? Did I break something else? Something still felt off, so the hood opened again for another look. That’s when I noticed the problem—the wire connector on the new coil had never been plugged in.
The coil had no power at all. I laughed at myself out loud. I plugged it in, and the car started right up. Always double check your connections before you panic.
Final Thoughts on Car Repairs
Dealing with bad ignition coil symptoms feels scary at first. The shaking car and flashing lights are designed to grab your attention. It works perfectly. Do not let it ruin your day. This is one of the most common and simple car problems to fix.
You do not need a fancy degree to change a coil. You just need a little patience. Having the right code scanner makes the job a breeze. It tells you exactly where to look. Swapping the part is as easy as changing a light bulb. Taking control of your car repairs builds massive confidence. You get to learn how your machine works. You also get to save your hard earned money. Next time your engine starts to shake, grab your tools. You can absolutely handle this fix yourself.
Frequently Asked Questions
What is the best tool to read bad ignition coil symptoms?
A simple OBD2 scanner is your best friend here. It reads engine codes fast so you can find the exact misfire. You do not need a costly pro model for this quick garage job.
Do I need special tools to fix an engine misfire?
No, a standard mechanics tool set works perfectly fine. A basic ten millimeter socket and a small ratchet will easily remove the bad coil. Just keep a good grip on the bolt.
Why do I need dielectric grease for an ignition coil?
This special grease seals the rubber boot on the new coil. It stops dirt and water from getting inside. This helps the spark plug last much longer in a hot, dusty garage.
Can a scanner tell me which ignition coil is bad?
Yes, the diagnostic tool shows a specific code for the exact broken part. A P0301 code means the first cylinder is bad. This helps you pick better replacement parts quickly.
Will cold weather hurt my automotive diagnostic tools?
Yes, freezing winter cold can drain the internal battery in your scanner. It is smart to store these sensitive tools inside your house. A warm tool works much faster for you.