Why Is My Blender Leaking from the Bottom? (My Story and Fixes)
Last Tuesday morning started like any normal day. The sun was barely visible here in my kitchen. My stomach wanted a quick and easy breakfast. Fresh sourdough bread sat ready for the toaster. A cold fruit smoothie sounded like the perfect match. I tossed frozen strawberries and orange juice into my machine. Locking the jar in place took just one second. I pressed the high speed button on the front. The motor roared to life with a loud hum. Then disaster struck my clean counter. A sticky river of red juice flooded the space. The mess ran down the sides of the machine. It dripped straight onto my kitchen floor. Panic mixed with pure frustration in my chest. My favorite kitchen tool seemed completely broken. Throwing things away always bothers me deeply. Fixing home tools is a big passion of mine. I grabbed a thick towel to clean the mess. The search for the real problem began right away.
What Does A Bottom Leak Actually Mean?
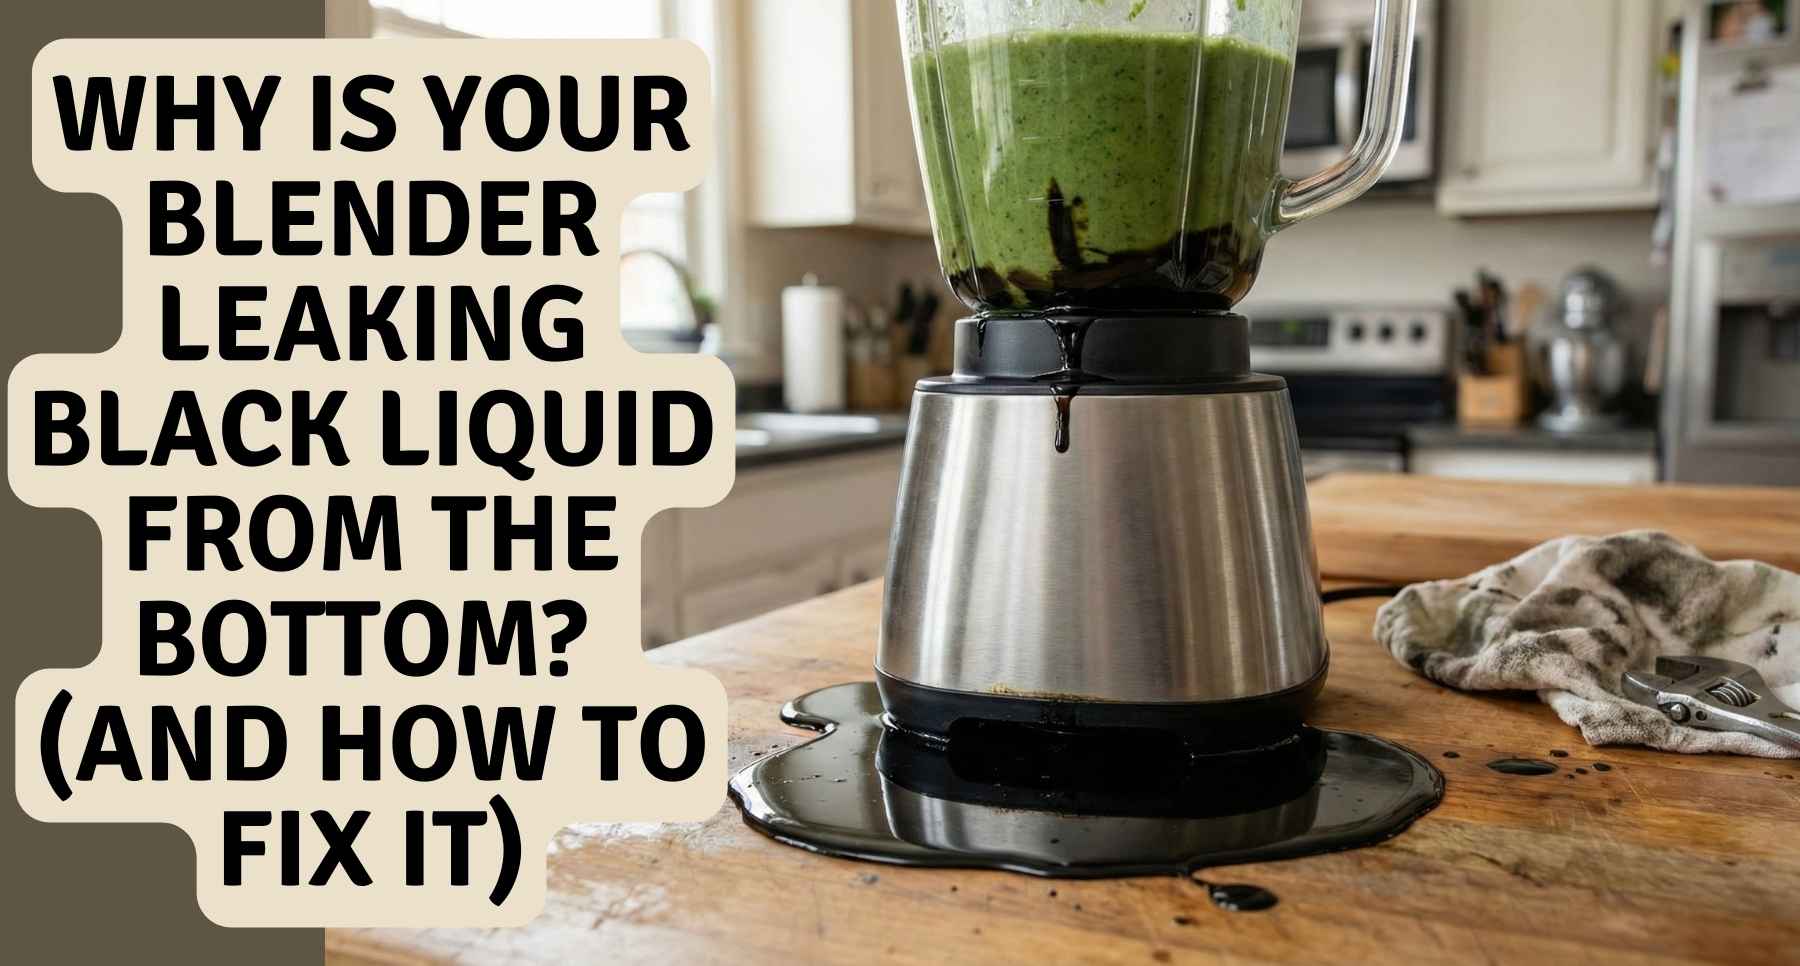
Understanding where the liquid comes from is the first step. A leak from the top lid remains very easy to spot. Too much food inside usually causes that simple issue. A drip from the bottom is a totally different story. Escaping liquid flows directly from under the main jar. The sticky juice drips right down onto the electric base. This creates a truly big deal for your machine. Water and electricity form a terrible and dangerous mix. Letting them touch is never safe for your home.
The Danger of Motor Leaks
Powerful electric motors live inside these heavy bases. They need dry conditions to run safely and smoothly. Sticky juice or hot soup coats the moving parts fast. This sticky coating ruins the engine in record time. Smells are a huge warning sign you cannot ignore. Seeing a stray spark is even worse than a bad smell. A faint burning rubber scent hit my nose that morning. Fear made me act fast to save the tool. I pulled the main plug out of the wall immediately. Kitchen safety must always come before anything else.
The Main Culprit Is A Bad Blender Gasket
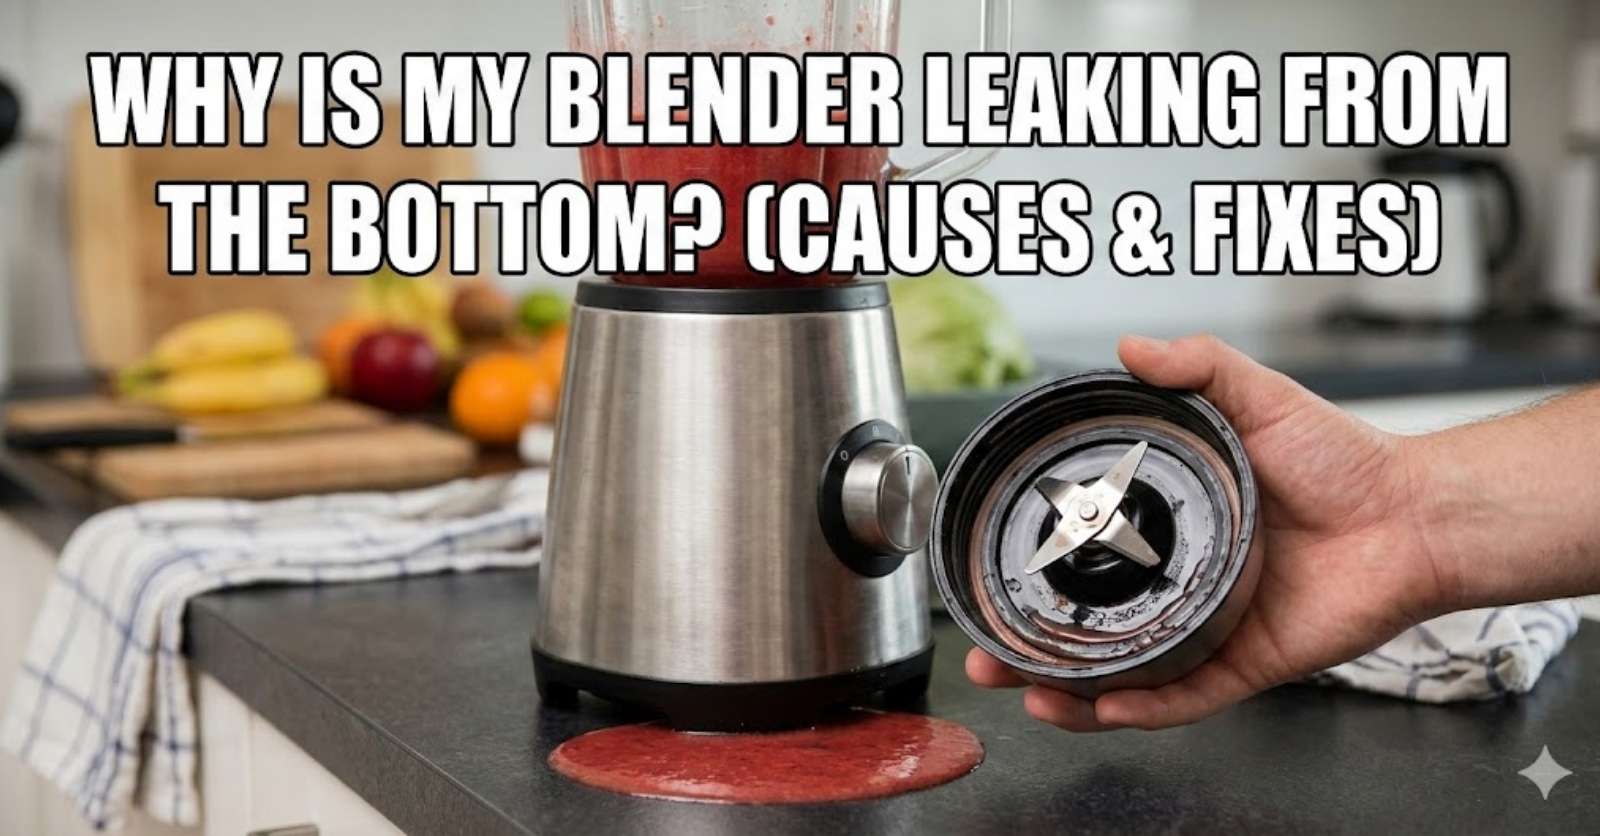
I took my machine apart on the kitchen island. Looking at the bottom of the jar revealed a small piece. A tiny rubber ring sits hidden near the sharp blades. Experts call this flexible part the gasket. This part is the most common reason for a sudden leak. It sits between the metal blades and the hard plastic jar. Its only job is to stop water from escaping. A tight seal keeps your kitchen counters completely dry.
Why Do Gaskets Fail?
Rubber does not last forever in any busy kitchen. Think about our rough daily food prep tasks. We crush hard ice cubes very often. We blend hot soups for family dinners too. Extreme temperatures damage the soft rubber ring. The material gets stiff and weak over time. It dries out and forms deep cracks along the edge. A cracked seal breaks the watertight barrier entirely. Liquid finds those tiny gaps and runs out fast.
My Quick Gasket Test
I pulled the rubber ring out of my wet machine. It felt hard and brittle in my fingers. Good rings feel soft and bend quite easily. My old gasket even had a tiny tear on one side. I knew the main problem right then and there. You can buy a new rubber ring for three dollars. This is the absolute cheapest fix you can do.
Loose Blade Assemblies Cause Big Messes
Sometimes your gear is not actually broken at all. Loose parts cause terrible trouble all the time. The bottom base twists directly onto the main plastic jar. You must make sure this twist is very tight. I rushed to clean my machine a few weeks ago. Washing the pieces and putting them back went too fast. I did not twist the bottom closed firmly enough.
The Power of Vibrations
Heavy shaking happens during every single use. High speeds create wild vibrations across the entire unit. This constant movement slowly loosens the bottom twist base. You might not notice the loose grip at first. One day the small gap finally gets too big. Your morning drink ends up spilled everywhere. Check the bottom twist before you start blending. Give it one extra firm turn just to be safe. Those two seconds save you from a massive clean up.
Cracked Jars and Broken Bases
Your main container might be the actual hidden issue. I drop kitchen cups in my house frequently. Hard plastic and thick glass break upon hard impacts. Huge breaks are very obvious to spot right away. Tiny hairline cracks are much harder to see. Spotting them normally is almost impossible for human eyes. The heavy motor pushes liquid straight through that tiny crack.
The Threat of Thermal Shock
Pouring hot water into a cold glass is always risky. The glass can shatter into many sharp pieces. Experts call this sudden break a thermal shock. The same exact thing damages your daily blending jar. Washing it in cold water before adding hot soup is bad. The bottom base takes the most heat pressure.
Comparing Jar Materials
Temperature changes affect materials in unique ways. Here is a helpful look at common options.
| Material Type | Pros | Cons |
| Hard Plastic | Very light to lift up | Scratches and cracks easily |
| Thick Glass | Does not hold bad smells | Heavy weight and can shatter |
| Stainless Steel | Will never crack or break | Seeing the food inside is impossible |
Take your empty jar to a bright kitchen window. Hold it up to the natural sunlight outside. Look closely at the bottom corners and edges. Finding a crack means you must buy a new container. Glue will never work for this type of repair. The chemicals in standard glue remain unsafe for food. The spinning pressure will just destroy the weak glue anyway.
Overfilling and Pressure Build Up
We all get greedy with tasty ingredients sometimes. I tried to cram an entire bag of fresh spinach once. Making a huge batch all at once saves prep time. Every jar has a marked maximum fill line on the side. Max fill warnings exist for a very good reason. Going past that safety line invites sudden trouble.
How Pressure Forces Leaks
Sharp metal blades spin very rapidly inside the jar. They pull food downward to chop it up small. Heavy pressure builds up at the very bottom floor. Trapped liquid desperately has to go somewhere else. Too much food pushes down hard on the rubber ring. Juice literally squeezes right past the tight seal. It forces its way out onto the motor base. Fixing this simple mistake requires zero money. Put less food inside your jar next time. Make your daily drinks in two smaller batches instead. Your appliance will actually blend the food much smoother too.
Hidden Food Scraps Ruin the Seal
Daily cleaning routines can be annoying to finish. Blending soapy water inside the jar is a popular trick. This neat trick cleans the inside walls rather well. It does not remove every tiny piece of trapped food. Tiny fruit seeds love getting stuck down low. Strawberry seeds are the absolute worst offenders for this. They slide right under the vital rubber ring.
Breaking the Flat Seal
Rubber rings need a perfectly flat surface to function well. Tiny seeds lift the rubber ring up slightly. This creates a tiny gap and ruins the entire seal. Sticky water leaks right through that new opening. You must take the whole bottom assembly apart completely. Wash every single piece by hand in the sink. Scrub the rubber ring gently to remove hidden gunk. Make sure no old food hides under the metal blades.
When You Need to Stop Using It Fast
Knowing when to give up is an important life skill. Ignoring dangerous leaks leads to bigger house problems. Fixing a broken rubber ring remains an easy daily task. A flooded electric motor presents a serious hazard though. Risking a nasty house fire over a fruit drink is silly.
Knowing When to Buy a New One
I like to test and fix old things. Knowing my personal limits is equally vital for safety. Bad signs mean letting the heavy machine go away. Stop immediately if the main power cord feels wet. Halt your work if you spot any dark smoke.
| Problem Found | Action to Take |
| Bad smell or stray smoke | Throw the whole machine away |
| Cracked hard plastic jar | Buy a brand new jar |
| Dried out rubber ring part | Buy a fresh rubber ring |
| Loose bottom base piece | Twist it completely tight |
My Step by Step Fixing Process
I follow a strict routine when my gear acts up. These exact steps will guide you quite well. Finding the real issue fast becomes much easier.
- Unplug the main power cord from the wall first.
- Take the top jar off the heavy motor base.
- Empty the messy leftover food into the sink.
- Unscrew the round bottom plastic piece entirely.
- Pull out the sharp metal blades slowly.
- Remove the small rubber ring very carefully.
- Wash everything gently in warm soapy water.
- Dry all the wet parts with a clean towel.
- Put it all back together very tightly.
- Add plain water inside to test for new leaks.
This routine saves me tons of daily stress. Locating the bad part usually takes just five minutes.
How to Stop Future Blender Leaks
Fixing the current mess feels really good today. Stopping the next mess from happening is much better. I learned hard lessons about kitchen tool care recently. Treating your tools right is the main secret to success. Lasting much longer is their ultimate reward to you.
Wash Parts by Hand
Never toss the rubber ring inside your hot dishwasher. Extreme heat destroys the soft material very fast. Hot water actively melts the flexible rubber shape. Hot drying cycles bake it until the ring gets hard. Hand wash the bottom parts in the sink always.
Let Things Dry Totally
Wet parts cause hidden issues down the road. I used to wash my jar and twist it closed fast. Trapped water stays stuck inside the plastic threads. Gross mold grows quickly in the dark damp spaces. Slipping parts are another bad result of wet threads. Let everything sit on a drying rack overnight. Wait until they are totally dry before assembly. Store your machine away safely as the final step.
Watch Your Temperatures
Temperature changes matter deeply for material health. Let hot soup cool for ten minutes before blending. This protects the jar from sudden shock and cracks. Keeping hot steam inside is also quite dangerous. Treat your kitchen tools with ultimate care and respect. They will help you make great food for years.
FAQs
Q: Why is my blender leaking from the bottom during use?
A: The most common reason your blender leaks from the bottom is a dried-out rubber gasket. Heat and age crack this vital seal over time. Just replace the cheap ring to stop the mess fast.
Q: Can a loose blade cause a blender to leak liquid?
A: Yes, heavy shaking can easily loosen the blade base. A loose base ruins the tight seal and causes messy spills. Always check the bottom twist before you blend.
Q: Is it safe to use a blender leaking from the bottom?
A: No, running a wet machine is never a safe choice. Juice dripping on a hot electric motor creates huge shock and fire risks. Pull the wall plug right away to keep your house safe.
Q: How do I fix a blender leaking from the bottom base?
A: First, unplug your broken machine to stay totally safe. Take the jar off and check the soft rubber ring for any hidden cracks. Swap out the old rubber ring and wash the base well.
Q: Can hot soup crack my hard plastic blender jar?
A: Yes, fast temperature shifts cause sudden thermal shock. Pouring hot soup into a cold jar cracks the hard plastic fast. Let your hot food cool for ten minutes before you blend it.