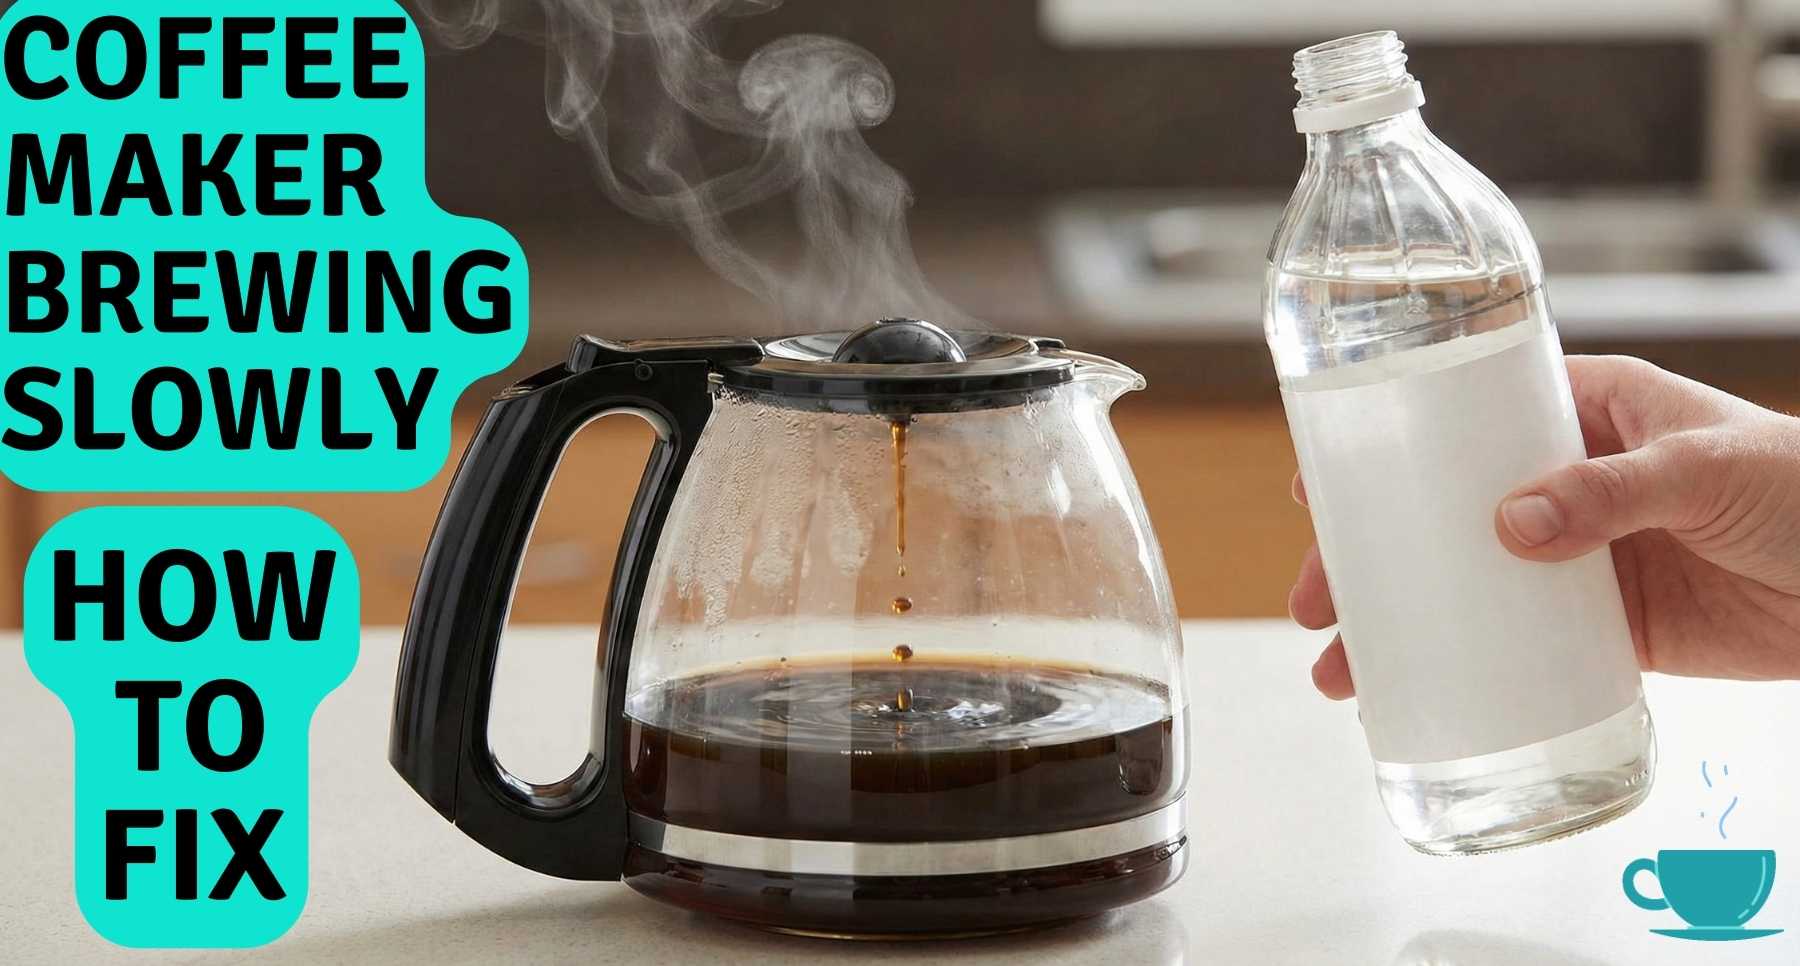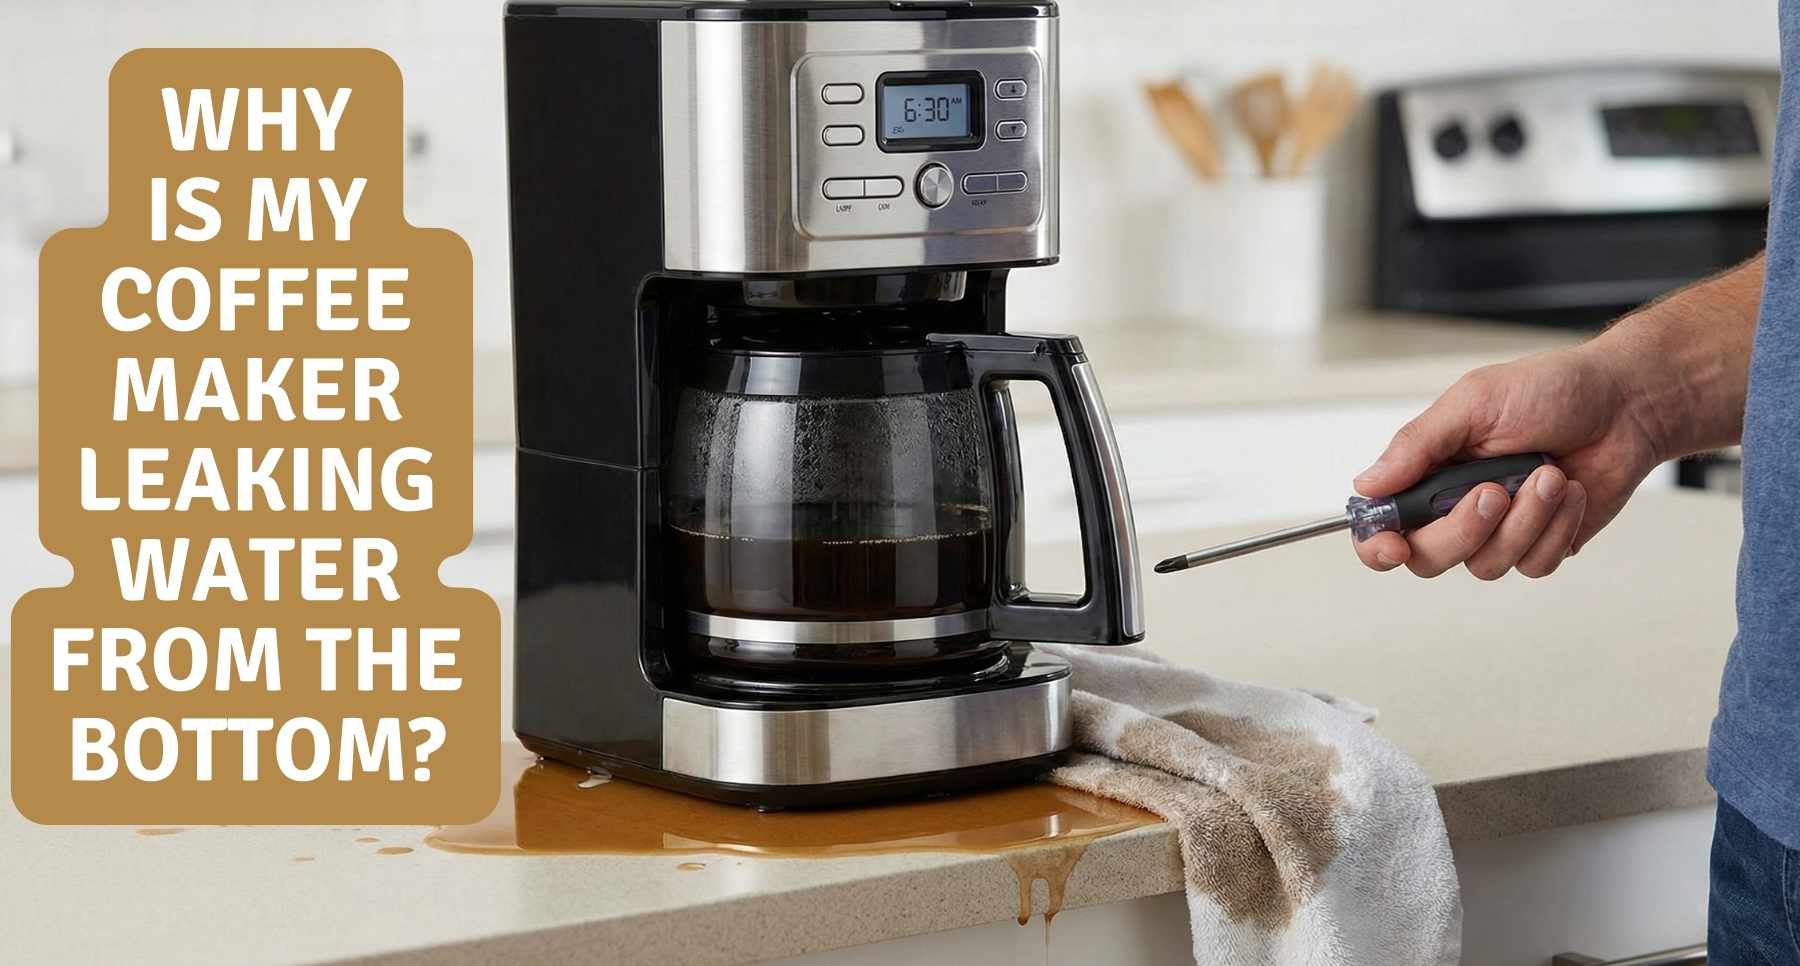
It is 6:30 AM. You walk into the kitchen for fresh coffee. But you step in a cold, brown puddle. It is the worst way to start a Tuesday. You just wanted caffeine. Now you have a mess. You ask, why is my coffee maker leaking water from the bottom?
I have been there. I have fixed many brewers in my own kitchen. Seals dry out. This happens a lot in dry places like Arizona. Or maybe a hose is loose. Don’t worry. I will help you find the leak. We will check the tank and tubes. You can save your machine. Let’s get that coffee brewing.
First Things First: Is It Actually Leaking or Just Overflowing?
Before we grab a screwdriver, let’s pause. I have made this mistake before. I once took apart my entire brewer on a Sunday morning because I saw water. I thought it was broken. It turns out, I just spilled water because I was half-asleep.
There is nothing worse than fixing a machine that isn’t actually broken. We need to rule out user error first. It happens to the best of us.
The “Early Morning Shake” Factor
I am not a morning person. At 6:30 AM, my hands are not steady yet. I just want the caffeine. Sometimes, I pour the water too fast. I might miss the reservoir opening. Or, I might ignore the lines on the side.
Did you fill it past the “Max Fill” line?
Many machines, like Cuisinart or Ninja models, have a safety feature. It is a small hole on the back called an overflow drain. If you add too much water, the machine dumps the extra out the back. This keeps the internal wires dry. It is a good safety feature. But it leaves a scary puddle on your counter. Check your water level next time. If you filled it to the brim, that might be your “leak.”
The Misaligned Carafe
Listen to your machine. Do you hear a hiss? That sound of liquid hitting the hot plate is a dead giveaway. I hate that sound. It usually means I didn’t push the pot in all the way.
If the carafe is slightly off-center, the brew basket valve cannot open. The coffee has nowhere to go. It backs up. It flows over the top of the filter and runs down the back of the machine. It pools at the bottom.
It looks exactly like a internal seal failure. But it is just gravity.
Quick Check: Wipe the counter completely dry with a towel. Run a brew cycle with just clear water. Watch the pot closely. Does the water go into the pot, or does it drip down the back casing?
The Usual Suspects: Why Is My Coffee Maker Leaking Water From the Bottom?
So, you wiped the counter. You checked the pot. You brewed a test cup. And the puddle came back.
If you definitely didn’t spill, we have to look inside the unit. There are a few hardware failure points that cause these messes. Let’s look at the most common ones.
The Tank Seal (The #1 Culprit)
This is the first place I look. Look at the bottom of your water reservoir. There is a small rubber gasket or O-ring there. It connects the tank to the machine.
Rubber does not last forever. Over time, hot water and air make the rubber brittle. It gets hard and cracks. When that happens, it loses its seal integrity.
Hands-on Insight: Does your machine have a removable tank? This is common with Keurig or espresso models. Lift the tank straight up. Look at the base (the dock) where the tank sits. Is there water pooling there? That is your sign. The reservoir valve is not closing tight enough.
Mineral Buildup Blocking the Flow
Do you have hard water? If so, calcium and lime are your enemies. We call this “scale.”
Scale builds up inside the hidden aluminum tubes in your brewer. It acts like a clog in a drain. The pump tries to push water through the tube. But the minerals block the path. The water has to go somewhere. So, it forces its way out of the hose connections instead of going into your cup. This is a very common reason why does my coffee maker leak water from the bottom.
Real-life check: Be honest with me. Is the “Clean” light flashing on your display? Have you ignored it for the last six months? If you skip descaling, the pressure builds up and causes leaks.
Cracked Hoses and Connectors
Coffee makers live a hard life. They get very hot, then they get cold. They do this every morning.
Inside the plastic shell, there are clear tubes that carry the water. Eventually, the heat dries out the plastic tubing. It becomes stiff. If your machine is older, usually over three years old, these tubes can crack.
This is often a slow leak. You might notice it gets worse while the machine is actually brewing. The heat expands the crack, and water drips down onto the baseplate.
Do you need To Know How to Clean and Descale Your Keurig K-Express Coffee Maker
Do you know about Built-In Milk Frother and Single-Serve Coffee Maker? Here my honest reviews after Weeks of Use.
How to Fix a Leaking Coffee Maker (Step-by-Step)
Grab a screwdriver and a thick towel. You might want to buy a backup cup of coffee from a shop first. We are going to do some light surgery on your machine. Don’t worry. It is easier than it looks.
The Deep Descaling Method
Most people just run water through the machine. That is not enough. To fix a leak caused by pressure buildup, we need to melt the minerals.
Actionable Advice: Use white vinegar and water. Mix them 50/50. If you hate the smell of vinegar, buy a dedicated descaling solution from the store.
Why it works: The acid dissolves the calcium clog. This relieves the internal pressure. Once the pressure drops, the water flows through the tube instead of forcing its way out of the overflow valves.
Instruction: Pour the mix into the tank. Start a brew cycle. Once the pot is half full, turn the machine off. Let it sit for 20 minutes. This “soak” is the secret. It gives the acid time to work. Then, turn it back on and finish. Run two cycles of fresh water after to rinse it out.
Unclogging the Check Valve
Sometimes, a tiny piece of debris causes a big mess.
Location: Look at the bottom of your reservoir or the brew head. There is a small valve that lets water in but keeps steam from shooting back out.
Safety Note: Unplug the machine first! Never work on a plugged-in appliance.
The Fix: Coffee grounds often get stuck here. They prevent the seal from closing tight. Take a toothpick or a bent paperclip. Gently poke the valve opening. You are trying to dislodge any grit. Once the debris is gone, the valve can seal properly again.
Tightening the Hose Clamps
This is an advanced fix. Only do this if you are comfortable using a screwdriver.
Visual: Remove the bottom panel of the coffee maker. Look inside. You will see clear or white plastic tubes. These carry the hot water. Look at the metal clamps holding them in place. If a clamp is loose, water will drip directly onto the baseplate.
Tool: Grab a pair of pliers. Pinch the loose clamp. Slide it back into the right spot over the connector. This usually stops the leak instantly.
When to Retire the Machine: Is It Worth Saving?
Sometimes, you have to look at your trusty brewer and admit the truth. It might be time to send it to the great kitchen in the sky. I know. It is sad. I hate adding to the landfill. But sometimes, fixing it costs more than replacing it.
The “Cost of Parts vs. New Machine” Math
Let’s be real about the money. If the vinegar didn’t work and the hose clamps are tight, you might have a broken internal part.
If the heating element is cracked or the main pump is blown, the parts alone often cost over $50. Plus, you have to spend hours taking it apart.
Comparison: You can walk into a store today and buy a brand new, standard drip maker for about $30 or $40. If your machine is a basic model, the repair math just doesn’t add up. Save your time. Buy a new one.
Signs of Electrical Damage
This is where I stop being a DIY helper and start being a safety officer. Water and electricity are enemies. They do not mix.
Warning: Look closely at where the leak is coming from. Is water dripping from the bottom near the power cord? If yes, stop immediately.
Do you hear a faint crackling sound? Do you smell ozone or burning plastic? That is dangerous. It means the water has reached the live wires. Do not try to fix this. Unplug it right now. Throw it out. No cup of coffee is worth a house fire.
Conclusion
Finding a puddle under your coffee maker feels like a disaster. But as we have seen, it is usually a simple fix. It is rarely a death sentence for your machine. Most of the time, it is just a dirty valve, a clog, or a dry gasket.
You do not need to rush out and spend $100 on a new brewer yet.
Imagine your kitchen tomorrow morning. You walk in. The air smells like fresh roast. You pour a cup. Most importantly, your socks stay completely dry. That is the stress-free start to the day you deserve.
One last tip: Check your warranty date before you start unscrewing the back panel. If you are past the warranty, go check that reservoir seal right now. Good luck!
Frequently Asked Questions
1. Why is water leaking from the bottom of my coffee maker?
A loose tank seal is often the main cause. Hard water minerals also clog tubes. This pushes water out the bottom. Check the rubber gasket on the tank right now.
2. Can I use vinegar to stop the coffee maker from leaking?
Yes, white vinegar helps a lot. It melts hard water scale inside the tubes. This clears clogs and lowers pressure. Run a mix of water and vinegar to fix it soon.
3. Is it safe to use a coffee maker that is leaking water?
No, it is not safe to use. Water and power do not mix. If the leak is near the cord, it is very dangerous. Unplug the machine right away if you see water there.
4. Why does my Cuisinart coffee maker leak water?
You likely added too much water. Many Cuisinart models have a safety drain. It dumps extra water out the back. Check the max fill line carefully before you brew.
5. How do I know if my coffee maker is broken for good?
Look at the hose clamps inside. If they are tight but it still leaks, the pump is likely cracked. A cracked pump costs a lot to fix. It is time to buy a new one.
Is the CASABREWS Espresso Machine CM5418 Good? Short answer: yes. It is good for beginners. Want to Know Why, Read Here after my Home Test.