My Coffee Maker Stopped Heating Water: How I Fixed It
It was a freezing Tuesday morning in Chicago. The cold wind shook my glass panes hard. The wood floor felt like ice on my bare feet. All I wanted was a hot cup of black brew.
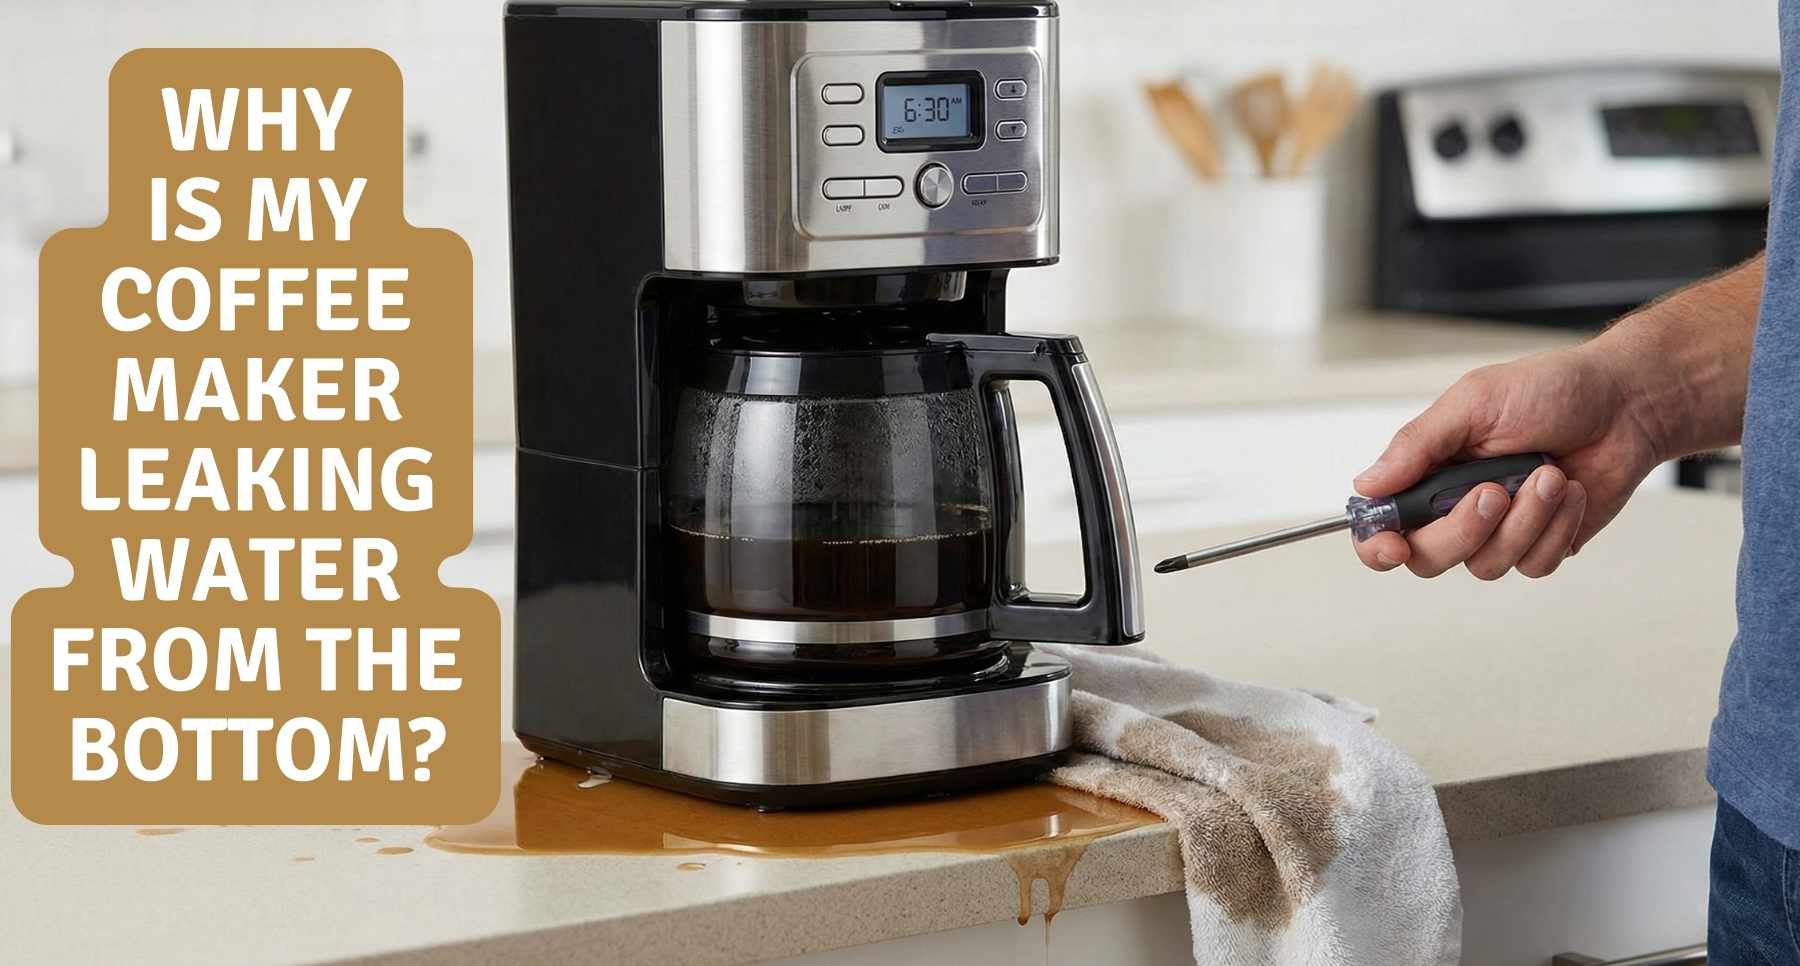
I hurried into the kitchen and turned on my drip pot, just like I do every day. Then, I stood there waiting for that glad sound. But nothing happened at all to the water.
Five whole minutes went by fast. Then ten full minutes passed by me. Quiet filled the cold front room. The clear water in the tank was very still.
I touched the side of the dark pot. The hard shell felt like cold ice. My coffee maker stopped heating the water. It was dead and broken on the spot.
A wave of deep sadness hit me hard. Starting a day with no coffee is tough. I have a hand press for summer camp trips. But today I needed a big pot for work.
I thought about trashing the broken machine. Buying a brand new one would be fast and fun. But I hate wasting old broken things. Fixing home tools is what I like to do best. Finding out why it broke became my new goal.
Taking the Broken Machine Apart
I cleared off my messy counter top. I wiped it down to make a clean workspace. Next, I unplugged the pot from the wall plug. You must always unplug things before opening them. Safety is the top rule for any fix job.
I flipped the dark machine upside down with care. There were six shiny screws on the bottom plate. I grabbed my tool set from the car garage. Finding the right star bit took just a fast second. I turned each screw slowly to save the metal.
The plastic cover popped off with a loud snap. The inside looked very plain and empty. I saw just a few wires and soft clear tubes. A big piece of heavy metal sat right in the middle.
That thick metal part is the main heating unit. It looks just like a big silver horse shoe. Looking at the open machine felt so familiar to me. It reminded me of looking under the hood of my car.
Identifying the Main Parts
Tracing the path of the cold water was my next step. A clear tube went from the tank to the horse shoe. Another tube went straight up to the top spout. Power flows into this metal to make things very hot.
Knowing the system, I guessed three parts could fail today. The main heater could be completely dead. A stuck heat switch was another strong guess. Or the tiny thermal fuse could be blown out flat.
Getting real facts is key to find the exact glitch. Guessing blind would not help me fix a thing. I walked back to my garage to get my testing meter. A meter is the best tool for checking bad wires. It tells you clearly if power can flow through a part.
Tools You Need to Fix a Coffee Maker
You do not need a big room full of gear for this job. A few simple hand items will do the trick just fine. I gathered my tools on the flat table for real work.
Using the right gear makes the repair job quite fun. Trying to use bad tools leads to snapped plastic clips. Learning that hard lesson took me a few long years.
You will need a basic meter to test the wire flow. A good screw driver set opens the bottom case. Hand pliers help you pull off tight wire clips safely. Fresh heat paste helps the new part read temps well. Sharp wire cutters snip old metal wires with clean cuts.
Step One: Testing the Thermal Fuse
The thermal fuse acts as a safety shield. It sits hidden inside a white cloth sleeve. Stopping bad house fires is its only real job. If the heater gets too hot, the fuse blows right away.
Once a fuse blows, it stays dead for good. It saves your house from a huge tragic fire. I slid the white cloth back to see the bad part. This showed me the tiny silver metal fuse.
I turned my meter to the loud beep test mode. This setting makes a sharp sound if the part is good. I touched the red probe to one side of the fuse. Then I placed the black probe on the other side. The kitchen stayed totally quiet with no sound at all.
Reading the clear screen showed a dead end. Finding the main issue happened right away for me. The thermal fuse was completely broken and dead. Raw power could not reach the large heating unit.
Why Did the Fuse Blow?
A blown fuse is often just a simple sign. Finding it rarely solves the true root cause. Fuses blow because something else went very wrong first. Digging much deeper was a must to fix it right.
Changing the bad fuse without checking other parts is bad. It might cause the new one to blow right away. Looking closely at the round part gave me a big clue. This tiny part controls the water heat in the pot.
Clicking on and off keeps the high heat very steady. Sometimes they get stuck forever in the on spot. Getting stuck makes the metal way too hot. That intense heat kills the safety fuse super fast.
Step Two: Checking the Thermostat
The heat switch looks like a flat round metal disc. It sits right against the silver heating shoe. Wet white paste helps it read the heat well. Over time, that wet paste can dry up and crack.
Taking out the two small screws was very easy. Under the part, the white paste was completely dry. Crumbly fine dust fell away when I touched it. Finding this showed me the real root cause of it all.
Dry cracked paste meant the part could not read the heat. Staying on way too long was the direct end result. The metal shoe got too hot and killed the fuse. Testing the part with my meter proved my guess was right.
It showed a dead signal at normal room heat. Inside, the tiny switch was completely burnt up. Now, I had two broken parts to swap out today.
Checking the Main Heating Element
Testing the big metal shoe still needed to happen. A dead heater means the whole machine is trash. Fixing a broken heating tube is much too hard. Putting my meter probes on the two metal legs felt scary.
The small screen showed twelve ohms of good flow. Getting that number was truly great news for me. A solid reading means the inside wire is whole. The thick metal shoe was still fully healthy. Swapping the two cheap parts was my only task left.
How Drip Coffee Makers Flash Heat Water
Knowing the basic science makes future fixes much easier. Wondering how these machines boil water so fast is normal. Heating the whole water tank at once never happens. Using a smart trick called flash boiling changes it all.
Cold water flows slowly down into the metal tube. The horseshoe part boils that tiny bit of water fast. Steam pressure pushes the boiling water straight up high. A small rubber valve keeps water from going back down.
This neat pump trick is truly smart design. Using basic rules moves heavy water upwards very fast. Doing this without a big motor pump saves lots of money. My daily machine had a broken heating cycle. Upward pump action stopped because the metal stayed cold.
Dealing with Hard Scale Buildup
Mineral chunks act as the silent killer of machines. Hard tap water leaves white chalk inside the soft tubes. Acting like a thick winter coat, this hard crust causes trouble. Stopping the heat from reaching the cold water is its main effect.
The heater has to work much harder to brew a pot. Looking inside the open tube of my machine proved my point. Seeing a thick layer of white hard scale made me mad. Bad scale made the machine run hotter than normal.
Extra trapped heat baked the wet white paste over many months. A clear chain reaction of part failures ruined my morning. Doing regular liquid cleaning stops this whole sad mess.
Buying Parts and Making the Repair
Ordering a new safety fuse online was very fast. Getting a matching round part from the same store saved cash. Paying less than ten bucks for both parts felt like a win. Waiting for the boxes to show up was the hardest part.
Drinking bad instant coffee happened all that long week. Tasting like weak brown water, it barely kept me awake. The small boxes finally arrived on a nice Friday afternoon. Feeling ready to play home fixer made me smile a lot.
Cutting the old broken fuse out with wire snips felt good. Pressing the new silver fuse firmly into place took a minute. Using hot metal solder on a fuse is a terrible idea. High heat from the hot iron will blow it right away. Always use proper metal clips for this exact job.
Applying Fresh Thermal Paste
Grabbing the shiny new round part was the next step. Wiping away all the old dusty paste cleaned the metal surface. Squeezing a small drop of fresh white goo readied the part.
Pressing the new part down firmly into the wet paste held it. Turning the two small screws down perfectly flat finished the job. Hooking the metal wire clips back on happened next. Checking every single colored wire gave me peace of mind.
Making sure nothing was loose was a high priority. Loose wires can easily cause a very bad hot spark. Putting the black plastic bottom cover back hid the inner wires. Turning all six metal screws down hard finished the real work.
The Moment of Truth
My bare hands were honestly a little bit shaky. Carrying the fixed machine back to the counter felt heavy. Filling the clear tank with fresh cold water tested the seals. Dropping a clean paper filter in the black basket readied the brew.
Using ground beans for this first test seemed too messy. Checking if the clear water would get hot was my only goal. Plugging the thick power cord into the wall started the test. Taking a deep breath helped calm my jumpy nerves. I pushed the front power button hard to start the final check.
A small red glowing light turned on right away. Nothing happened for twenty long seconds of waiting. Thinking I failed the whole repair job crossed my mind. Feeling very sad and let down started to happen again. Then, a tiny sharp click echoed from the deep inside. The brand new part just opened up perfectly.
The Sweet Sound of Success
A deep low rumble started inside the plastic base. Sounding like a small car engine waking up, it grew louder. The loud happy sound followed very fast. Thick steam rose quickly from the top plastic vents.
Hot water splashed down loud into the empty glass pot. Watching the whole pot brew from start to finish was grand. Touching the heavy glass pot with care proved the fix worked. Clear water inside was steaming and very hot.
Smiling super wide felt totally normal right then. Fixing it all by myself felt completely amazing to me. Saving a good tool from a dirty trash dump was worth it. Picking better tools, fixing the root problem, and living smarter won the day.
When Should You Replace Instead of Repair?
Fixing broken things is always a great feeling. But it is not always the smartest choice. Some broken machines are simply way beyond saving. Knowing exactly when to let go saves you lots of time.
Throw the machine away if your main heater has a large hole. Water and live power will mix together very fast. Creating a highly unsafe space happens quickly when parts rust. Buying a brand new unit is needed if the plastic tank leaks.
Gluing a hot water plastic tank safely is basically impossible. Hot glue will just melt right off during the first brew. Loving my fixed drip machine is very easy now. Right now, it works like a total charm every single morning.
Sometimes, I also still use a fancy pod machine when in a rush. Having good coffee choices is a very nice luxury for me. Knowing exactly how to fix your main gear gives you deep peace.
Final Thoughts on Appliance Maintenance
Most heater failures come down to simple lazy neglect. Running a strong liquid cleaning cycle every two months is key. Doing it the right way takes very little personal time.
Acid liquid flushes out the hard white chalk safely. It does this before it can act like a thick blanket. A totally clean machine runs much cooler and lasts much longer. Looking after your kitchen gear closely pays off well.
Buying a cheap digital meter today is a very smart move. Learning how to use it on simple broken things builds skill. Seeing what you can actually fix will truly shock you. Having a fancy college degree is not required to fix a cold pot.
Deep patience, a clear head, and basic hand tools are all you need. Freaking out is useless next time your daily routine breaks down. Grabbing a good screwdriver is always the far better option.
Flipping the dead machine over shows the hidden secrets inside. Looking at the real wire data inside shows you the clear truth. Fixing it yourself is completely possible and very fun.
FAQs:
What is the best tool for coffee maker repair?
A basic digital multimeter is the key tool for coffee maker repair. It shows if power flows through the fuse and wire. This tool makes the job fast and very safe for you.
Can I store my coffee maker in a cold garage?
Cold air in a garage can freeze water left inside the tubes. This ice can crack the plastic or metal parts quickly. Keep it in a warm room to avoid bad leaks.
Is it safe to bypass a blown thermal fuse?
Never bypass a fuse with a plain wire. It is a vital safety shield that stops fires if the heat gets too high. Buy a new fuse to keep your home and family safe.
How do I know if the heating element is dead?
Use your multimeter to test for ohms at the two metal legs. A reading of zero or high numbers means the part is broken. Most tools like this are easy to check.
What tool brand makes a good kit for these repairs?
A small tool kit from DeWalt or Milwaukee is a great choice. These tools are very durable and fit well in small spaces. They offer a firm grip when you turn tight screws.