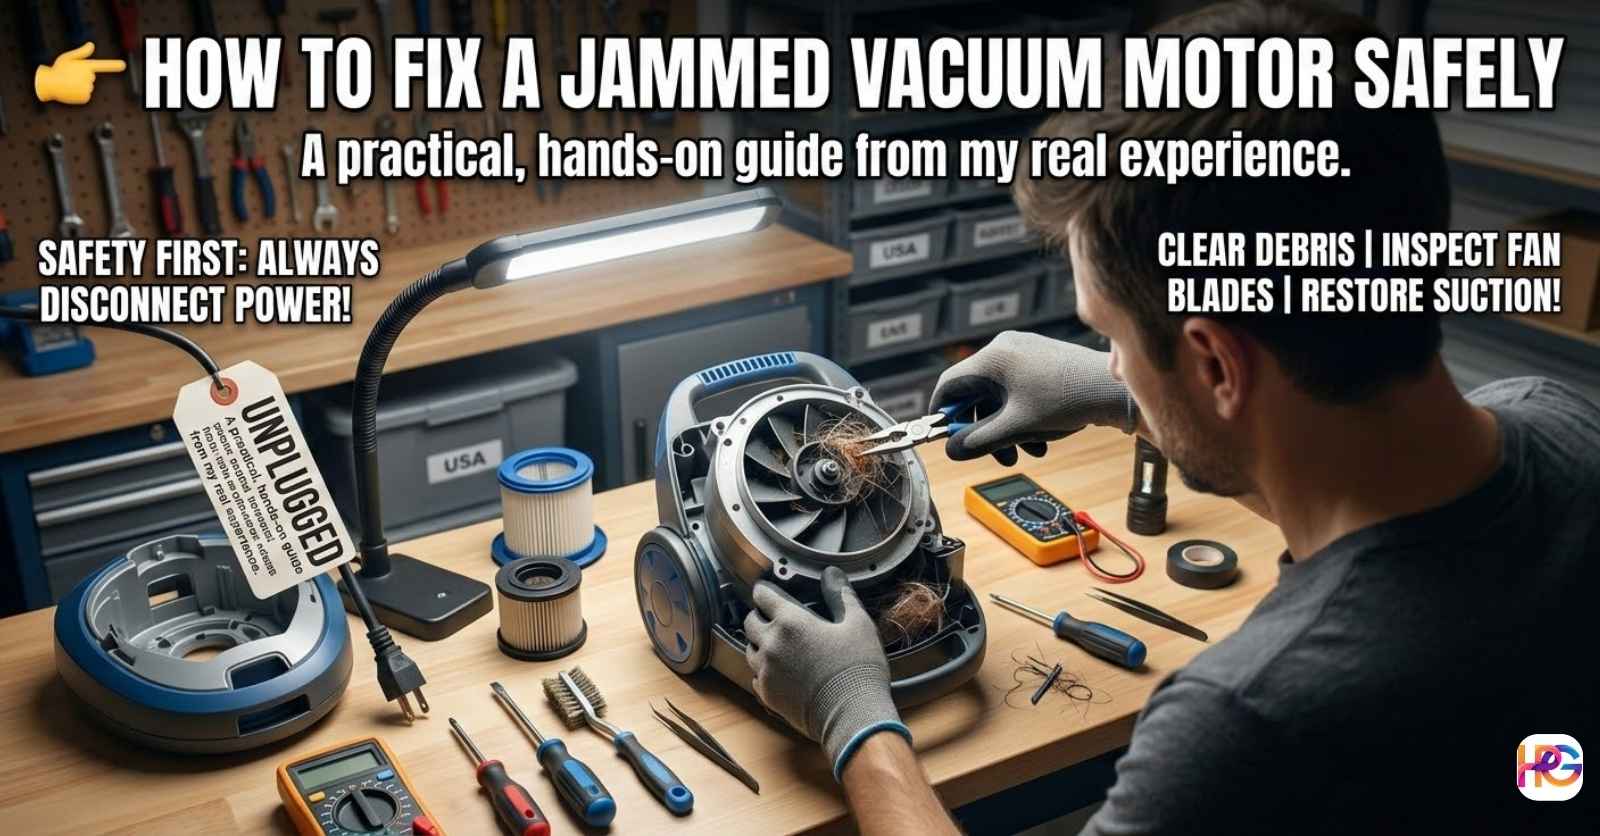
How to Fix a Jammed Vacuum Motor Safely
It was a rainy Tuesday afternoon. I just wanted to clean my living room rug. I turned on my trusted machine. Suddenly, a terrible sound filled the air. It was a high pitched whine. Then, the whole machine just quit. A faint smell of hot dust hit my nose. I felt a wave of pure panic. Buying a new machine was not in my budget this month. I knew I had to figure this out. I went to the kitchen and poured some hot coffee. Then I sat down on the floor with my broken machine. My goal is always to pick better appliances and live smarter. That means fixing things when they break. I took a deep breath. Let me share exactly how I fixed my jammed motor. You can easily do this too.
Why Vacuum Motors Jam in the First Place
Vacuum cleaners work very hard for us. We often forget to treat them well. They suck up everything in their path. Dirt, hair, and dust go right inside. Sometimes, things go terribly wrong. A motor jam happens when something blocks the main fan. This fan is also called an impeller. It sits right next to the electric motor. It spins very fast to create suction. If it stops spinning, the motor strains. The unit will get very hot. It might even burn out if you keep it on. I learned a similar lesson with my kitchen blender a few years ago. It started smoking because I overloaded it with frozen fruit. Motors need to spin freely to survive. They really hate being stuck.
The Main Culprits Behind the Mess
What exactly gets stuck in there? You would be surprised. I have found all sorts of strange things. Hair is the biggest enemy by far. Long hair wraps around the spinning parts. It creates a tight, nasty knot. Carpet strings do the exact same thing. Fine dust is another silent killer. It mixes with a little moisture from the air. Then it forms a hard crust. This crust bakes onto the motor parts. Small hard objects are also trouble. Coins, toy parts, or paper clips can bypass the filters. They wedge right into the delicate fan blades.
| Debris Type | Sound It Makes | Risk Level to Motor |
| Human or Pet Hair | Slow whining noise | Medium |
| Caked Dust | Grinding or rubbing sound | High |
| Hard Objects | Loud clanking rattle | Very High |
| Carpet Threads | High pitch squeal | Medium |
Building a Smart Tool Kit for the House
You do not need a huge mechanics tool set for this job. Basic items will work just fine. I keep a small box in the hall closet. It has my favorite screwdrivers. It holds my craft knife and tweezers. When something breaks, I grab the box. I do not have to search the garage. Having tools ready removes the friction of repair. It makes you much more likely to fix things. We often ignore household problems because finding tools is annoying. Remove that barrier today. A simple kit is a great investment for any home.
Specific Tools You Need Today
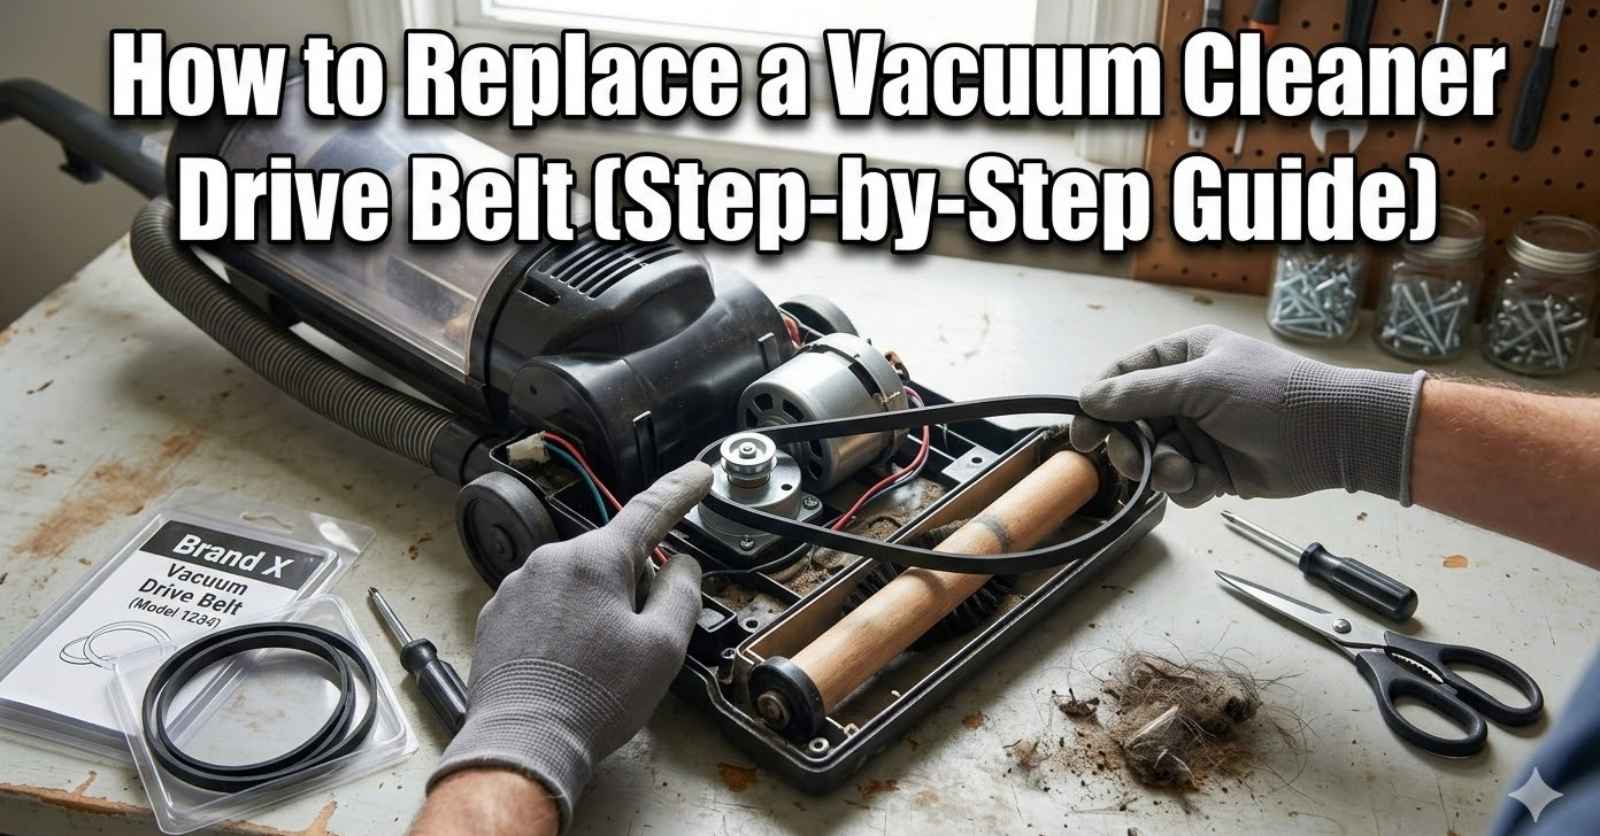
A good Phillips head screwdriver is essential. You need it to open the outer plastic shell. A flathead screwdriver can help pry open stubborn clips. Tweezers are your best friend here. They help pull out nasty hair clogs. A small craft knife can cut through tough strings. A clean cloth is handy to wipe away loose dirt. Finally, grab an old toothbrush. You will use it to scrub the tiny fan blades. Good preparation makes the whole job much easier. I always lay out my tools on a clean towel first. It stops tiny screws from rolling away under the couch.
Step by Step Guide to Free the Motor
Let us get right into the actual repair process. This is the fun part. You get to play detective. Just take your time. Do not rush any of these steps. Patience is key when dealing with small plastic parts.
Step One: Always Unplug the Machine
This is the most important rule. You must disconnect the power first. Never work on an appliance that is plugged into the wall. A sudden jolt of electricity is extremely dangerous. Pull the plug out completely. Tuck the long cord away safely. Now you are fully ready to start.
Step Two: Open the Outer Casing
Look at your owner manual. It shows exactly where the screws live. Most machines hide screws under the dirt bin. Some hide them behind little plastic caps. Remove the screws very slowly. Keep them in a safe little bowl. Gently pull the plastic shell apart. Do not force anything. If it feels stuck, look for a hidden screw. Once open, you will see the motor housing. It is usually a heavy metal cylinder. It looks quite sturdy and complex.
Step Three: Inspect the Fan Blades
Find the main fan on the end of the motor. It has several angled blades. Look closely with a bright flashlight. Do you see a messy blockage? I saw a huge tangle of hair in mine. Try to spin the fan with one finger. It should move very freely. If it feels stiff, you have found the jam. If you hear a scraping noise, solid dirt is trapped inside.
Step Four: Clear the Debris Out
Now the real work begins. Take your tweezers. Grab the visible hair or string. Pull gently but very firmly. If it resists, use your craft knife. Carefully snip the tight knot. Pull the pieces out one by one. It is a highly satisfying feeling. Next, check for hard objects. Use needle nose pliers to grab coins or clips. Finally, take your old toothbrush. Scrub the caked dust off the delicate fan blades. Blow away the loose dirt. Try spinning the fan again. It should spin beautifully now.
Putting It All Back Together
You have cleared the nasty jam. The fan moves smoothly again. Now you must put the puzzle back together. Fit the plastic shell over the heavy motor. Make sure no wires are pinched. Snap the plastic pieces closed. Put every single screw back in its proper hole. Tighten them down firmly. Please do not strip the soft plastic threads. Stand the machine up right. Plug it in. Take a deep breath. Turn on the main power switch.
Listen to the sound carefully. Does it sound smooth? Does it have strong suction again? If yes, you did it. You saved your expensive machine. You fixed the problem all by yourself. I felt so proud when mine roared back to life. It sounded better than ever.
Why Regular Cleaning Stops the Pain
For a long time, my filters were something I completely ignored. They always seemed perfectly fine at first—but that assumption turned out to be very wrong.
Dust acts just like glue. It coats the fast spinning parts. Over time, the motor works twice as hard. This excess heat causes real damage. Now, I have a strict monthly routine. I wash my foam filters in the kitchen sink. I let them dry completely on the counter. Then I put them right back. It takes five short minutes. It saves hours of total frustration later. A clean filter means maximum air flow. The motor runs cool and happy.
What I Learned About Bagless Machines
My primary vacuum is a bagless model. I like seeing the dirt spin around. Bagless units clog much easier though. The dirt goes straight into a plastic bin. Sometimes it spills right over the top. It sneaks into the raw motor intake. Bagged machines offer a bit more protection. The bag acts as a giant primary filter. It traps the bad stuff safely. Still, hair gets absolutely everywhere. No machine is entirely safe from a nasty jam. You must stay alert no matter what type you currently own.
Common Mistakes to Avoid During Repair
I made a few silly mistakes during my first try. Let me save you from the exact same fate. First, do not use excessive force. Vacuum plastic is often very brittle. If a clip will not open, look closer. There is probably a hidden screw nearby. Second, take pictures as you go. Use your phone camera constantly. Take a photo of every single step. Wires can be extremely confusing later. When you put it back together, the photos are a lifesaver. Third, work in a very bright room. You cannot fix what you cannot see. Good lighting is critical for tiny machine parts.
The Danger of Water Near Motors
You might be tempted to wash dirty engine parts. Do not wash the motor at all. Water and electric motors do not ever mix. Moisture causes immediate rust. Rust ruins spinning bearings instantly. Even a tiny drop of water causes havoc. Only use dry tools on the metal motor. Use your old dry toothbrush. Use a clean dry cloth. You can wash the outer plastic shell in the sink. Just make sure it is totally dry before assembly. Let it sit in the warm sun for an hour. Play it safe with tricky moisture.
When to Give Up and Call a Pro
Sometimes, a DIY fix is simply not enough. You have to know your personal limits. If you smell burning plastic, stop immediately. The internal motor windings might be fully fried. If you see bright sparks flying, do not touch it. Sparks mean a serious internal electrical short. If the fan blade is visibly cracked, the whole motor needs replacing. A broken blade causes wild internal vibrations. It will destroy the entire machine if you run it.
| Problem Type | DIY Fix Cost | Pro Shop Cost | New Vacuum Cost |
| Simple Hair Jam | Free | 40 to 60 Dollars | 150 to 400 Dollars |
| Broken Fan Blade | 20 Dollars | 80 to 100 Dollars | 150 to 400 Dollars |
| Burnt Out Motor | 60 Dollars | 120 or More Dollars | 150 to 400 Dollars |
Look at the rough numbers above. A simple clean out saves you real hard earned money. A burnt motor is very costly though. Sometimes buying a brand new unit is the only smart choice.
Final Thoughts on Smarter Home Care
Taking care of your things just makes good sense. A little regular cleaning goes a very long way. Check your main filters every single month. Wash them if you safely can. Snip hair off the bottom roller brush every few weeks. Do not let sticky dirt build up inside. Clean machines simply work much better. They last a lot longer too. We want to pick better daily habits for our busy homes. When we properly maintain our tools, we live a lot smarter. Fixing that jammed motor gave me a great sense of peace. I kept my money. I learned a great new skill. The next time my vacuum makes a funny noise, I will not panic at all. I will just grab my trusty screwdriver. I truly hope you feel ready to do the exact same thing.
Frequently Asked Questions
What tools do I need to fix a jammed vacuum motor?
A good Phillips screwdriver and strong pliers work best. A firm grip stops you from breaking cheap plastic screws. Pick better hand tools to make your quick fixes easy.
Is it safe to fix a jammed vacuum motor at home?
Yes, it is safe if you pull the main plug first. Never work on a live machine in your home shop. A bad shock hurts, so always respect basic electrical power safety.
Will this fix work on a heavy-duty shop vacuum?
Yes, fixing a jammed motor is the same for a big DeWalt or Milwaukee shop vac. Just clear the tough garage dirt from the main fan. They are built for super easy fixes.
Can keeping my vacuum in a cold garage cause motor jams?
Yes, a freezing cold garage makes plastic parts very weak. Cold dirt also slows down the fast motor pieces. Store your nice tools indoors so you can live smarter.
Why does my jammed vacuum smell like hot plastic?
A stuck fan makes the motor work hard and build high heat. This hot air quickly melts the thin plastic parts. Turn the power off right away to save your heavy machine.