The Secret to BBQ: Direct vs Indirect Heat Gas Grill Cooking
My Huge Backyard Grill Fail
Welcome back to the blog. Let me take you back to a sunny Saturday. It was July in Austin, Texas. The heat was beating down on my neck. My friends were laughing on the patio. I felt on top of the world. Then, I opened my grill lid. Smoke hit my eyes hard. I coughed and waved my hands.
My beautiful chicken looked like black coal on the outside. But the inside was raw and pink. Feeling foolish was an understatement. I ruined lunch for ten hungry people. I remember the smell of burnt sugar from the BBQ sauce. It stuck in my hair for two days. My stomach growled, but I had nothing to eat. We ended up ordering pizza.
That was the day I learned a hard lesson. I had no idea how to manage grill fire. Most folks think you just turn all the knobs to high and hope for the best. That failure made me dive deep into food science. Now I want to save you from that same messy mistake.
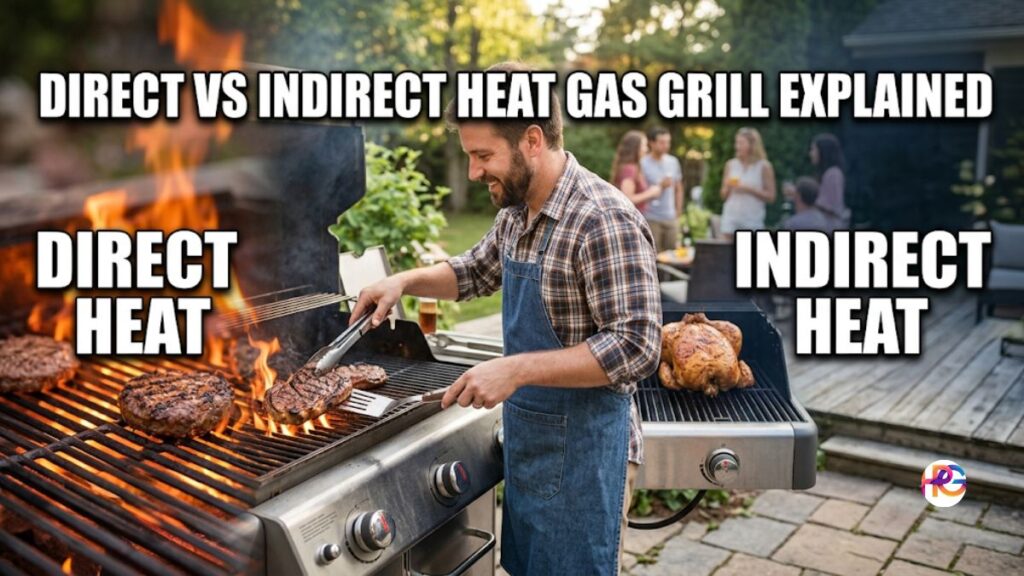
What Is Direct Heat?
Let us talk about direct heat first. This is the way most of us learn to cook. You turn on the gas flame. Food goes right over that hot source. The fire kisses the meat. It cooks fast and hot. Think of a frying pan on your stove. Heat touches the pan. The pan touches your food.
On a grill, the flame heats the metal grates. Those hot bars give you nice dark lines on your food. You can hear the loud crackle right away. The smell of searing fat hits your nose. It is the best smell in the world. It sounds very simple. In reality, you have to watch things closely. Food can burn in just one minute. You cannot walk away to grab a drink. Staying by the fire is a must. Keep your eyes open and tongs ready.
Best Foods for Direct Fire
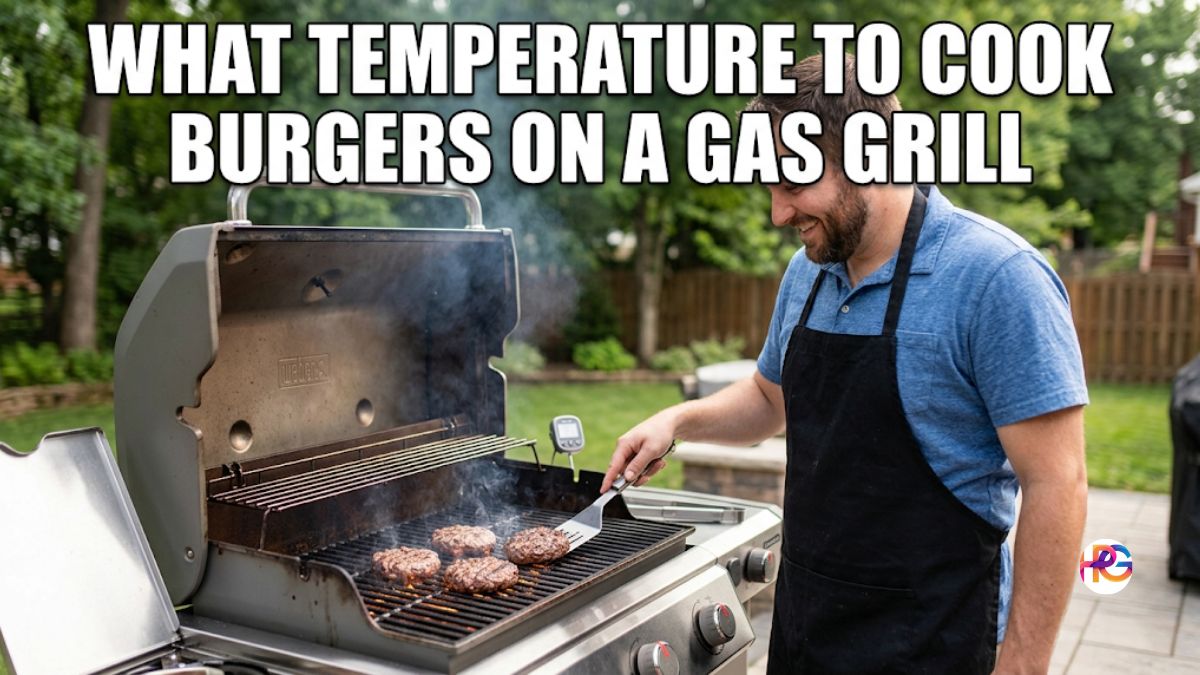
Not all food likes high heat. You want thin things here. Think about meals that cook in under twenty minutes. Hot dogs are perfect for this. Ground beef patties for burgers do great. Thin pork chops love a fast sear. Shrimp cooks in a flash over open flames. Even sliced squash and onions turn sweet and soft. The rule is simple. If it is thin, cook it hot and fast.
What Is Indirect Heat?
Now let us look at the other side. Indirect heat is a complete game changer. This means cooking next to the flame, not over it. You light one side of your gas grill. The other side stays completely off. Meat goes on the cold side. Then you shut the heavy lid.
Closing the lid is required for this to work. The grill traps the hot air inside. That hot air rolls around your food. It cooks the meat slowly from all sides. Your gas rig turns into an outdoor oven. This method takes a lot of patience. Good barbecue takes time. But it stops the dreaded burnt outside and raw inside.
When You Should Use the Slow Method
Big pieces of meat need indirect heat. Do you want to cook a whole bird? Use the slow way for that. Do you have a thick cut of beef? Put it away from the tall flames. Ribs need hours of low heat to get soft. A big pork shoulder will dry out if you rush. The slow way lets tough meat break down. Connective tissue turns to jelly. It keeps the juices inside where they belong.
My Favorite Direct vs Indirect Heat Gas Grill Setup
Here is the table I keep taped to my fridge. It helps me remember what to do every time. Looking at data makes planning easier.
| Grill Method | Where to Put Food | Heat Level | Time It Takes | Best Used For |
| Direct | Right over the fire | High (400F to 600F) | Short (under 20 mins) | Burgers, thin steaks, hot dogs, sliced veggies |
| Indirect | Next to the fire | Low to Medium (250F to 350F) | Long (over 20 mins) | Ribs, whole chickens, briskets, baked potatoes |
Setting Up a Two Zone Fire
This is the most helpful skill I can teach you. It is called the two zone setup. Learning this trick gives you the best of both worlds. I use a standard three burner gas grill at home. First, I turn the left burner all the way up. Next, the middle and right burners stay completely off. I let the grill get hot for ten minutes.
Now I have two distinct cooking spaces. The left side is my hot zone. My safe zone sits on the right. If a burger gets too dark on the left, I move it over. It can finish cooking over there without burning. This trick saved my stress levels. I no longer panic when grease causes a big flare up. Sliding the meat away from danger fixes everything. This setup gives you total control. Control is the secret to good food.
The Gear I Use to Track the Cook
You cannot guess when meat is done. Poking it with a finger does not work. I tried that old trick for years. Serving dry pork was a common event. Now I rely on real data. You need a good tool to read the heat.
I bought a cheap meat probe once at a gas station. It broke after two short days. Do not buy junk tools. Get a fast read digital probe instead. It tells you the temp in two seconds. I also use a probe that stays inside the meat. Watching the numbers go up on my phone is great while sitting inside. It feels a little bit like cheating. Technology makes cooking so easy and fun. Data takes the guesswork out. It stops the arguments with your guests about doneness.
A Chicken Recipe That Changed Everything
Remember my burnt chicken fail in Texas? I tried it again a month later. This time, the two zone method was my plan. I bought big, thick chicken thighs. Rubbing them with salt, pepper, and garlic dust was step one. They went right on the cool side of the grill. I shut the heavy metal lid.
The smell of sweet smoke filled my yard. My mouth watered just standing near the patio. Thirty minutes went by slowly. Then, I checked the heat with my digital probe. They were almost at the perfect temp. Moving them over to the hot flames took two minutes. The skin got tight and very crispy. Those pieces tasted absolutely like heaven. Biting into the meat was amazing since it pulled right off the bone.
Learning from Your Mistakes
That chicken was a major personal win. It washed away the bad taste of my old failure. Cooking is really just a big science test. You form a solid plan. Testing the plan is the next phase. Sometimes it works out perfectly. Other times it goes up in thick smoke. Do not let one bad cook stop your journey. Every mistake teaches you a brand new rule.
Grilling Vegetables the Right Way
Meat is not the only thing that needs a good fire plan. I love cooking fresh veggies outside. For a long time, I just threw them over the high flames. They would burn on the edges and stay hard in the middle. Eating them was not a good experience.
Then I tried applying my two zone rule. I put thick slices of squash and whole peppers on the cool side. They roasted slowly in the warm air. Getting soft and sweet took about twenty minutes. At the very end, I rolled them over the hot grates. They got those beautiful dark grill marks. It changed my summer side dishes forever.
The Corn on the Cob Trick
Corn can be very tricky. Some people leave the thick green husk on. I prefer to take it off completely. Rubbing the corn with olive oil and salt comes next. I put it on the hot side just until it gets a little brown. Turning it fast prevents burning. Then I move it to the cool side to finish. The sweet kernels get juicy and pop in your mouth.
Adding Wood Smoke to a Gas Grill
Many people think you cannot get smoke flavor with gas. That idea is completely false. You can hack your setup very easily. A small smoke tube or a foil pouch is all you need. I like to take a square sheet of heavy foil. Putting a handful of dry wood chips inside is easy. I fold it up tight into a flat packet. Then I poke a few small holes in the top with a metal fork. Dropping this pouch right over the hot burner starts the process. I nestle it safely under the metal grates.
Getting the Blue Smoke
In about ten minutes, white smoke will start puffing out. That is exactly when I put my ribs on the cool side. I shut the grill lid super tight. The warm air moves that sweet smoke all over the meat. You get a mild wood taste without the hassle of a charcoal fire. It is totally perfect for long afternoon cooks.
The Magic of the Reverse Sear
Have you ever heard of the reverse sear? It sounds like a fancy restaurant trick. The method is actually very simple to learn. It uses both of the main heating styles. You start slow and finish super fast. I use this trick for really thick beef cuts.
First, you set up your trusty two zones. Put the thick steak on the far cold side. Let it warm up very slowly. This gentle step can take a full hour. The inside cooks nice and totally even. It gets warm pink all the way through the center. Once it hits your target heat, pull it off. Let the meat rest calmly on a plate.
Finishing the Meat Correctly
Now turn all your gas burners to high. Wait about five minutes. Let those grates get screaming hot. Put the resting steak back onto the open fire. You only need one minute per side. The outside gets a gorgeous dark crust. Inside stays tender and perfect. This is how high end steakhouses do it. You can do it right in your own backyard. It will totally blow your dinner guests away.
Controlling Flare Ups on the Grates
Grease fires are very scary. They happen when fat drips on the naked gas burners. A huge yellow flame shoots straight up. It can turn a hot dog black in ten short seconds. Having a safe zone completely fixes this problem.
If fire shoots up, do not panic at all. Use long metal tongs to grab the food. Slide it smoothly over to the cold side. Let the angry fire die down. Then move the food right back. Never use a water spray bottle on a hot grease fire. Water makes hot oil splash. That is highly dangerous for your face. Just move the meat and quickly close the lid. The simple lack of air will choke the wild flames.
Why You Need to Know Both Methods
Good cooking always takes lots of practice. Knowing direct vs indirect heat gas grill rules is your foundation. You cannot build a house without a strong base. Cooking great meals requires knowing how fire works. Direct fire gives you tons of flavor. It gives you that amazing crunch. Indirect warmth gives you super tender bites. It cooks the food safe and slow. When you mix them together, you win every time. Your backyard parties will be the talk of the block. People will beg for your barbecue secrets.
Final Thoughts on Your Backyard Journey
I hope this handy guide helps you feel brave. Fire is just a basic tool. You are the absolute boss of that tool. Go buy a cheap pack of chicken legs today. Try setting up a hot zone and a cold zone. See how the raw meat changes. Feel the intense heat of the grill. Listen to the loud sizzle. Take mental notes on what actually works for you.
I share these stories on the blog because I love seeing people grow. Cooking outside brings good friends together. I cannot wait to hear about your next big cookout. Go light that fire and have some fun.
Frequently Asked Questions
Do I need a specific brand of gas grill to use the indirect heat method?
No, any multi-burner grill works great. Popular brands like Weber, Nexgrill, or Char-Broil let you easily turn off select burners to build a reliable, safe indirect heat zone.
What is the best tool to check the meat temp on a hot grill?
A fast digital meat probe is your best tool. Brands like ThermoPro give you rapid, accurate readings so you do not leave the heavy grill lid open too long.
Can I use wood chips in a Weber gas grill for slow cooking?
Yes, you can use a metal smoker box tool. Fill it with hickory chips and place it over the hot burner to get that deep barbecue flavor safely.
Where should I store my digital grill tools during cold winter months?
Keep your digital gauges inside your warm house. Freezing garage temperatures will ruin the sensitive digital screens and kill your expensive lithium batteries fast.
How do I stop severe rust on my iron grill grates?
Clean the grates with a tough wire brush tool while they are still hot. Then, coat the metal with a light layer of vegetable oil to block moisture.