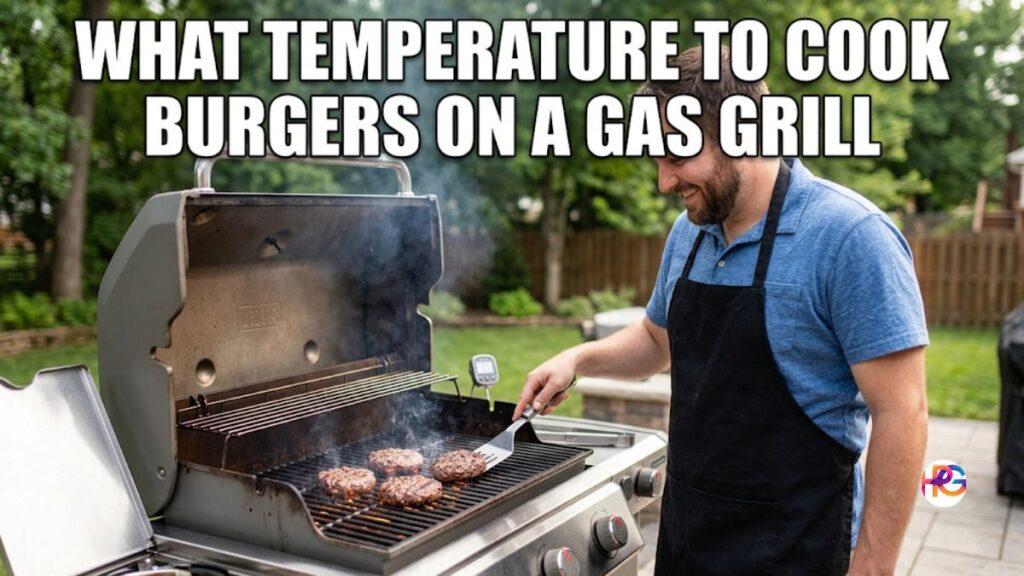
What Temperature to Cook Burgers on a Gas Grill: My Backyard Story
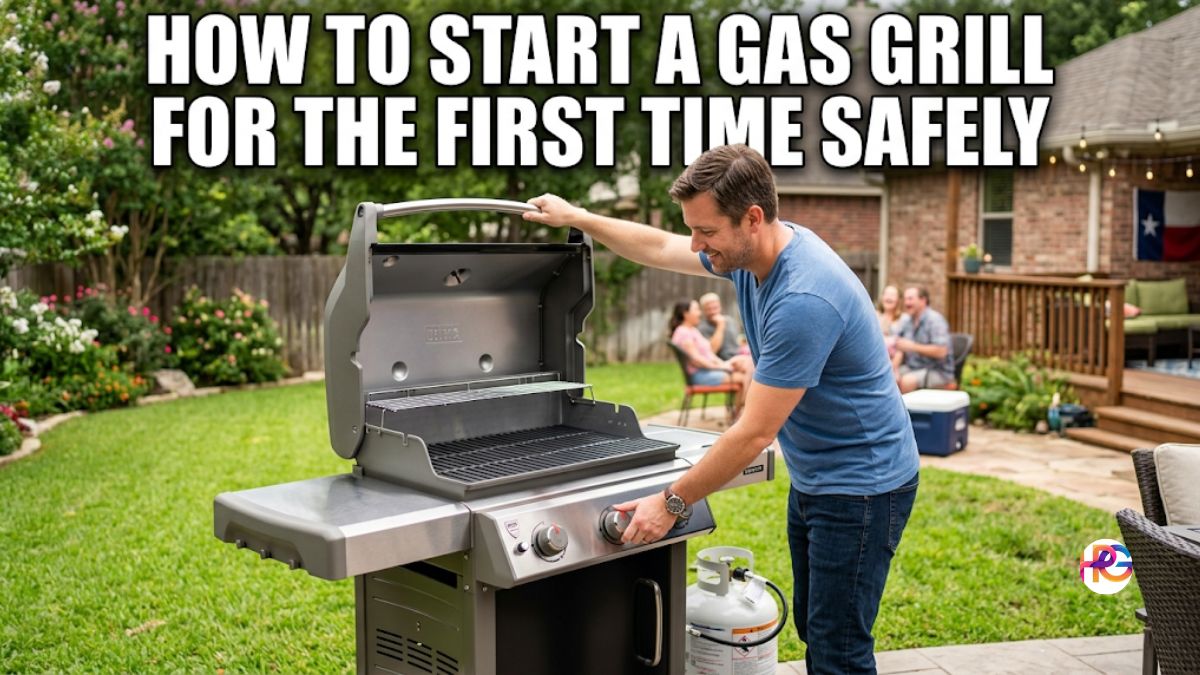
A Sunny Day in Austin Goes Wrong
I love cooking outside on a warm weekend. Last summer, I hosted a big party in Austin, Texas. It was a bright July afternoon with perfect weather. Friends came over for cold drinks and good food. I wanted to impress everyone with my grilling skills, so I bought quality ground beef from the local butcher and carefully shaped each patty by hand. My mouth watered just looking at the raw meat. I felt like a true backyard chef. But pride comes before a big fall. I made a huge mistake that afternoon.
The Burnt Burger Disaster
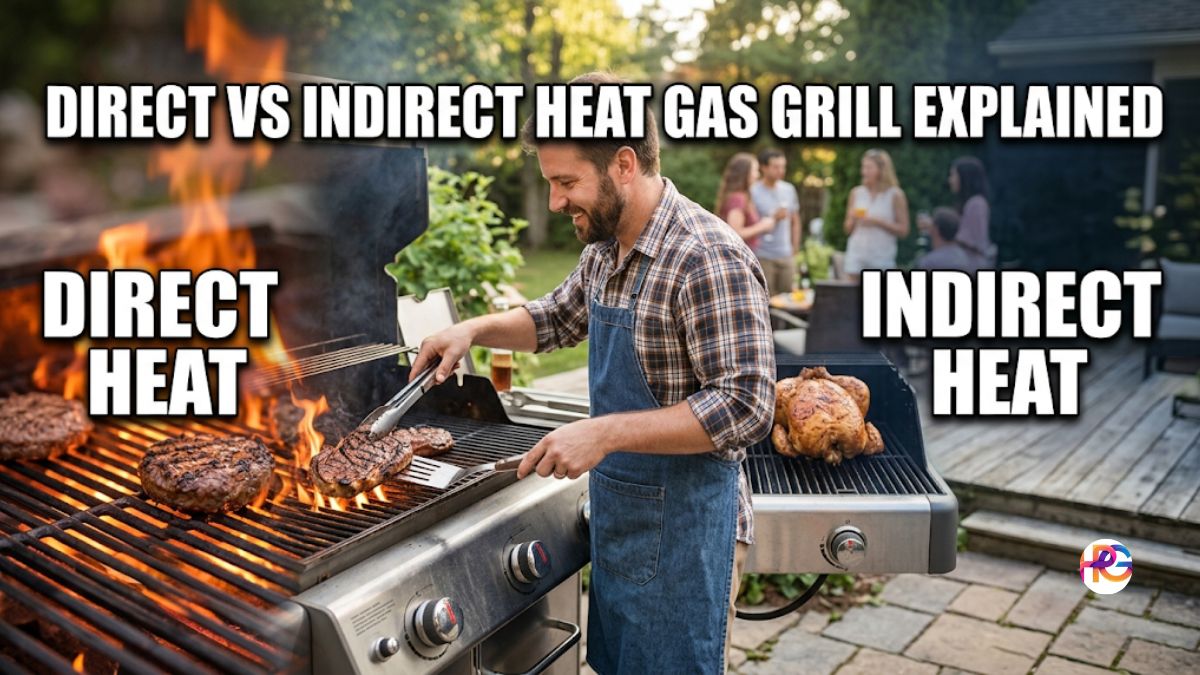
I turned all the gas knobs to the maximum level. Big flames shot up high right away. I threw the meat down onto the grates. A loud, violent sizzle filled the air. Thick smoke blew right into my eyes. I rubbed my face and coughed loudly. Ten minutes passed very quickly. I took the food off the blazing fire. I served my friends with a big, proud smile. They took their first bites. Their happy faces fell fast. The outside was black like coal. The inside was cold and raw. I felt so silly standing there. I ruined the main dish for everyone. We ordered pizza delivery instead. We laughed about it later that night. But I knew I had to learn the right way.
Finding the Perfect Grill Heat
That sunny day taught me a hard lesson. Guessing the fire level rarely leads to great results. Good food comes from understanding the heat and following a solid cooking plan. So, I did a lot of reading. I tested many batches of fresh meat. I ruined a few more family meals. My wife was very patient with me. Finally, I found the magic numbers. People always ask me about this topic now. They ask, what temperature to cook burgers on a gas grill? The answer is very simple. You always want medium-high heat.
Why Medium-High Heat Wins Every Time
This heat level is the ultimate sweet spot. It sits right around 375 to 400 degrees Fahrenheit. This range does two great things for your food. First, it sears the outside very fast. You get that nice, dark, crispy crust. Second, it cooks the middle slowly and gently. The center stays juicy and soft. Too hot, and you burn the outer crust completely. Too cold, and the meat dries out into cardboard. Medium-high gives you the absolute best of both worlds.
My Go-To Temperature Guide
You need to check the inside heat often. Do not just look at the outside color. The color can easily trick your eyes. A brown center can still be unsafe to eat. A pink center might be fully cooked and fine. It really depends on the specific meat. I use a digital meat probe every time. It saves me from guessing games. Here are my top three rules for testing meat:
- Clean the metal probe before you use it.
- Push the tip directly into the middle of the patty.
- Read the number only after it stops moving.
Here is the exact chart I use every single time. It keeps my family safe and happy.
Internal Heat Chart
| Doneness Level | Internal Target | Feel of the Meat |
| Medium Rare | 130 to 135 degrees | Very soft and squishy |
| Medium | 140 to 145 degrees | Slightly firm with some give |
| Medium Well | 150 to 155 degrees | Firm to the touch |
| Well Done | 160 degrees plus | Very hard and stiff |
Note: The USDA says 160 degrees is safe for ground beef. Always cook ground poultry to 165 degrees.
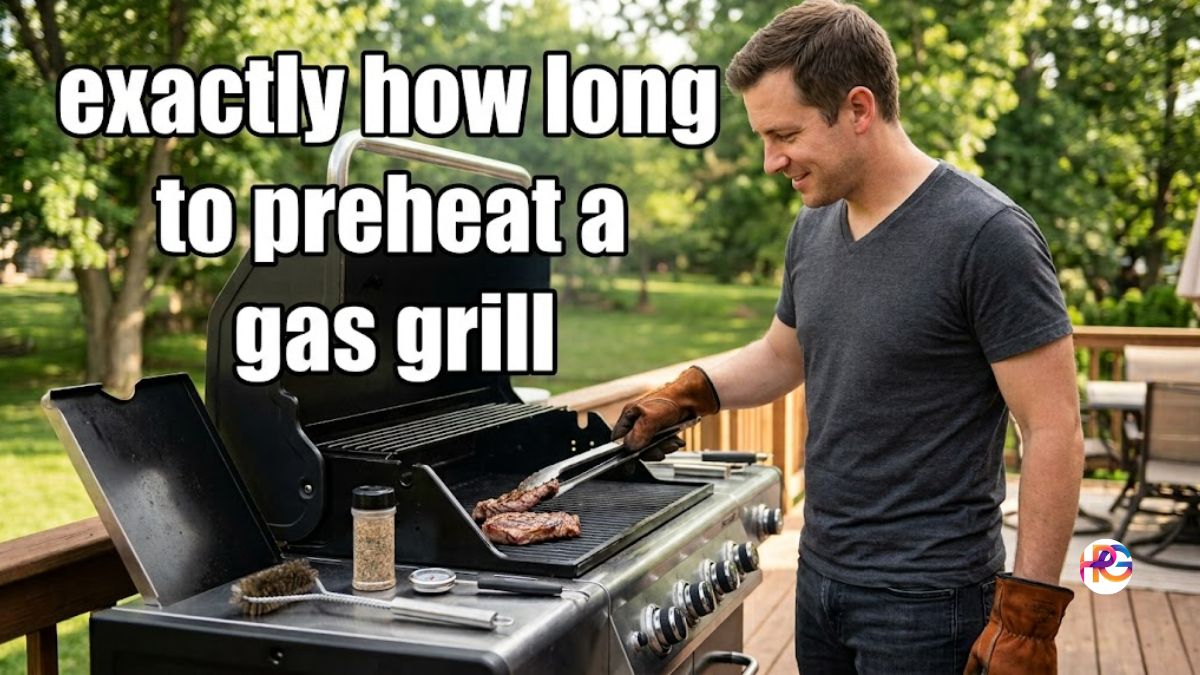
Preheating is a Must-Do Step
For years, I skipped this important step because I was always in a hurry. I would light the grill and throw the food on right away. That was always a terrible idea. The cold meat stuck to the cold metal. It tore apart when I tried to flip it. Half my meal fell down into the fire below. It was a messy, annoying disaster. Now, I always wait for the fire.
Don’t Skip the Warm-Up Phase
Close the heavy lid first. Turn the gas to high. Let the setup sit for ten to fifteen minutes. The metal grates need time to get screaming hot. You want the thick metal to hold steady heat. When you drop the meat, it should sizzle loudly. That exact sound is pure cooking joy. It means a great crust is forming right away. After the warmup, turn the knobs down to medium-high. You are now ready to start cooking.
Common Mistakes I Made Early On
We all mess up sometimes in life. For a long time, I did everything the wrong way. As a kid, I watched my dad grill and copied his habits without questioning them. Back then, I even thought holding a spatula made me look like an expert. Really, I was just making dry, boring food. I want to save you from these easy traps. Let me share my biggest flaws.
Pressing the Meat Down
We all see this on food television shows. A cook takes a flat, heavy tool. They press down hard on the raw patty. The fat hisses and flares up wildly. It looks very dramatic for the camera. It sounds truly awesome to hear. Do not ever do this at home. I repeat, stop doing this immediately. You are squeezing out all the good flavor. The rich juice drips away into the fire. You end up eating a dry hockey puck. Leave the raw meat alone. Let it cook in peace.
Flipping Over and Over Again
I used to stand over the grill the entire time with my metal tongs in hand, flipping the food every thirty seconds because I believed it cooked faster that way. Experience eventually taught me just how wrong I was. Flipping too much stops the crust entirely. The meat needs time to touch the hot metal. It needs to sit still to brown properly. I now use the strict one-flip rule. It literally changed my cooking life.
How Long to Cook Each Side
Timing is a very tricky thing. Wind and weather change the fire’s heat. A cold day in winter slows things down. A hot summer day speeds things up fast. But you still need a basic timing guide. This helps you plan your side dishes. I wrote down my average times below. These numbers work for a standard patty. Thick pub-style patties need more time on the heat. Smash-style patties need much less time.
Basic Timing Guide
| Style of Cook | Time on Side One | Time on Side Two |
| Medium Rare | 3 minutes | 3 minutes |
| Medium | 4 minutes | 3 to 4 minutes |
| Medium Well | 4 minutes | 4 to 5 minutes |
| Well Done | 5 minutes | 5 minutes |
Timing is Absolutely Everything
Set a loud timer on your phone. Do not walk away from the area. Grab a cold drink and stay close by. Watch the outer edges of the meat. You will see them turn brown slowly. The top might pool with clear juices. That visual change is your cue. Slide your flat tool completely under the meat. Do it fast and smooth. Flip it over exactly once. Then wait patiently again.
Resting the Meat Makes it Better
This is truly the hardest part. You are very hungry right now. The cooked food smells absolutely amazing. Your mouth is watering non-stop. You want to eat right this second. But you absolutely must wait. I learned this trick from a pro chef. Taking the meat off the heat is not the end. The internal cooking process is still going on.
Patience Always Pays Off
Put the finished food on a clean plate. Tent it lightly with some tin foil. Let it sit there for five whole minutes. Why do we do this step? The high heat pushes all the juices to the middle. If you cut it now, the juice runs out. The bottom bun gets terribly soggy. The meat itself gets very dry. Resting lets the juice spread back out evenly. Every single bite becomes tender and wet. It is truly worth the short wait.
Dealing with Flare Ups Safely
We talked about catching meat on fire earlier. Sometimes hot grease catches fire very fast. A massive flame jumps up toward you. It can scare you quite a bit. The first time it happened, I panicked and grabbed a plastic cup of water. Throwing it onto the grease fire turned out to be one of the worst decisions I could have made. That was a huge, dangerous mistake.
Water Makes Grease Fires Worse
Grease and pure water do not mix at all. The water hits the boiling hot oil. It turns into thick steam instantly. This shoots hot oil everywhere around you. The grease fire gets much, much bigger. It is very dangerous for your skin. Never use water on your backyard grill. Close the heavy metal lid instead. The fire needs fresh air to burn. Closing the lid kills the air supply fast. The wild flames will die out quickly. Safety is the most important part of cooking.
Picking the Best Buns
We talked a lot about the beef. But the bread is just as key. A bad bun ruins a really good meal. I bought cheap, thin buns one time. The hot juice soaked right through them. They fell apart completely in my bare hands. It was a huge, sticky mess. I had to eat my sandwich with a metal fork.
Toast Your Bread Well
Buy nice, thick bakery buns. Brioche is my absolute favorite choice. Potato rolls are really great too. Cut them open down the middle. Spread a little soft butter on the inside. Put them flat on the fire for thirty seconds. Watch them very closely. Bread burns extremely fast over open gas. The butter gets melted and crispy. This creates a solid flavor seal. The beef juice cannot soak through the crispy butter. Your hands stay mostly clean. Your bite is completely perfect.
Final Thoughts on Backyard Grilling
Cooking outside should always be fun. It should never be a stressful task. I really hope my personal stories help you. I made all the common mistakes so you do not have to. Remember the simple basics every time. Buy good ground meat from the store. Preheat the metal grates early. Find that medium-high sweet spot on the dial. Use a digital thermometer for safety. Do not smash the food with your tool. Let the finished meat rest on a plate.
These small steps make a huge change. With these techniques, you can confidently impress visiting family, host better weekend cookouts, and take pride in serving delicious homemade food. So get out there today. Fire up the gas tank. Enjoy the lovely outdoor weather. Cook something truly great for your friends. Happy grilling to you all!
Frequently Asked Questions
What tool is best to check the temperature to cook burgers on a gas grill?
The best tool for this job is a digital instant-read thermometer. Brands like Weber make durable probes that give precise heat readings in seconds. This tool keeps your hands safe from the hot grates.
How do I clean my gas grill grates without damaging them?
Use a heavy-duty stainless steel wire brush from a brand like Cuisinart. Clean the metal grates while they are still warm to remove grease easily. Proper cleaning extends the life of your grilling tools.
Can I store my propane gas tank inside a hot garage during the summer?
No, never store your fuel tanks inside a home or garage. High heat can cause the safety valve to vent dangerous gas. Keep your tanks outside in a cool, dry place for maximum safety.
What is the best spatula tool for flipping heavy patties?
Look for a wide, heavy-duty stainless steel spatula with a non-slip grip handle. Brands like heavy-duty Blackstone tools offer great balance for big meats. A strong tool prevents the meat from tearing.
Why does my gas grill heat unevenly across the grates?
Your burner tubes might have blocked holes from old food drippings. Use a small wire brush tool to clean out the tiny gas ports safely. This simple fix brings back even power to your machine.