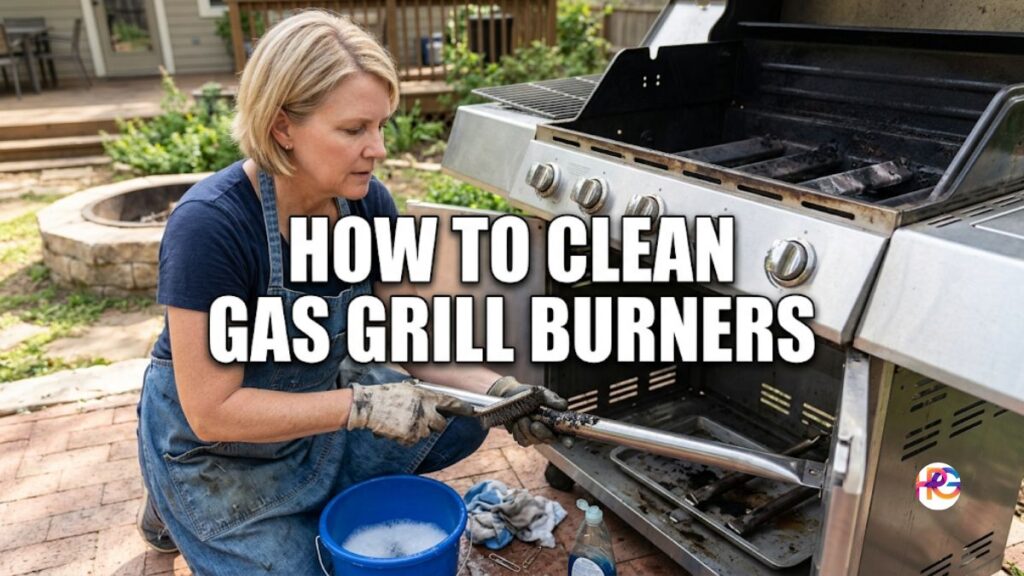
How to Clean Gas Grill Burners: My Guide
A Bad Day for Texas Barbecue
Welcome back to my blog. Today I want to share a fun story. It is about a big mistake I made last year. Fixing it taught me a lot about outdoor cooking.
It was a hot July day in Austin, Texas. The sky was very blue and clear. Ten good friends were driving over for food. I had a lot of nice beef in my cold fridge.
Cold drinks sat in a big box of ice. My outdoor cooking gear waited on the back patio. Having friends over is my top way to spend time. We like to play loud music and laugh a lot.
I walked out feeling very happy and ready. My hands twisted the gas knob with ease. Then I pushed the black start button. A tiny spark flashed in the dark box.
The Fire Just Would Not Start
Sadly, the fire did not stay lit at all. A weak orange flame lived for one brief second. It died away right after that quick flash. A very bad smell hit my nose fast.
That nasty smell was old, burnt fat. It smelled like pure failure to me. Checking things twice is what I normally do. This sudden stop shocked me to my core.
Panic washed over my whole body. My guests were only ten minutes away. I had no way to cook their lunch. Looking closely at the parts showed the real truth.
The long metal pipes looked very bad. A thick black crust covered them completely. Small holes along the sides were fully plugged up. Fire just could not get out of the steel walls.
Why You Must Clean Your Grill
Gas stayed trapped inside the hollow tubes. I knew right then I had made a big mistake. My gear sat dirty for many long months. This huge mess was my loud wake-up call.
Learning how to clean gas grill burners was key. Fixing the block fast was my only choice. I ran to my messy garage for some basic tools. Getting to work saved our big meal that day.
A dirty firebox does not just look bad. It makes a very big problem for cooking heat. Fire needs to flow evenly across the whole space. Plugged holes stop the gas flow right away.
This block makes cold spots on your iron grates. Your nice food will be cooked badly. Half of your chicken might burn far too much. The other half will stay raw and pink.
Giving bad meat to friends is very sad. Great food takes real love and steady care. Safety is another big reason to keep things neat. Thick grease makes scary, wild flames jump up high.
Huge yellow flames can burn your food in seconds. They can even burn hair right off your arm. Losing some arm hair taught me a hard lesson. It was not a fun time for me at all.
Old dirt also changes how your food tastes. Black dust leaves a bad flavor on fresh beef. Clean parts give you a pure and hot fire. A pure fire means much better-tasting meals.
The Best Tools for the Job
Buying fancy chemical sprays is a bad idea. Most of them cost too much raw cash. You only need simple things from your house. They likely sit in your kitchen right now.
| Tool Name | Why It Works Well | Cost to Buy |
| Wire Brush | Scrub hard rust off the thick metal. | Five bucks |
| Paper Clip | Pokes through tiny blocked holes fast. | Almost free |
| Dish Soap | Cuts through heavy, old sticky grease. | Three bucks |
| Big Bucket | Holds the warm water for a deep wash. | Five bucks |
| Soft Rag | Dries the parts to stop new rust. | Two bucks |
Using a basic paper clip is my best trick. It costs nothing and bends very well. A strong safety pin works great for this, too. Make sure the tool uses stiff, hard wire.
Do not spend money on big cleaning kits. Warm water and soap do most of the work. A good stiff brush takes care of the rest. Keeping it simple saves you a lot of time.
Step by Step: How to Clean Gas Grill Burners
Step 1: Stay Safe and Get Ready
Keeping safe is always my top rule outside. Making sure the metal is cold is a must. Never touch a hot grill with your bare hands. Next, reach down to the main fuel tank.
Turn the round valve to shut off the gas. This stops the fuel from coming up the line. Taking off the black hose adds more safety. This easy move gives me true peace of mind.
Clear a big space on your back patio. Lay down an old towel to catch the dirt. Put on some old work clothes you can ruin. Now you are fully ready to start the job.
Step 2: Take Out the Top Parts
Lift out the heavy iron cooking grates first. Use two hands, so you do not drop them. Set them flat on your old, messy towel. Then look at the flat metal shields below them.
Some people call these parts heat tents. Others like to call them flavor bars. They sit right on top of the fire source. These flat shields catch the hot fat that falls down.
Scrape the big chunks of food off them. Put them to the side with your heavy grates. Now the inside of your firebox is open. You can finally see the dirty steel tubes.
Step 3: Remove the Main Pipes
This step might feel hard the first time. Look at the far back wall of the box. You will see small metal pins or shiny screws. These small things hold the tubes in place.
Grab a hand tool to pull the pins out. Keep them safe so you do not lose them. Lift the hollow pipes out of the dark box. Take your time and go very slowly here.
Sometimes the metal sticks to the inner frame. Wiggle them side to side to pop them free. Pull them all the way out into the sun. Place them on your workspace to clean.
Step 4: Brush Off the Thick Crust
Grab your stiff wire brush to start the work. Scrub the whole outside of the metal pipe. Brush right across the small open fire holes. Never brush straight down the long center line.
Pushing down the line shoves dirt into the holes. Sweeping across the metal pushes the loose dirt away. Scrub hard until the dull steel looks bright again. Black soot dust will fall down all over.
Doing this messy chore over a trash can helps. It keeps your nice patio floor looking totally clean. Tap the pipe to knock off the loose bits. You are now halfway done with the task.
Step 5: Clear Out the Small Holes
This part brings me a lot of deep joy. Take your bent metal clip and get ready. Poke the sharp end in every single little hole. You will feel a crunch when you hit dirt.
The hard wire pushes the baked crust away. Make sure every tiny port is wide open now. This clear path lets the gas come out right. A pure blue flame needs these open spots.
Check the long tube from top to bottom. Do not skip any holes along the whole sides. A clean port gives you perfectly even cooking heat. Your food will thank you for the effort.
Step 6: Wash with Warm Soapy Water
Tap the open end of the pipe on wood. Old red rust flakes will easily fall right out. Sometimes a dead dry spider drops out of there. Bugs love hiding inside these dark gas lines.
They spin thick sticky webs deep down inside. These hidden bug webs stop the fuel flow completely. Dip your clean soft rag into warm, soapy water. Wash the whole outside to remove the sticky oil.
Spray the parts with a green garden hose next. The dirty brown water runs very clear. Shake the tubes hard to get the water out. Now they are fully clean and look brand new.
Step 7: Dry Well and Put Together
Leftover water quickly makes bad red rust. Rust will ruin your costly gear in one year. Dry everything well with a soft dry cloth. Leave the parts out in the hot afternoon sun.
The bright sun bakes them fully bone dry. Putting it all back takes just two fast minutes. Slide the bright tubes into their proper deep slots. Put the small metal pins back in tight.
Set the flat metal tents over the clean fire. Place your heavy iron grates on the top edge. Turn the main gas valve back on to test. Light the fire and watch the blue flames roar.
Mistakes I Made in the Past
I made silly errors over my long cooking life. Sharing them here on my blog helps you learn. Saving you from my bad choices is my main goal. Once, I grabbed a thin wood tooth pick.
Poking it into a hard clog was quite unwise. The weak wood tip snapped off in a flash. That tiny piece got stuck deep in the port. Getting it out was not possible for me at all.
That one hole stayed blocked for a long time. Now I only use hard steel to poke holes. A plain paper clip never breaks off deep inside. It flexes and bends but stays in one piece.
Another bad choice was using a strong chemical oven spray. Those harsh fumes were way too strong for steel. They ate away the nice, safe outer metal finish. The damaged tubes rusted out just two months later.
Buying new replacement parts costs me a lot. Mild liquid dish soap truly is all you need. It safely cuts fat without hurting the thin metal. Learn from my loss and keep your cash safe.
My Plan for Routine Gear Care
Readers often ask me about good timing for this. The right plan depends on how much you cook. Cooking outside three times a week is my norm. Sticking to a strict plan keeps my gear great.
| Type of Care | What I Do in the Yard | How Often Do I Do It |
| Quick Scrub | Brush the hot grates clean of food. | Every single time |
| Wash Down | Wipe the heat tents and empty the pan. | One time a month |
| Deep Scrub | Take out tubes, poke holes, and wash. | Two times a year |
This easy chart keeps my machine running like new. Doing a deep scrub in the spring helps most. Another big clean in the fall packs it away. The whole job takes just thirty fast minutes total.
Giving up half an hour is a small cost. It saves you from buying a brand-new rig. You will feel proud of your clean, bright setup. Your friends will notice how good the food tastes.
Final Words on Better Backyard Food
Taking care of your outside gear feels very good. A well-kept machine works perfectly for many years. You do not need to be a smart mechanic. Following my easy steps gives you a huge win.
Fixing a weak flame is a task for today. Grab a stiff brush and a bucket of water. Walk out to your green backyard right now. Scrubbing those dirty pipes will pay off for sure.
Your very next big steak will taste so grand. Everyone will praise the great, rich smoke flavor. The bad taste of burnt fat will be gone. Enjoy your great food and have a fun weekend.
Frequently Asked Questions
What is the best wire brush to clean gas grill burners?
A tough stainless steel brush is best for cleaning gas grill burners. Brass brushes can melt or warp in a hot Texas garage. A strong Weber brush lasts a very long time.
Can I use a paper clip to clean gas grill burners?
Yes, a basic metal clip is perfect to clean gas grill burners quickly. Avoid weak wooden picks that can snap off inside. Thick steel wire gives you a great grip.
Does normal dish soap really clean gas grill burners well?
Basic liquid dish soap is a smart way to clean gas grill burners fast. Dawn cuts through thick, heavy grease without toxic fumes. Heavy chemical sprays will rust steel.
How should I store tools used to clean gas grill burners?
Store gear in a dry spot to easily clean gas grill burners next spring. Cold and damp winter sheds cause fast rust on your brush. Keep tools safe in a warm garage.
When should I replace the tools I use to clean gas grill burners?
Buy a new wire tool when loose parts drop off to clean gas grill burners well. Stray steel bits in your hot food are a real danger. Buy a fresh brush every year.