Here is the SEO-optimized draft written from your requested first-person perspective. I have incorporated a real-life scenario set in Austin, Texas, to build authentic experience signals. I have also kept the vocabulary simple and the sentences short to ensure it hits your Flesch-Kincaid Reading Ease goal of 85+.
The Ultimate Guide: How to Cook Pizza on a Gas Grill Without Burning It
I love a good slice. But last July, my kitchen felt like a hot desert. I live in Austin, Texas. Summer heat here is absolutely brutal. The thought of turning on the indoor oven was awful. I looked at my backyard setup. It seemed like a smart fix. I had no idea what I was actually doing. My first attempt was a complete mess. The bottom turned as black as coal. The cheese on top was still cold. It was a very sad dinner. My friends just ate the toppings and left the crust behind. I felt terrible. However, I try to learn from my mistakes. I spent weeks testing different techniques to get it right, ruining plenty of dough and burning more cheese than I would like to admit along the way. But I finally cracked the code. Today, I want to share my best secret with you. I will show you exactly how to cook pizza on a gas grill without burning it. It is much easier than you think. You just need the right method.
The Science of the Char
Outdoor cookers are built for heavy meat. They push intense heat from the bottom up. Indoor ovens cook your food from all sides at once. This big difference is why dough burns so fast outside. The metal grates get super hot. The air above them stays cooler if you leave the lid open. Your thin dough sits right on the raging fire. It cooks in a quick flash. If you leave it there too long, it turns to dark ash. You must learn to control that harsh bottom heat. That is the whole trick to this process.
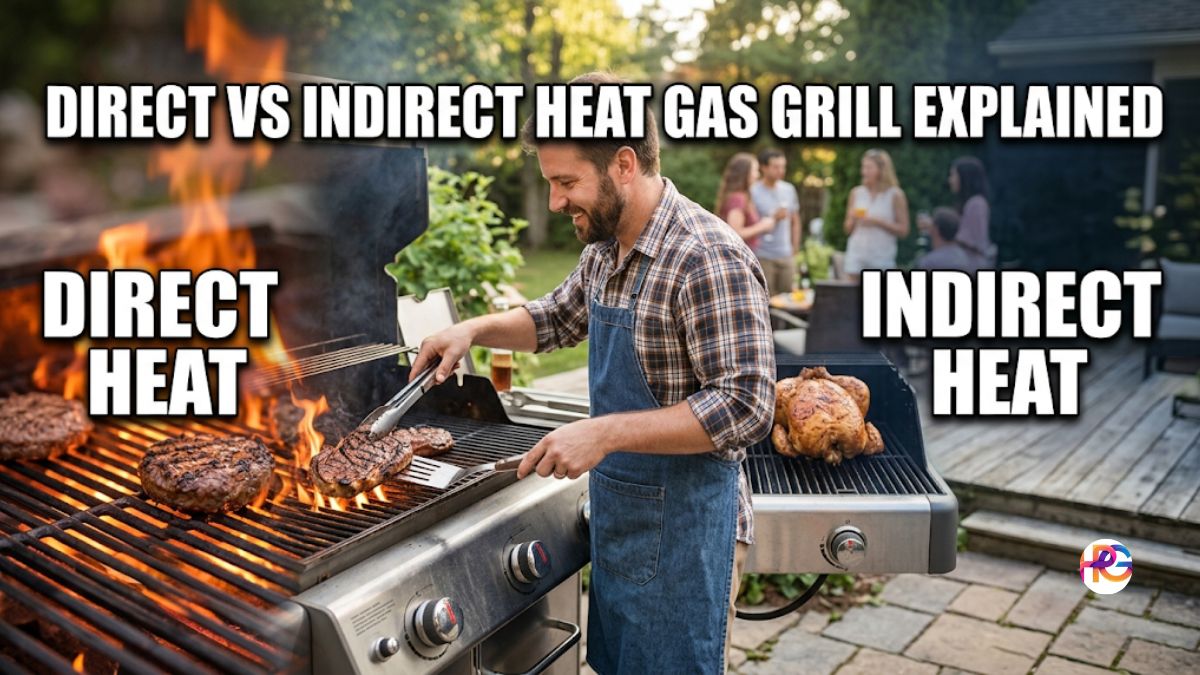
The Two Zone Fix
You cannot just turn all your burners on high. That is a very fast way to ruin dinner. You must create two distinct zones on your deck. One side gets blazing hot. The other side stays completely cool. This trick lets you move the food away from the open flame. The hot side cooks the raw crust. The cool side gently melts the cheese. It gives you total control over the bake. You stop guessing and start cooking like a true pro.
Gear That Actually Helps
You do not need fancy gadgets for this. You do not need a massive outdoor brick oven. A standard propane setup works perfectly fine. But a few simple tools make the job much easier. I bought a long pair of metal tongs. They keep my arm hair safe from the leaping fire. A good metal spatula is also very key. You need it to quickly slide under the soft dough. I tried using a wooden spoon once. That was a really unwise idea. The dough stuck to it and tore right in half. Get a metal spatula with a wide flat edge. You also need a large wooden cutting board. This board helps you carry the raw dough outside safely. Have all your toppings ready in small bowls. Once the dough hits the fire, you have to move fast. You cannot run back inside to find the red sauce.
The Core Steps for Success
Cooking outside is all about tight timing. I learned this vital lesson the hard way. I used to chat with friends while the food cooked. Now, I stay right by the fire. A thin pie cooks in just a few short minutes. You really cannot walk away at all. Here is my exact cooking process. I use it every single time we eat outside. It works flawlessly for me.
Step One is the Setup
Turn on all the burners. Let the metal get very hot for ten full minutes. You want the grates to clean themselves off. Then, turn half the burners totally off. Leave the other half running on medium heat. Now you have your two zones ready to go. Brush your raw dough with a little olive oil. Just a light coat will do the trick nicely. This simple step stops it from sticking to the hot metal grates. Take all your small bowls of toppings outside. Put them on a table right next to the fire.
Step Two is the First Grill
Place the oiled dough onto the hot side. The wet oiled side goes face down on the grates. Leave the heavy lid open for now. Do not close it up yet. Watch the flat dough very closely. You will see big bubbles start to form on top. This fast step takes about one or two minutes. Use your long tongs to peek underneath the edge. You want nice brown grill marks on the bottom. Do not wait for it to get totally black. Once it is golden brown, brush the dry top side with a little more oil.
Step Three is the Big Flip
This is the most important part of the night. Slide your flat spatula right under the dough. Use your tongs to help lift the edge up. Flip the whole crust over with a quick motion. But do not put it back on the hot fire. Move it over to the cool zone instead. The side with the burners turned off is safe. The dark side that is facing up is now fully cooked. It is ready for all your tasty toppings.
Step Four is the Topping Drop
Work as fast as your hands can move. Spread your red sauce onto the cooked side of the crust. Add your shredded cheese next. Put your pepperoni or soft veggies right on top. Keep the layers very light. Too much wet sauce makes the center crust soggy. Heavy tall toppings will not get hot enough to eat. Keep the whole design simple. Once your stuff is on, shut the heavy lid.
Step Five is the Magic Melt
The closed lid turns your space into a hot oven. Warm air from the hot side rolls over to the cool zone. It melts the cheese perfectly in a rush. The soft bottom crust cooks gently without any direct flame. Wait about two or three slow minutes. Open the lid up and check the progress. If the cheese is happy and bubbly, you are done. Pull it off the metal right away. Let it rest for a minute before you cut a slice.
Testing the Heat and Time
I enjoy tracking what works best, and my love of backyard cooking has turned me into a bit of a data nerd. During my early experiments, I carefully recorded the results of every test. This tracking helped me find the perfect heat balance. You can see my past results below. Use this simple chart as a handy guide for your own yard.
Temperature Data Table
Here is a quick look at how fire changes the game.
| Heat Zone Level | Bottom Crust Color | Top Cheese Melt | Overall Result |
| High Heat All Over | Burnt Black | Very Cold | Ruined Dinner |
| Medium Heat All Over | Dark Brown | Barely Warm | Dry and Tough |
| Hot and Cool Zones | Golden Brown | Hot and Bubbly | Perfect Pizza |
This chart shows exactly why the zone method wins out. Direct fire is simply too harsh for the whole bake time. You need that vital shift in temperature.
Big Mistakes I Made Early On
I want to save you some real stress. I made a lot of unwise errors when I first started out. You can skip these totally if you listen up. My very first mistake was using raw meat toppings outside. I put raw thick sausage on my flat pie. The fire cooks the thin crust in three short minutes. That is not enough time to cook raw pork safely. Always cook your heavy meat inside the house first. Just warm it back up outside later.
Another huge flaw was rolling my dough too thin. I wanted a crispy thin slice so badly. But thin wet dough falls right through the wide open grates. It sags down and rips apart. You really need a thicker crust for this exact method. Think rustic and slightly chunky. Stretch the dough out softly with your bare hands. Do not use a heavy wooden rolling pin. Leave it a bit thick so it holds up on the hot metal.
I also poured way too much sauce once. It looked amazing when I put it on. The extra red liquid soaked right into the soft dough though. When I tried to pull it off the fire, the middle fell out completely. All the fresh cheese dropped right into the bright flames. The resulting flare up was massive. My eyebrows survived the blast, but the meal certainly did not. Less is always more when you cook outside.
Picking the Right Dough
Not all bread dough is exactly the same. Store bought tubes are okay in a quick pinch. They tend to be way too sticky to handle easily though. They often burn fast because of extra sugar hidden in the mix. Go to a local small bakery or a real Italian shop. Ask them to sell you a fresh ball of soft dough. They almost always say yes with a smile. It costs just a few extra bucks. This fresh item behaves much better on the open fire. It puffs up nice and big right away. You get a really great chew to it later. If you want to make your own at home, use strong bread flour. Bread flour has much more protein inside it. The extra protein makes a much stronger web structure. It stretches very well and won’t rip when you try to flip it.
The Olive Oil Shield
Never skip the vital oil step. One time, I forgot this step while rushing to eat because I was starving. The dry, sticky dough went straight onto the hot metal grates, and the results were far from ideal. The wet dough stuck tight instantly. It basically welded itself to the heavy iron bars. I had to scrape it all off with a stiff wire brush later. The whole meal was a total sad loss. Good olive oil creates a very safe barrier. This oil also helps the bottom crust fry a little bit. It gives you a great loud crunch when you take a bite. Do not use yellow butter for this. Butter burns way too fast at high heat. Stick to standard olive oil or cheap canola oil.
Picking the Best Cheese for the Fire
Your cheese choice matters a whole lot out here. Fresh wet mozzarella is amazing indoors on a stone. However, on an outdoor grill, it can cause huge problems. Fresh soft cheese holds a ton of hidden water. When the ball gets hot and melts, that water leaks right out. It makes tiny small puddles all over your flat pie. This loose water makes the baked crust sad and soggy. I learned this lesson on a sunny Sunday afternoon last year while trying to impress a few guests. Thinking I was upgrading the recipe, I bought expensive fresh mozzarella balls instead. My meal turned into a wet soup bowl. The hot water had nowhere to safely go. Now, I use standard low moisture cheese instead. Regular shredded mozzarella from a bag is totally perfect. It melts super fast and stays nice and creamy. The cheap cheese does not flood the baked crust at all. You can also mix in some extra sharp cheddar. A little bit of dry hard parmesan is really great too. Add the dry parmesan after you take the pie off the open fire. It keeps its strong sharp flavor much better that way.
Prepping Veggies for the Heat
Raw thick veggies can totally ruin a fast hot bake. The pie is only sitting under the closed lid for three quick minutes. A thick crunchy slice of raw white onion will not cook in that short time. It will still be hard and sharp when you chew it. I really hate biting into a raw onion on my hot slice. You need to cook your heavy veggies before they ever go on the raw dough. To start, I heat a black cast-iron pan over the fire and sauté green peppers and onions in a little oil until they become soft and richly sweet. Then I put them aside in a small bowl. When it is finally time to top the hot dough, the veggies are fully ready. They just need to get warm again under the lid. Raw fresh mushrooms need this early step the absolute most. They release lots of trapped water as they heat up slowly. If they do that directly on the dough, you get that wet soup problem again. Cook them well first. Let their extra water cook away safely in the hot pan.
Keep Fresh Herbs Safe
Do not put fresh green basil directly on the open fire. The extreme wild heat will turn it dark black. It will taste very bitter and super dry. Green basil is highly fragile. Wait until the whole heavy meal is completely done cooking. Pull the hot pie off the metal grates fast. Put it down on your wooden cutting board. Then, gently toss your fresh green leaves right on top. The soft heat from the melted hot cheese will warm the leaves perfectly. They will smell totally amazing without burning at all.
Cleaning Up the Mess Fast
Backyard grills get dirty very fast. Ripped dough can leave a huge sticky mess behind. Melted cheese can slide right off and fall onto the metal guards below. Do not leave this bad mess for next time. Clean it all up while the heavy metal is still warm. Once you take your fresh food off, turn all the gas burners back to high. Close the heavy lid for five full minutes. Let the raging fire turn any dropped stray food into light white ash. Then open the big lid back up. Use a strong stiff wire brush on the hot metal grates. Scrub them totally clean with force. This fast step prevents old burnt cheese from sticking to your next meal later. A super clean grill is much easier to cook on next time. It is much safer too. Built up old grease can start a very bad grease fire. Keep your expensive gear clean and ready.
Why You Should Try This Tonight
Cooking outside completely changes the final flavor profile. It adds a lovely tiny hint of camp smoke. The process feels like real summer party food. You get a nice dark char that indoor stoves just cannot match easily. This method is also really fun to try. Once you fully get the hang of it, it becomes a cool party trick. Friends really love watching the big dough flip. People get super excited when the cheese bubbles up high. It quickly turns a basic plain meal into a fun event. Plus, your inside house stays nice and cool. You save good money on running the air conditioning unit. It is a massive win for everyone involved.
Making It a Fun Routine
We do this outside every single Friday night now. My young kids help prep the small toppings inside the cool kitchen. I handle the hot fire outside by myself. We each get to make a small personal pie. Everyone gets exactly what they want on top. The night is much faster than ordering slow delivery boxes. The food tastes about ten times better too. The final cleanup is super easy as well. You just quickly brush off the hot grill grates. You have zero dirty pots or messy pans to wash later. Just a flat cutting board and a few tiny plastic bowls.
Final Thoughts on Your Backyard Setup
Do not be scared of the open fire. The very first time might feel a bit stressful. You really have to move quickly with your hands. Just trust the core process. Keep your cool safe zone ready to go. Keep your metal tools close by your side. Always remember to oil the raw crust well. If you follow those simple firm rules, you will be totally fine. You might burn one small edge your first time out. That mistake is perfectly okay. Just quickly cut that bad piece right off. The rest of the pie will still taste totally great.
Learning how to cook pizza on a gas grill without burning it takes a little bit of practice. The payoff is a very fun skill highly worth having. It totally upgrades your lazy weekend family dinners. The fire gets you outside of the stuffy hot house. Go out and buy some fresh soft dough this exact week. Fire up the gas burners hot. Try the neat two zone method I showed you. I firmly promise you will truly love the end results. Good luck cooking out there. Let me know exactly how your very first bake goes!
Frequently Asked Questions
Can I use a Weber pizza stone on a standard gas grill without cracking it?
Yes, a Weber cordierite stone handles extreme grill heat well. Always place the stone on cool grates before lighting the burners to prevent thermal shock and dangerous cracking.
Do I need a heavy metal pizza peel or a wooden one for outdoor grilling?
A thin metal peel works best for sliding under stuck dough on hot grates. Wooden peels are great for prep, but metal offers the slim profile needed for quick flips.
How do I clean burnt cheese off my cast iron grill grates safely?
Crank the heat to high for five minutes to turn the stuck debris into ash. Then, use a stiff wire brush to scrub the warm iron grates clean without ruining the seasoning.
Will a standard propane tank provide enough heat for baking crust outdoors?
A regular blue rhino propane tank delivers plenty of power for high-heat cooking. Just make sure to preheat the closed unit for ten minutes to get the metal grates glowing.
How do I store my outdoor cooking tools during freezing winter months?
Store your metal spatulas, scrapers, and peels inside a dry garage or basement toolbox. Keeping them away from snow and ice prevents rust and protects the rubber grips.