How I Learned to Winterize My Gas Grill the Hard Way
A Cold November Morning in Chicago
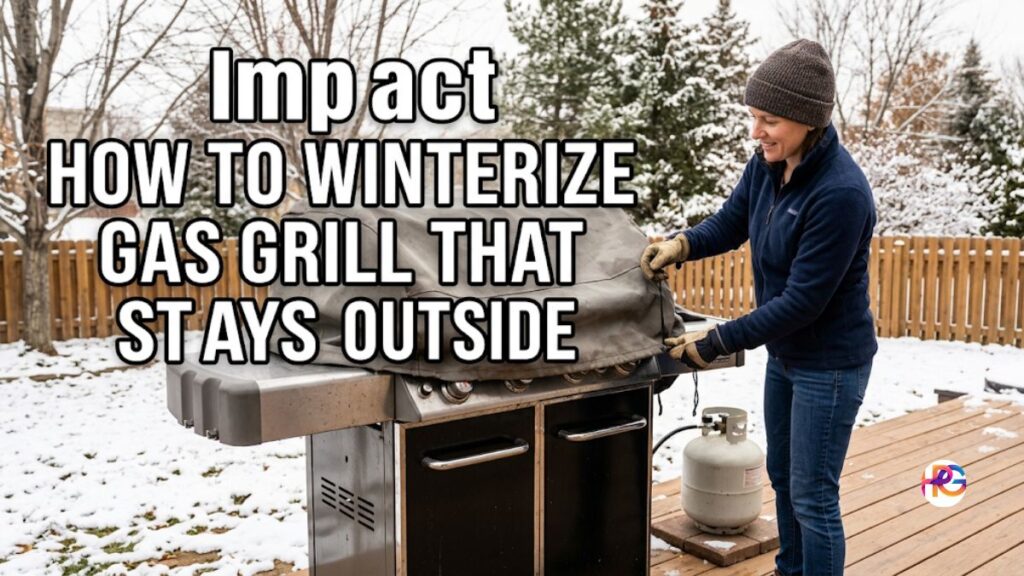
It was a freezing Tuesday. The wind howled off Lake Michigan. I stood on my back porch. My thin flannel shirt offered no warmth. I stared at my sad, cold barbecue. The snow was just starting to fall. A realization hit me hard. I needed to winterize gas grill parts before the ice took over.
Readers of my blog know I share honest stories. Well, here is a story about a big mistake. Two years ago, I did nothing. My cooker stayed outside unprotected. Spring eventually arrived. I opened the heavy lid. A family of mice had moved in. The smell was absolutely awful. Grease and rust were everywhere. A perfectly good burner was completely ruined. I promised I would never let that happen again. Now, I take this chore very seriously. Today, I want to share my exact process with you. You can save money and keep your food safe.
Why You Must Winterize Gas Grill Systems
Leaving outdoor cooking gear in the cold is a bad idea. Steel parts hate cold moisture. Rust eats through thin metal fast. Leftover food bits draw in hungry pests. Insects always look for warm, dark places. Mice absolutely love old grease traps. They build cozy nests inside the tubes. You certainly do not want mouse droppings near your food. That is a clear health risk.
Replacing rusted parts costs a lot of money. A new set of grates can cost fifty bucks. Fresh burner tubes cost even more. A good cleaning takes maybe an hour. That single hour saves you cash next year. I learned this lesson the hard way. My wallet felt the deep pain. Buying a whole new setup was frustrating. This is why I tell everyone to prep early. Do not wait for the first blizzard. Start working while your fingers can still move.
The True Cost of Skipping This Chore
Let us look at some hard facts. Data shows most units last about three years if left dirty. A clean machine can easily last ten years. That is a huge gap. A basic setup costs around three hundred dollars. Buying a new one every three years is silly. You waste hard-earned money. More trash goes into the landfill. I really hate throwing things away. Fixing and maintaining things feels much better. We need to respect our tools. This care routine adds years of life.
My Go-To Gear for the Job
You do not need fancy stuff to winterize gas grill setups. Basic things from the garage work fine. My kit is simple and cheap. Let me show you what I grab first. A wire brush is my best friend. Dish soap cuts through the thick grease. A roll of paper towels is also necessary. A small plastic scraper helps a lot. Normal cooking oil works for the final step. A solid cover is the most vital item. Do not buy cheap plastic tarps. I tried that trick once. The wind shredded the plastic in two days.
| Tool I Use | What It Does | My Cost |
| Wire Brush | Clears hard food bits | Five bucks |
| Dish Soap | Melts away thick grease | Two bucks |
| Putty Knife | Scrapes the bottom tray | Three bucks |
| Canola Oil | Stops rust on metal | Four bucks |
| Canvas Cover | Blocks snow and wind | Forty bucks |
Step by Step: How to Winterize Gas Grill
Now we get to the real work. Put on some old clothes. Dirt and soot will get everywhere. I always wear thick rubber gloves. Old fat smells very bad. The grime gets under your nails easily. Let us walk through my exact routine.
Step One: Cut the Gas and Scrape
Safety always comes first. Turn the main valve all the way off. Unhook the thick hose from the tank. Move the heavy cylinder away from your work zone. Now, open the top lid. Take out the heavy grates. Put them on some old newspaper. Scrape the metal hard with your brush. Get every bit of burnt food off. Next, look down inside the box. You will see ash and dark sludge. Use your plastic putty knife here. Push all that junk into the trash. Do not let it fall on your patio. The sludge stains concrete fast. I spent hours washing my deck last year.
Step Two: Wash and Dry Everything
Grab a bucket of hot water. Mix in plenty of dish soap. Use a sponge to wash the inside walls. Wash the outside panels too. Wipe down the side tables. Clean the plastic knobs carefully. Scrub the grates one more time in the soapy water. Rinse the whole thing with a garden hose. Now comes a very important part. You must dry it all completely. Standing water causes instant rust. Old rags work great to dry every inch. Sometimes I let it sit in the sun for an hour. Make sure no moisture hides in the dark corners.
Step Three: Oil the Metal Parts
This step is a massive game changer. Grab your basic cooking oil. I like canola oil best. It goes on very smooth. Pour a little on a paper towel. Rub it all over the clean grates. Coat the heat tents too. You want a thin, even layer. This oil acts like a magic shield. It keeps the cold air away from the steel. Winter moisture gets blocked out. I felt like a genius when I first tried this. My grates looked brand new in April.
Dealing With the Grease Trap
Do not forget the bottom drip pan. This is easily the grossest part. The tray is full of fat from summer cookouts. Mice smell this treat from miles away. Slide the pan out very carefully. Dump the old sludge in the trash. Never pour it down a sink drain. The fat will clog your home pipes. Wash the metal pan with hot soapy water. Dry it off completely with a towel. Put the tray back empty. An empty pan means no hungry visitors.
Propane Tank Safety Tips
People always ask me about the fuel cylinder. Where should the tank go? This is a serious topic. Propane acts weird in extreme cold temperatures. But it is perfectly safe outside. Leave the disconnected tank outdoors all winter. Stand it up straight on a flat surface. Do not lay it on its side. Never bring the cylinder inside your house. Putting it in an attached garage is also bad. A tiny leak could fill a room with invisible gas. That creates a huge fire risk. I leave mine right next to the house siding. A small piece of wood goes under the base. The wood stops the metal ring from rusting on the wet ground.
Finding the Perfect Winter Cover
Your final line of defense is the fabric cover. I used to buy cheap options. Thin covers crack when the temperature drops. Storms easily blow them into the yard. Now I buy heavy canvas materials. Quality materials cost a bit more. But they last for several years. Look for a design with strong straps. You need to pull the straps tight. The wind in Chicago is brutal. A loose cover will fly away. A tight fit also keeps bugs outside. Make sure the fabric can breathe. Pure plastic traps water inside the dome. Trapped water guarantees a rusty mess.
| Cover Type | The Good | The Bad |
| Cheap Plastic | Costs less upfront | Cracks in the cold |
| Heavy Canvas | Breathes well, stops rust | Costs more money |
| Custom Fit | Looks very neat | Hard to pull off |
Caring for the Small Inner Parts
We are almost done with the project. Take a look at your igniter button. Does the switch use a battery? If yes, take that battery out immediately. Batteries leak acid when they freeze solid. The acid will ruin the electrical wires. A dead switch ruined my spring cookout back in twenty twenty. Keep the small battery indoors. Next, check the long burner tubes. Spiders love to sleep inside these dark tunnels. A small piece of foil wrapped over the tube ends works wonders. The foil blocks the tiny holes. Pests stay out all season. Just remember to take the foil off in the spring.
Checking the Hoses for Leaks
This is another big safety step. Rubber hoses dry out in the winter months. Cold air makes the material very brittle. Small cracks start to form slowly. You cannot always see the damage. I check my lines before the snow hits. A simple trick works best. I mix dish soap and warm water. I rub the soapy mix on the black line. Tiny bubbles will show up if air escapes. Bubbles mean gas is leaking out. Escaping gas is extremely dangerous. Finding a leak now is a good thing. A new hose can be ordered today. It will sit safely in your garage until spring. Cooking time will not be lost later.
What About the Side Burner?
Many people completely ignore the side burner. I did this foolish thing for years. The extra ring was only used for boiling corn. But the small parts need care too. Lift the heavy metal grate off first. Wipe down the round brass ring. Clean out any spilled soup or grease drops. Wrap the whole side unit in a plastic grocery bag. Use a plastic zip tie to hold the bag tight. Moisture gets locked out completely. Bugs cannot hide in the tiny jet hole. A clogged jet guarantees a weak flame next year.
Natural Gas Versus Propane
Some of you have natural gas lines. Those pipes run straight to the house. You handle these setups differently. A heavy tank is not involved here. You must shut off the main supply valve first. The red valve is usually on the brick wall. Turn the handle until it stops completely. Then unhook the quick disconnect hose carefully. Put a rubber cap on the wall pipe. Dirt gets stopped from blowing in. Treat the rest of the unit exactly the same. Wash the metal. Oil the grates. Secure the cover tightly.
Why I Avoid Harsh Chemicals
You might want to use heavy oven cleaner. I highly advise against doing that. Harsh sprays are bad news for outdoor grills. A toxic chemical film gets left behind. That invisible film burns off right into your food. You will taste the spray on your burgers. The terrible flavor ruins the whole meal. Strong chemicals also damage the outside paint. The spray can eat through the shiny finish. Plain dish soap is much safer. White vinegar is another great choice. Vinegar cuts through grime naturally and safely. The clear liquid is cheap and easy to find. I always keep a spray bottle of vinegar handy. Stainless steel shines brightly after a quick wipe.
Should You Bring the Grates Inside?
Here is a debate I see often online. Some folks bring their cooking grates indoors. The heavy metal gets stored in the basement. I actually think this is a brilliant idea. If you own cast iron grates, bring them in. Cast iron rusts very easily outside. Even with a thick oil coat, the damp air is harsh. Finding empty space inside is the only real problem. I wrap my heavy pieces in old towels. Then I slide them under a shelf in the laundry room. They stay perfectly dry and safe. Stainless steel parts can stay outside. The shiny metal fights off rust much better.
Dealing With Unexpected Mold
Let us talk about a gross surprise. Sometimes you open the lid and see fuzzy mold. This happens if moisture gets trapped underneath. Rainy climates cause this issue often. Do not panic if you see green fuzz. The whole unit does not need to be thrown away. Just turn the main burners on high. Let the fire roar for twenty solid minutes. Extreme heat kills all the mold spores fast. After the metal cools down, scrub it with soapy water. Wipe the surfaces dry with a towel. Your outdoor cooking space will be totally safe again.
The Reward Next Spring
Winterizing your gas grill definitely takes some effort. A Saturday afternoon gets eaten up. Your hands will get dirty and greasy. Your lower back might ache a little bit. The future payoff is absolutely huge though. When the winter snow finally melts, you will be happy. Pulling off that tight cover feels great. Your clean cooking space will shine brightly. Rust will not be an issue. Nasty webs will be gone. Horrible smells will not ruin the day. You just hook up the fresh gas line. Then you push the igniter button. Food can be cooked right away. That amazing feeling is worth all the hard work. I promise you will thank yourself later. Thanks for reading my story today. Stay warm out there. Take good care of your outdoor gear.
Frequently Asked Questions
Can I leave my propane tank attached to the winterize gas grill setup?
No, always disconnect your tank before winter storage. Leave the propane cylinder outside in an upright position. This simple safety step prevents accidental leaks in the cold.
How do I stop mice from nesting inside my outdoor burner tubes?
Mice love dark holes. Wrap a small piece of foil over the open tube ends. This blocks pests all winter, but remember to remove the foil before your first spring cookout.
What is the best oil to protect cooking grates from winter rust?
Canola oil works best to protect the metal parts. Rub a thin layer over clean grates with a paper towel. This creates a safe shield that blocks out harsh winter moisture.
Should I bring my heavy cast iron grates inside the house?
Yes, cast iron rusts very fast in cold, damp air. Clean them well, wrap them in old towels, and store them in a dry place like your laundry room or basement.
Can I use plastic tarps to cover my outdoor cooking gear?
Avoid thin plastic tarps because they trap moisture underneath. Trapped water causes fast rust. Use a heavy canvas cover with tight straps to block the heavy wind.