My Gas Grill Temperature Guide For Different Cuts Of Meat
Why I Ruined Good Steaks in Austin
It was a hot July day in Austin, Texas. Ten close friends came to my yard for food. Good beef steaks cost me a lot of money. I felt very proud. Soon, I ruined them.
I turned all the gas knobs to max. Hot flames shot up high. The meat burned on the dark outside. Inside, the steaks stayed cold and raw. My pals chewed on the tough beef. Guilt filled my chest fast. We ordered hot pizza instead. That sad day changed me.
I knew I had to learn fast. Buying a small notepad was my first step. Testing my burners took a few hours. I wrote down the heat results. Now, I want to share my gas grill temperature guide for different cuts of meat. It will save your next big party.
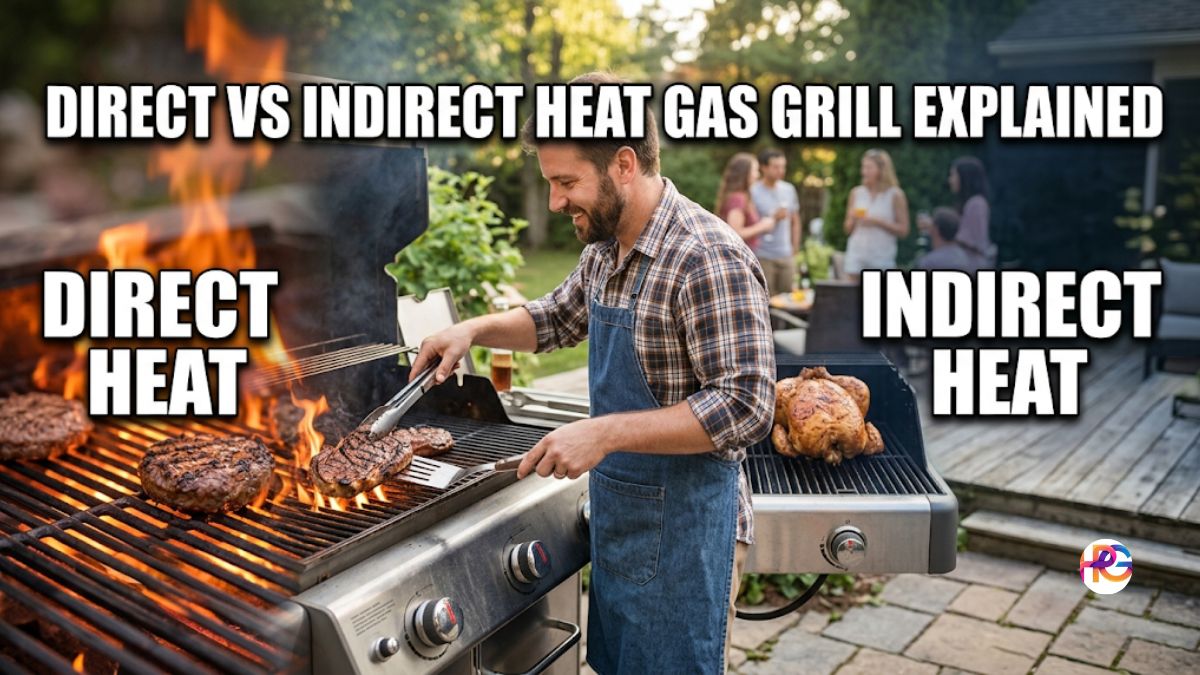
Learning the Heat Zones on a Gas Grill
Grills are not just on and off boxes. You have round dials for a reason. You must control the fire well. Think of your grill like a kitchen oven. No one bakes a sweet cake at five hundred degrees. The same rule applies to your backyard patio cooking.
I learned to set up distinct zones. One side gets very hot. The other side stays quite cool. This trick lets you move food around safely. If the flames get too high, shift the food. This simple move fixes most common mistakes.
High Heat for the Perfect Sear
High heat means four hundred fifty degrees or more. I use this for thin food cuts. It works very fast. You get those dark grill marks right away. The smell of hot fat fills the air. Hearing that sound makes me happy.
It works well for a quick weeknight dinner. You only leave the food on for a brief time. Do not walk away to talk. I walked away once to grab a cold beer. My nice food turned into hard rocks.
Medium Heat for Chicken and Pork
Medium heat is right around three hundred fifty degrees. This is my true safe zone. Most meals cook best right here. It cooks the center without burning the outside skin.
I use this for thick pork chops. Bone-in chicken thighs work great here too. The fat melts slowly over time. The meat stays very juicy inside. You can close the heavy lid and relax a bit.
Low Heat for Big Slow Roasts
Low heat sits near two hundred fifty degrees. I use this setting for big cuts. Think of a whole chicken or a thick brisket. It takes a long time to finish.
You will need lots of calm patience. Sitting in my lawn chair is nice. Watching the thin smoke is a peaceful process. The tough parts of the meat break down. Everything gets soft and ready to eat.
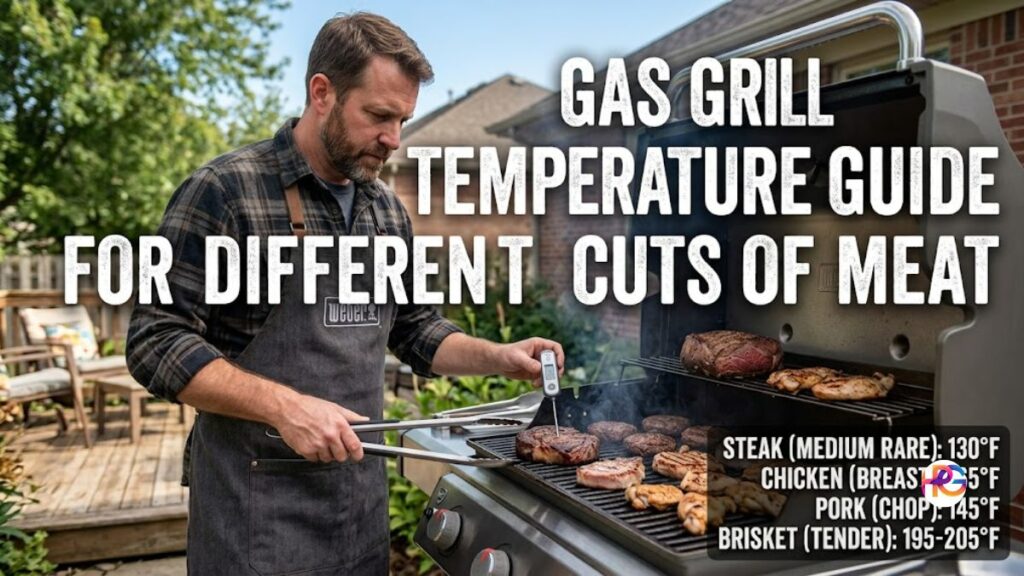
My Go-To Gas Grill Temperature Guide for Different Cuts of Meat
You need real numbers to get things right. Guessing does not work at all. I guessed for years and made bad food. Here is the data I use every week.
I printed this chart out for my fridge. You can use it too. It focuses on beef and rich pork. These are the most common things I cook. Let us look at the hard numbers.
| Meat Type | Best Cut | Grill Heat Zone | Internal Heat Goal |
| Beef | Ribeye Steak | High | 130 F to 135 F |
| Beef | Ground Burger | Medium High | 160 F |
| Beef | Big Roast | Low | 195 F to 205 F |
| Pork | Thin Chop | High | 145 F |
| Pork | Thick Chop | Medium | 145 F |
| Pork | Baby Back Ribs | Low | 195 F |
You must watch the inside heat closely. The outside look can fool you easily. A dark crust might hide a raw red center. Pale skin might hide dry dust inside. Trust the clear numbers in the chart.
Grilling Chicken Without Burning It
Chicken is hard to grill well. I used to serve dry breasts all the time. My kids hated eating it. They called it dry sand meat.
Hearing that made me feel terrible. Then I learned the right way. You need a slightly lower heat fire. Watching the thick parts is key.
Seafood cooks even faster than birds. Fish will stick to the hot grates quickly. I oil the raw fish well. Making sure the grates are very hot helps too. Here is the second part of my gas grill temperature guide for different cuts of meat.
| Meat Type | Best Cut | Grill Heat Zone | Internal Heat Goal |
| Chicken | Breast Meat | Medium High | 165 F |
| Chicken | Leg or Thigh | Medium | 170 F to 175 F |
| Chicken | Whole Bird | Low to Medium | 165 F |
| Seafood | Salmon Fish | Medium High | 145 F |
| Seafood | Raw Shrimp | High | 120 F |
Notice how chicken thighs can go higher. They taste better when cooked a bit more. The dark meat gets much softer. Fish cooks in a quick flash. Do not blink when making shrimp. They turn pink and are done.
Tools That Saved My Summer Cookouts
You cannot guess if food is safe. Poking meat with a bare finger is silly. I tried the finger test for many years. Sometimes I got lucky. Mostly I got things wrong.
A good meat probe is your best friend. Buying a cheap one first was my choice. It broke after two short weeks. Then I spent a little more cash.
I got an instant read probe tool. This device changed my life. Poking the food gives a fast number. I know right away if it is done. Clean your grates with care too. A wire brush works well enough. Just check for loose metal wires. You do not want sharp metal in your food. I use a wood scraper now instead. It feels much safer to me.
How Resting Meat Changes Everything
Taking meat off the fire is not the last step. You must wait a bit. Doing this feels very hard. You smell the rich smoke. You see the nice dark crust. Your mouth waters for a bite.
But you have to wait patiently. Cutting a steak right away causes bad things. All the hot juice runs out fast. It spills all over the plate. Your meat turns dry in a split second.
I let my steaks sit on a wood board. Waiting five to ten minutes is best. The juice flows back into the deep center. The muscle fibers relax slowly. When I finally cut it, the meat is perfect. Every bite is wet and full of deep flavor. This one trick makes cheap meat taste great. Do not skip the resting phase ever.
Preparing the Fire for Success
A dirty grill makes bad food. Learning this the hard way was no fun. Last spring, I fired up my old backyard grill. Cleaning it from the winter never happened. Old grease caught on hot fire.
Black smoke covered my whole yard. It smelled like burning rubber tires. I had to turn off the gas fast. Scraping black gunk off the grates took an hour.
Now, I start with clean metal. Heating the grill on high takes ten minutes. This burns off the old gross stuff. Then I scrape it totally clean. Dipping a paper towel in cooking oil is next. I rub the wet oil on the hot metal.
This makes a nice non-stick surface. My fresh fish slides right off now. My big steaks get clean dark marks. Taking ten minutes to prep saves the whole meal. It is a core part of my cooking routine.
How I Stop Big Fire Flare Ups
Fat drips down when you cook meat. Fire jumps up when fat hits hot metal. A small flame is fine to see. It adds a smoky taste to the beef. A large fire is bad news.
Huge flames leave black soot on your food. It tastes like dirty bitter ash. I used to spray cold water on the wild flames. That was a big careless mistake. The wet water made the ash fly everywhere. It ruined my nice fresh burgers.
Now I use the smart two-zone method. Keeping one side of the grill off works well. If a big fire starts, I move the meat over. Shifting food to the cold side stops the burn. The fire dies down quickly. Then I move the rich meat back.
This process keeps the food safe. It stops me from panicking at the grill. You must stay calm when the red fire grows. Move the food away, do not fight the flame.
Flavor Tricks Before the Heat Hits
A good gas grill temperature guide for different cuts of meat needs prep. Raw meat needs salt before it cooks. Salting my steaks an hour early is my rule. I let them sit right on the kitchen counter.
The dry salt pulls out some water. Then the meat drinks the salty water back inside. This makes the deep inside taste amazing. The outside edge gets very dry. A dry outside makes a thick crispy crust.
I also use simple dry rubs. Black pepper and garlic are my top choices. Sugar in a rub will burn very fast. Avoiding sugar on high heat is a strict rule.
If I want a sweet sauce, I wait. Brushing the sweet sauce on at the very end works. I give it two minutes to get nice and sticky. Putting it on early turns it into black coal.
Finding the Hidden Cold Spots
Every gas grill is quite unique. They all have strange little quirks. My main grill is hot in the far back. It is cold in the front left corner. Finding this out with cheap white bread was fun.
I covered the whole main grill in cheap white bread. Turning all burners to medium came next. I waited a few short minutes. Then I flipped all the bread slices over.
Some pieces were completely black. Some were barely light brown. Taking a quick picture of it helped me. Now I know my true grill map.
I put thick meat in the back row. Hot dogs go in the front left area. You should test your own grill this weekend. Buy a cheap soft loaf of bread. Map out your unique fire heat zones. It takes all the daily stress away. You will know exactly where to put tasty things.
My Final Thoughts on Cooking
Grilling should be a fun time. You get to be outside in the fresh air. Friends and family gather around the warm fire. Good food brings people together.
Do not let the heat scare you. Practice makes perfect in the back yard. Keep this gas grill temperature guide for different cuts of meat close. Read the numbers before you light the fire.
Your food will taste better right away. Mistakes will happen from time to time. We all burn a hot dog now and then. Just laugh and keep on cooking. Enjoy the great smoke and the good times.
Frequently Asked Questions
Which meat thermometer brand gives the fastest read on a hot gas grill?
The Thermapen One gives a true read in one second. Its tough build handles high heat well. It helps you follow a gas grill temperature guide for different cuts of meat safely.
Can I use a cheap plastic meat probe for high heat grilling?
No, cheap plastic tools will melt fast on hot grates. A metal Weber probe offers great durability and safety. It keeps your hands far away from the dangerous open flames.
How do I clean my gas grill grates without a loose wire brush?
Try a solid wood scraper from Grate Chef. It forms to your grates over time and provides a safe grip. You will never worry about sharp metal wires hiding in your food.
What is the best way to store gas grill tools in a cold winter garage?
Store your metal tongs and tools in a dry Milwaukee Packout box. This stops rust from damp air. It keeps your gear clean and ready for the first spring cookout.
Do digital grill gauges lose battery life in a hot summer shed?
Yes, high heat drains small batteries fast. Use a heavy duty DeWalt storage case to keep them cool. It protects the screen and extends the life of your digital tools.