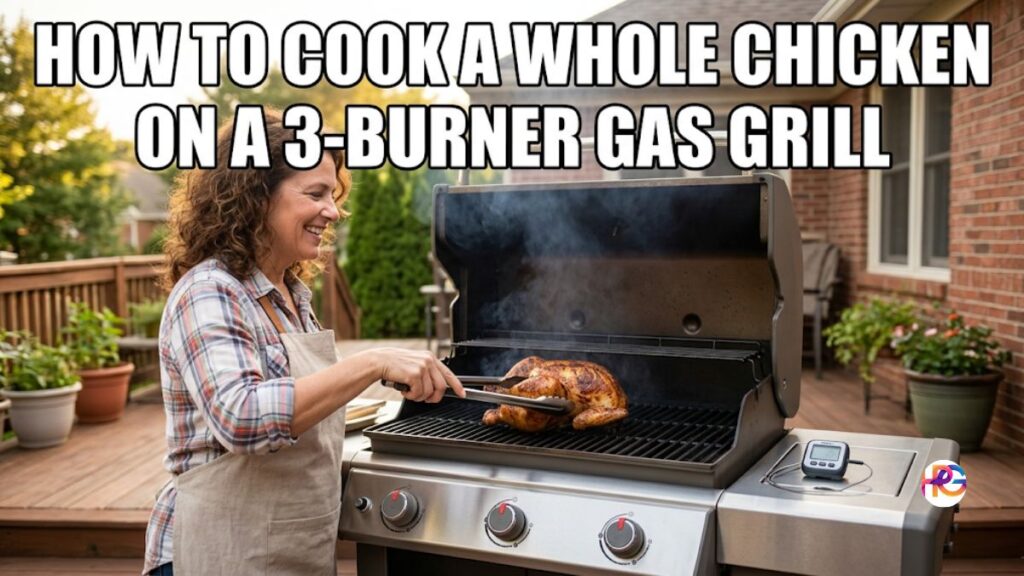
My Guide on How to Cook a Whole Chicken on a 3-Burner Gas Grill
The Day I Almost Ruined Dinner in Texas
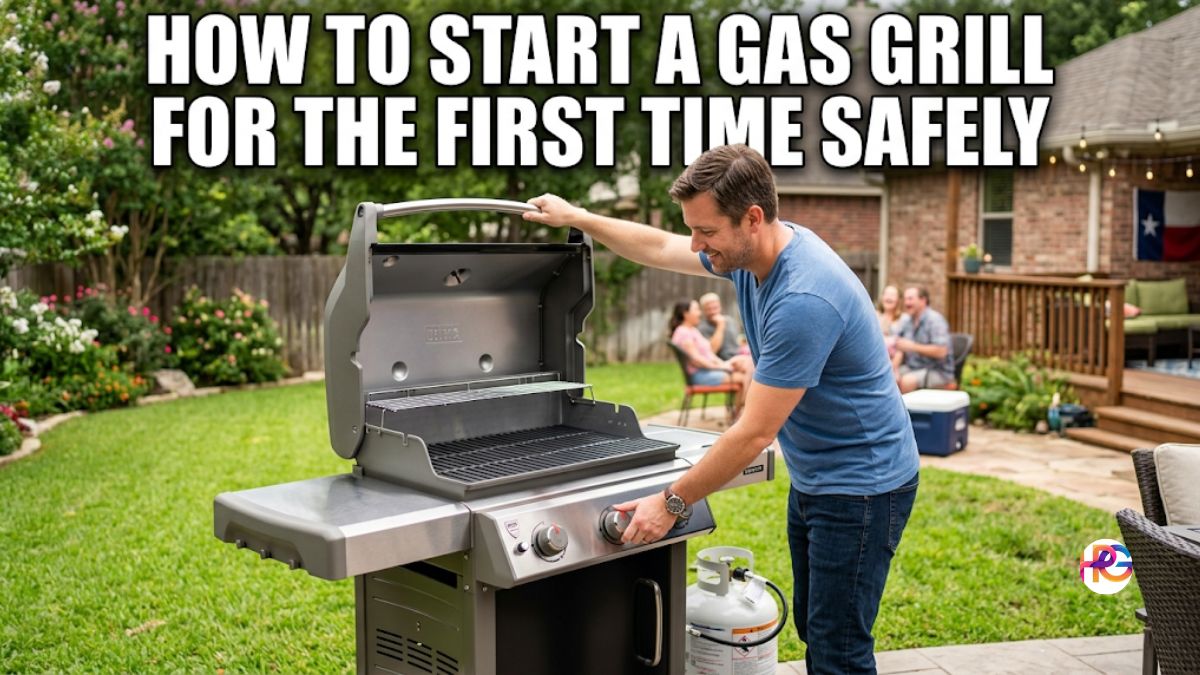
It was a hot Saturday in Austin, Texas. My friends were coming over for dinner. I wanted to impress them. I bought a big, fresh bird from the local market. My plan was to grill it outside. The sun was beating down on my patio. I could smell the oak trees in the warm breeze. I felt very confident. That confidence did not last long at all.
My first attempt was a total disaster. I turned all the burners on high. I threw the meat right in the middle of the flames. Smoke filled the yard in minutes. Grease dripped everywhere. The skin turned black as coal. The inside was still raw and cold. We ended up ordering pizza that night. I felt so foolish.
But that failure taught me a lot. I spent the next few weeks reading and testing. I burned a few more dinners. Slowly, I learned the right way to do it. Now, I want to share my secrets with you. You do not have to make the same mistakes I made.
Why a 3-Burner Gas Grill is Perfect for This
You do not need a fancy smoker to make great food. A standard backyard gas grill works great. A three-burner model gives you amazing options. You have a left, middle, and right heating zone. This layout lets you control the fire with precision. It is the key to perfectly roasted food.
The magic happens when you turn off the middle zone. You create a safe space for the food. The heat circles around it gently. It acts just like your kitchen oven. You get crispy skin and juicy meat. Plus, you get that amazing outdoor flavor that everyone loves.
Getting the Bird Ready for the Fire
Preparation is everything in outdoor cooking. Do not rush this part of the job.
Choosing the Right Chicken
Size really matters here. I look for a bird that weighs about four pounds. This size cooks fast and stays moist. Larger birds take too long on the grates. They tend to dry out on the outside before the inside is done. Pick one that looks plump and smells fresh.
Prepping and Drying for Crispy Skin
First, take the meat out of the wrapper. Look inside the main cavity. Remove any giblets or neck parts hiding in there. Some people toss them. I save them for soup stock later.
Next, grab some strong paper towels. Pat the skin completely dry. Moisture is the huge enemy of crispy skin. Do not skip this vital step. I like to leave it uncovered in the fridge for an hour. The cold air dries the skin even more. This makes a huge difference in texture.
Tying the Legs Together
You might hear chefs call this trussing. I just call it tying the legs. You take a piece of cotton string. Wrap it around the ends of the drumsticks. Pull them tight together and tie a knot.
This simple step does two things. First, it makes the bird look nice and neat. Second, it helps the meat cook evenly. The legs will not burn as fast when they are tucked in close.
The Spice Rub I Swear By
Keep your spices simple and fresh. I rub the skin with a little olive oil first. This helps the dry spices stick well. Then I add a lot of coarse salt. Kosher salt works the best for this.
I add some fresh black pepper next. Sometimes I throw in sweet paprika for a nice red color. Garlic powder is a nice touch too. Rub the mix all over the outside. Put some inside the open cavity as well.
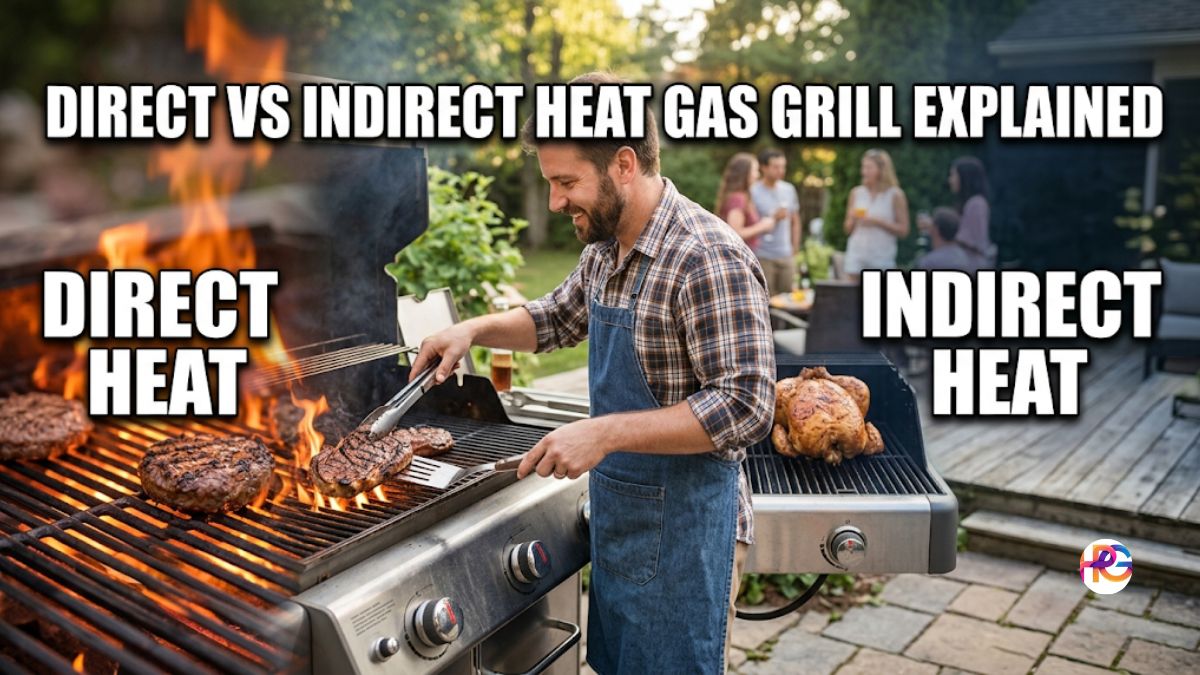
Setting Up Your Grill for Indirect Heat
This is the most important lesson you will learn today. Direct fire will burn your meal. Indirect heat will cook it like an absolute dream.
The Burner Setup Guide
You need to set up two hot zones. Here is how I set my dials for success.
| Burner Location | Dial Setting | Purpose |
| Left Side | Medium | Creates ambient heat |
| Middle Burner | Off | Safe cooking zone |
| Right Side | Medium | Creates ambient heat |
Turn the left and right dials to medium. Leave the middle dial completely off. Close the heavy lid and let the metal warm up. Give it about ten minutes to get hot.
Why We Use the Indirect Heat Method
Think about a simple campfire. If you put a marshmallow right in the bright flame, it burns fast. If you hold it near the fire, it turns golden brown slowly. Your gas grill works the exact same way.
The middle zone gets hot from the side flames. The actual fire never touches the meat. This prevents fast burning and huge flare-ups.
How to Cook a Whole Chicken on a 3-Burner Gas Grill: Step-by-Step
Now for the real fun part. The metal grates are hot. The meat is ready to go. Let us get cooking right now.
Putting the Bird on the Hot Grates
Open the lid carefully. Place a small metal drip pan under the middle grate. This pan catches the dripping fat. It saves you from cleaning a huge mess later.
Place the meat right over the unlit middle section. Put it breast side up. Close the lid right away. You want to keep all that good heat inside the box.
Adding Wood Chips for Smoke
You can make your gas grill taste like a real smoker. You just need some dry wood chips. Apple wood or hickory wood are great choices.
Wrap a handful of dry chips in aluminum foil. Poke a few small holes in the foil pouch. Place this pouch right on the hot left burner. Soon, sweet smoke will fill the air. It adds an amazing flavor to the meat.
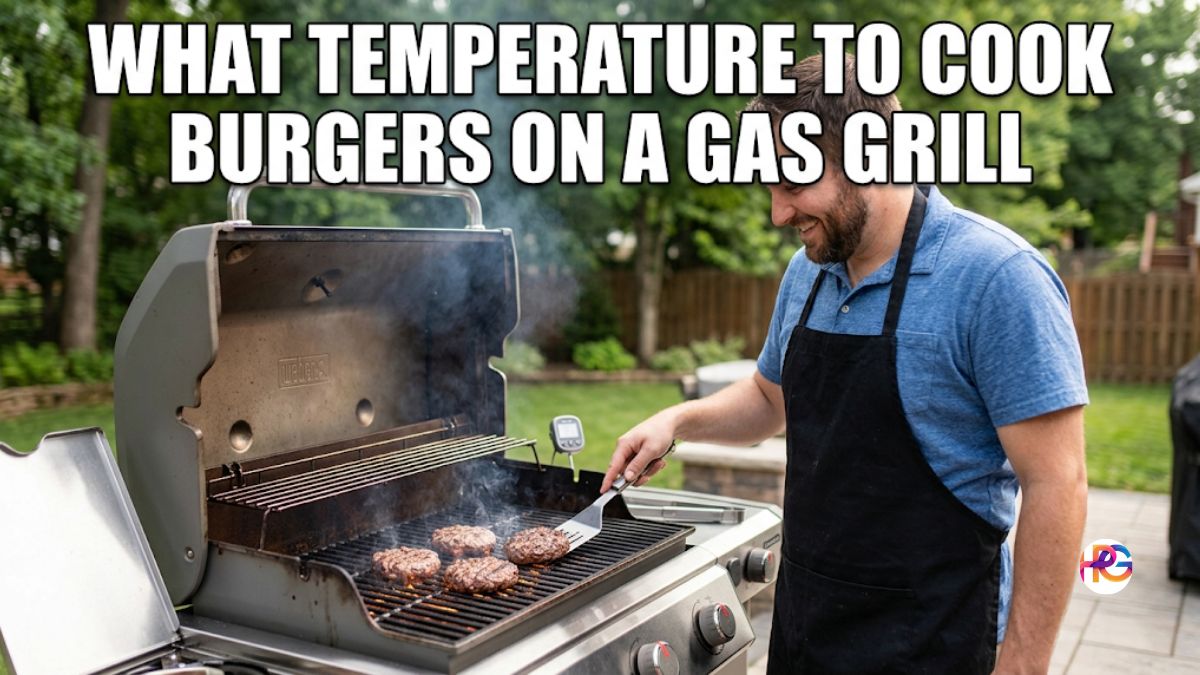
Temperature Control Tips
Look at the round thermometer on your lid. You want it to read around 400 degrees Fahrenheit. If it gets too hot, turn the side dials down a little bit. If it is too cool, turn them up a tiny bit.
Every brand of grill is a little different. Watch the gauge closely for the first ten minutes. Once the needle is stable, leave the dials alone. Do not open the heavy lid. Every time you peek, you lose hot air.
When to Flip or Spin the Meat
You do not need to flip the bird over at all. The breast stays facing up the whole entire time. However, I do like to spin it once.
After about forty minutes have passed, open the lid fast. Use tongs to turn the bird halfway around in a circle. This helps the skin cook very evenly. Close the lid fast to trap the heat.
Knowing Exactly When It Is Done
Guessing the cooking time is a very bad idea. Raw poultry is unsafe to eat. Overcooked poultry is dry and sad. You need to know the truth for sure.
Using a Digital Meat Thermometer
Buy a good digital meat thermometer today. It is the best tool any cook can own. After about one hour of cooking, check the meat.
Push the metal tip deep into the thickest part of the thigh. Do not let the tip hit the bone. The bone is always hotter than the meat around it. You are looking for a clear reading of 165 degrees Fahrenheit. If it is not there yet, close the lid. Give it ten more minutes and check again.
The Critical Resting Phase
When the number hits 165 degrees, take it off the fire. Place it on a clean wooden cutting board. Now, you must stand back and wait. This part is hard, but it is vital.
| Action Step | Time to Wait | Why it Matters |
| Tent with foil | 1 Minute | Keeps heat inside |
| Let it sit still | 15 Minutes | Juices settle down |
| Slice and serve | Ready to eat | Best possible flavor |
As the meat rests quietly, it relaxes fully. The hot juices flow back into the center muscle. If you cut it right away, the juices spill out on the board. The meat on your plate will be dry. Give it fifteen full minutes of peace.
My Biggest Mistakes and How to Avoid Them
I told you about my first Austin disaster. Let me share a few more painful slip-ups. I want you to learn from my past pain.
Grease Flare-Ups Are Not Fun at All
Fat naturally drips as it cooks. If liquid fat hits a hot burner, it catches fire fast. This makes nasty, bitter smoke. It coats your lovely food in black soot.
Always use that metal drip pan I mentioned earlier. I forgot to use it once last summer. My grill caught on bright orange fire. I had to run and use the garden hose. It completely ruined the meal and the metal grates.
Skipping the Handy Drip Pan
A drip pan does much more than stop dangerous fires. It keeps your grill box very clean. Scrubbing baked black grease is really hard work.
You can buy cheap foil pans at the grocery store. Toss them in the trash when you are done. Sometimes I chop fresh onions and potatoes. I put them right in the drip pan. They cook slowly in the falling chicken fat. They taste completely incredible.
Rushing the Cooking Process
Patience is a great virtue in outdoor cooking. I used to crank the heat up to finish my chores faster. It never ends well for the food.
The outside skin gets tough and burnt. The inside bone stays pink and raw. Low and steady heat wins the race here. Trust the slow process and watch the clock closely.
How to Carve Your Cooked Bird
Cutting the meat is easy when you know how. First, cut the string off the tight legs. Pull one leg away from the main body. Slice through the soft joint to remove it. Repeat this on the other side.
Next, find the breast bone running down the middle. Slice down one side of the hard bone. Keep your knife close to your ribs. The whole breast piece will fall away. Repeat this exact step on the other side. Now you can slice the breast meat into thin pieces.
What to Serve With Your Masterpiece
A great main dish needs good side dishes. You are already cooking outside on the patio. Try to keep the mess out of your kitchen.
I love making grilled sweet corn on the cob. You can put the ears on the side burners. Do this during the last fifteen minutes of cooking. A simple green garden salad is fresh and easy to make.
Cold potato salad is a classic choice for a summer party. Sometimes I just slice up fresh red tomatoes from the garden. Add a little salt and sweet basil, and you are set.
Storing and Using Tasty Leftovers
You might have some meat left over after the big party. Do not throw it away. It makes great meals for the next few days.
Pull all the remaining meat off the small bones. Put it in a tight plastic container. It will last in the fridge for three or four days. I love to use it cold in big green salads. It also makes amazing chicken salad sandwiches for lunch. You can even chop it up for fast dinner tacos.
Final Thoughts on Grilling Whole Birds
Learning how to cook a whole chicken on a 3-burner gas grill really changed my weekends. It feels absolutely great to feed my friends good food. The whole process is easy once you know the basic steps.
All you need is a very dry bird, a good salt rub, and a solid understanding of indirect heat. Remember to use a cheap drip pan. Watch your lid temperature gauge. Always use a digital thermometer to check for food safety. Let the meat rest fully before you cut it up.
Follow these simple steps every time. You will look like a real pro in the backyard. Your family will beg you to make this meal again soon. Have fun out there and enjoy your delicious dinner.
Frequently Asked Questions
Can I use wood chips in a Weber gas grill for extra flavor?
Yes, you can use wood chips in a Weber gas grill to get a great smoky flavor. Just wrap a handful of chips in heavy foil and poke a few holes in the top. Place this pouch right on top of a hot burner plate.
What is the best digital thermometer for checking grill temperatures?
A ThermoPro digital meat thermometer is a fantastic tool for this job. It gives you fast, accurate numbers to keep your meat safe and juicy. The long metal probe keeps your hands away from the hot grates.
How do I clean sticky grease off my grill grates safely?
Let the grates heat up fully, then scrub them with a tough wire brush. For deep cleaning, Dawn dish soap works great to cut through baked-on fat. Keep your cooking grates clean to prevent bad smoke and bitter food flavors.
Can I store my propane tank inside a cold garage during winter?
Always store your propane tank outside in a well-ventilated area, never inside a garage. Cold winter weather will not hurt the heavy steel tank at all. Safety must always come first when you work with gas tools.
Why does my grill lid thermometer show a different number than my digital probe?
Lid gauges measure the hot air at the very top of the grill hood. A digital probe measures the true heat right where your food sits on the grates. Trust your digital tool for the most accurate cooking results.