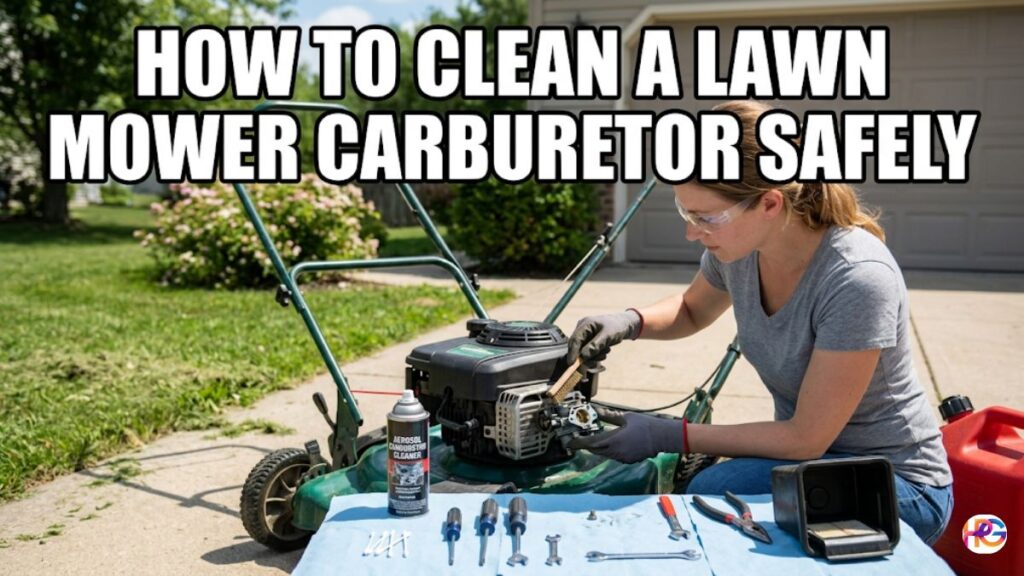
My Weekend DIY: How to Clean a Lawn Mower Carburetor Safely
Last Saturday started out great. The sun was warm over my yard in Ohio, and the fresh grass smelled amazing. I pulled the cord on my trusty walk-behind mower, expecting that familiar, comforting roar. Instead, I got a sad cough and a sputter. The engine died right away.
It was a classic small engine problem. Old fuel from last season had turned into sticky slime. It was choking the fuel system.
Instead of paying a shop a lot of cash, I fixed it myself on my driveway. I want to share my personal journey with you. Here is exactly how to clean a lawn mower carburetor safely without losing your mind, stripping any tiny bolts, or setting anything on fire.
Why Mower Engines Sputter and Die
Before we grab our tools, let us look at why this happens. Modern gas has ethanol in it. This alcohol attracts moisture from the air like a sponge.
When gas sits inside a small tank for months, it breaks down. It creates a thick varnish. This gooey slime clogs the incredibly tiny paths inside your small engine fuel system.
The engine cannot get enough fuel to run properly. It starves for gas, sneezes, and cuts out. Cleaning out that old gunk is the only way to restore your smooth yard sessions.
The Ultimate DIY Tool Kit and Safety Gear
You do not need a massive professional garage setup for this job. I pulled out a few basic hand tools from my drawer, along with some essential protection gear to keep things safe.

| Tool or Gear | What I Used It For | My Rating for This Job |
| Safety glasses | Kept high pressure chemical spray out of my eyes | Essential |
| Nitrile gloves | Shielded my skin from skin drying solvents | Highly recommended |
| Flathead screwdriver | Removed the air filter housing screws | Essential |
| Socket wrench set | Loosened the small fuel bowl bolt | Essential |
| Carburetor cleaner spray | Blasted away thick gum and sticky varnish | Essential |
| Thin copper wire | Cleared out micro deposits from brass holes | Essential |
Step 1: Make Everything Safe First
Safety must always come first when you work around gasoline. I learned this the hard way years ago when a random spark gave me a bad scare.
First, I parked the machine on flat concrete. Next, I pulled the black rubber boot off the spark plug tip. This simple step guarantees the blade cannot spin if you turn the engine over by hand.
After that, I clamped the flexible rubber fuel line shut with vice grips. This stops raw gas from pouring all over your hands later on.
Step 2: Locating the Air Filter Housing
The next task is getting to the fuel parts. The plastic air filter housing sits right on the side of the engine block.
I popped off the plastic cover clips and pulled out the square paper filter element. It was pretty dusty, so I gave it a quick tap against the wall.
Behind the filter, I found two silver bolts holding the main box down. I unscrewed them quickly. The metal carburetor body was finally visible right behind it.
Capture a Quick Reference Picture First
Before you touch any metal rods, stop and pull out your phone. Take a sharp digital photo of the tiny metal linkages and springs on top.
These small parts connect the throttle lever to the speed governor system. They must go back into the exact same holes later. If you do not have a picture, reassembly will feel like an impossible puzzle. Trust me on this one.
Step 3: Removing the Main Jet Bowl
Now we get to the heart of the fuel system. The round metal fuel bowl sits at the very bottom of the unit.
I placed an old towel and a small plastic tray underneath it. A small splash of stale, sour-smelling gas always drains out here.
Using my socket wrench, I carefully loosened the single brass bolt on the bottom of the bowl. This specific bolt holds the cup in place. It also acts as the main path for fuel.
Inspecting the Hidden Internal Mess
I pulled the metal cup straight down to look inside. The bottom of my bowl had a layer of red flake sediment and green slime.
This dirty mess is exactly what clogs your fuel flow. I sprayed the empty metal cup with aerosol carburetor cleaner spray until the metal shone like new.
Be careful not to lose the soft rubber ring seal around the top rim. If that seal gets pinched or torn, gas will drip constantly.
Step 4: Unclogging Fuel Orifices and Jets
This is where the real magic happens. The engine stalls because a tiny brass piece called the main jet gets blocked.
The main jet has a tiny hole right through the center. I held my bolt up to the afternoon sun. I could not see any light passing through it at all.
That meant it was completely plugged with dried fuel varnish. I needed to clear it out to fix the machine.
The Fine Wire Cleaning Trick
Never use a hard steel needle or a drill bit to clean these delicate parts. Hard steel can easily scratch or enlarge the soft brass openings.
Instead, I stripped an inch of plastic coating off an old piece of electrical wire. I pulled out a single strand of soft copper wire.
I gently pushed that thin strand through the middle of the brass jet. A tiny plug of dark crust popped right out. I followed that up with a long, satisfying blast of spray cleaner.
Step 5: Clearing the Emulsion Tube
The vertical stem hanging down from the middle of the body is called the emulsion tube. It has several microscopic holes drilled along the sides.
Air mixes with gas inside these tiny side passages. I hooked up the thin plastic straw to my spray can nozzle.
Then, I pressed the button to shoot solvent straight up into the center tube. Clear fluid squirted out of all the side holes, which meant they were perfectly open.
Step 6: Testing the Float and Needle Valve
The white plastic float controls how much gas stays inside the lower cup. It works just like the valve inside a home toilet tank.
I slid out the tiny metal hinge pin with my fingers. The plastic float came right out, along with a tiny metal needle valve.
I wiped down the smooth tip of the needle with a clean rag. Then, I checked to make sure the float did not have any liquid sloshing around inside it. A heavy float will sink, flood the engine, and ruin your afternoon.
Step 7: Final Reassembly and Testing
Putting everything back together is simple if you check your phone photos. I slid the clean needle back onto the float tab.
Next, I aligned the hinge pin and clicked it into place. I set the fresh bowl gasket down and pushed the clean metal cup back onto the bottom.
I tightened the bottom brass bolt down with my hand first, then gave it a snug turn with my wrench. Do not over-tighten it, or the soft metal threads will strip instantly.
Putting the Links Back in Place
I held my phone up to compare the parts with my reference picture. I hooked the long metal rod and the thin spring back into their correct slots.
After that, I bolted the plastic air filter housing back onto the engine face. I slid the clean filter element back inside and snapped the outer door shut.
Finally, I removed the fuel line clamp and pushed the rubber boot back onto the spark plug tip. The job was officially done.
The Moment of Truth in the Yard
My hands were dirty, and my driveway smelled like fresh solvent. I took a deep breath, gripped the safety handle, and gave the starter rope a strong pull.
The motor coughed once, caught its breath, and instantly roared to life. It idled perfectly smooth without any surging or shaking.
Cleaning the system myself took less than an hour of work. It saved me a long wait at the local shop, and my grass looks great again.
Simple Tips to Avoid Future Clogs
You do not want to repeat this process every single spring. I changed my fuel habits to keep my machine running great all year.
- Buy Fresh Fuel: Only buy enough gasoline to last you for four weeks at a time.
- Use Fuel Stabilizer: Add a high-quality liquid stabilizer treatment to your storage can on the day you fill it up.
- Run It Dry: If you plan to store the unit for the winter, drain the tank and let the engine run until it runs out of gas completely. This keeps the internal chambers completely dry and free of slime.
When to Replace Instead of Clean
Sometimes a deep scrub is not enough to save a bad part. If your unit sat outside in the rain for years, water might ruin the metal completely.
Inside the body, deep white corrosion can pit the brass permanently. If you see deep pitting or heavy rust holes, a cleaning spray will not help.
In that case, buying a cheap replacement unit online is your best bet. Swapping the entire part takes just twenty minutes and gives you a fresh start.
Final Thoughts on Small Engine Care
Taking care of your own yard tools is highly rewarding. It builds real confidence and keeps your hard-earned money in your wallet.
The process is simple if you take your time and stay organized. Just protect your eyes, take plenty of reference photos, and use soft wire for the jets. Your mower will stay reliable for many seasons to come.
Frequently Asked Questions:
Q1: Can I use a regular aerosol carburetor cleaner spray on a small Toro or Honda mower engine?
Yes, standard aerosol carburetor cleaner spray works great on Toro and Honda engines. Just avoid spraying it on soft plastic trim or delicate internal rubber gaskets.
Q2: Will keeping my cordless DeWalt tools in a cold garage ruin the lithium-ion battery life?
Freezing winter cold drains battery life fast and can freeze cell chemistry permanently. Store your DeWalt packs inside a warm house to keep their charging power high.
Q3: Can I use a hard steel pin to clear a clogged brass main jet on a Briggs & Stratton motor?
Never use hard steel pins because they scratch and widen the soft brass fuel jet holes easily. A single thin strand of copper wire clears the gunk safely.
Q4: How do I stop gasoline from turning into sticky varnish inside my Milwaukee outdoor tools?
Add a quality liquid fuel stabilizer to your fresh gas tank right away. For long winter storage, run the small engine completely dry to prevent sticky clogs.
Q5: Is it safe to clean a gummed-up lawn mower carburetor without removing it from the engine block?
You can clean the lower fuel bowl and main jet while it stays attached to the block. Just wear tight safety glasses to block the chemical spray bounce back.
Also Read this Important Article on: Why Does My Lawn Mower Leave a Strip of Cut Grass in the Middle