My Quest for a Safe Rig: How to Test RV Propane Detector
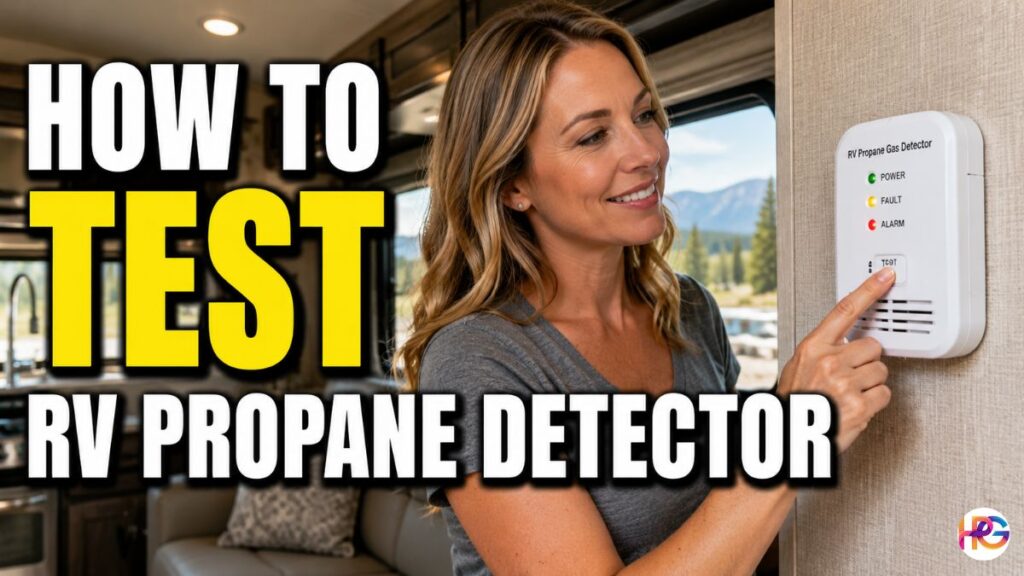
A few months ago, my family and I were packing up our rig for a long weekend trip. It was a crisp, clear morning, and the excitement was real. As part of my usual pre-trip checklist, I checked the tires and tested the lights before heading out. Finally, I walked inside and pressed the little button on our RV propane detector. It let out a loud, piercing beep. I smiled, checked the box, and thought we were completely safe.
I was wrong.
Later that afternoon, a friend of mine who is a veteran RVer stopped by. I told him I had just finished my safety checks. When I mentioned the beep, he shook his head. He told me that the button only checks the battery and the buzzer. It does not test whether the device can actually detect gas.
That conversation changed how I look at RV safety. I realized I had been trusting a false sense of security with my family’s safety. Over the next week, I dug into how these sensors work, read through manuals, and learned more about proper testing. Here is what I learned about how to test RV propane detector systems properly, written from one RV owner to another.
What the Test Button Actually Checks
That little button on your alarm can be misleading. When you press it, you hear a loud sound and see a light flash. It feels like you just completed a full inspection.
In reality, you only ran an electrical test. The button tells you that the unit has power from your 12V house batteries. It also tells you that the internal circuit can send a signal and that the buzzer works.
What it does not confirm is the most important part: the actual gas sensor.
Inside the unit is a sensor designed to react when propane reaches it. Over time, that sensor can become contaminated or lose sensitivity. The alarm may still beep when you press the test button even if the sensor cannot properly detect propane.
Weekly vs. Monthly Testing
Once I understood how the detector worked, I changed my routine. You should not rely on a single test once a year and forget about the detector.
The weekly check is a quick electrical check. I do this every week when we are out on the road. Walk up to the unit, press the test button, and listen for the alarm. This confirms that the detector has power and that its audible warning system works.
The monthly check should involve following the manufacturer’s instructions for checking the sensing function. You should also do this before your first trip after the RV has been stored for winter.
Mice, dust, moisture, and dirt can all cause problems while an RV sits unused.
Propane Detector Test Spray and Safe Methods
If your detector manufacturer approves a gas-sensor test, use the testing method specified in its manual. Some detectors can be checked with an approved detector test gas or spray.
Propane Detector Test Spray
A dedicated detector test spray can be useful when it is specifically approved for your detector. These products are designed to provide a controlled test gas.
Follow the instructions printed on the test product and the detector manual. Do not assume every detector requires the same amount of spray or exposure time.
A proper gas test should cause the alarm to respond if the detector and sensing system are working correctly.
The Unlit Lighter Method
I would avoid using an unlit lighter as a homemade test method unless the detector manufacturer specifically says it is acceptable.
Releasing raw butane near an electronic propane detector can create an unnecessary safety risk. Different sensors also respond differently to test gases. A method that works with one model may not be suitable for another.
For the safest approach, use the manufacturer’s recommended test procedure or an approved test gas.
Common Testing Mistakes to Avoid
When I first started learning about this, I almost made a few mistakes that could have damaged the unit. These sensors need careful handling.
Using Household Sprays
Never use hairspray, WD-40, or heavy cleaning chemicals to test your alarm.
These products can contain oils, solvents, or other chemicals that may contaminate the sensing element. A contaminated sensor may become less reliable.
Use only a testing product recommended for your particular detector.
Using an Open Flame
Never hold a lit lighter or match against the detector.
An open flame creates an obvious fire hazard around a gas-sensing device. Heat can also damage the plastic housing or internal electronics.
Keep flames away from the detector during testing.
Forgetting the Clock
RV propane detectors have a limited service life. Many models are designed to be replaced after about five years, but the exact replacement period depends on the manufacturer and model.
Check the label, manual, or manufacturer’s instructions for your unit. If the detector has reached its stated replacement age, replace it rather than relying on additional testing.
Reading the Signals and Troubleshooting
Understanding your device means knowing what its lights and sounds mean. Every brand and model can use different signals, so the owner’s manual should always be your first reference.
Detector Status Guide
| LED Light Color | Sound Pattern | Possible Status | What You Should Do |
|---|---|---|---|
| Solid Green | No Sound | Normal operation | Check the manual and continue normal use. |
| Flashing Red | Loud Continuous Alarm | Possible propane detection | Leave the RV, avoid ignition sources, and follow your emergency procedure. |
| Flashing Green and Red | Beeps or fault pattern | Possible detector fault | Check the manual and replace the detector if required. |
| No Light | Chirping or no sound | Possible power or detector problem | Check the power supply and consult the manual. |
Never assume a particular light or beep pattern means the same thing on every RV propane detector.
How LP Gas Behaves in Your Rig
Propane is also known as LP gas or liquefied petroleum gas. It behaves differently from natural gas.
Propane vapor is heavier than air. A leak can therefore collect in low areas of an RV, which is one reason propane detectors are commonly installed low on the wall.
Because the detector sits close to the floor, it can collect dust, pet hair, and dirt. A blocked vent may interfere with proper airflow around the sensor.
I regularly use a soft brush or gentle vacuum attachment to remove dust around the detector vents. Always follow the manufacturer’s cleaning instructions and avoid forcing debris into the detector.
Real-Life Causes of False Alarms
Sometimes an alarm can sound even when you cannot immediately find a propane leak. This can be frightening, but you should never assume a false alarm without checking for danger first.
Some detectors can react to certain chemicals, solvents, aerosols, alcohol vapors, or other contaminants.
If the alarm activates, treat it as a potential propane leak. Avoid creating sparks or flames, leave the RV if necessary, and follow your detector and RV manufacturer’s emergency instructions.
Only after the area is considered safe should you investigate possible environmental causes.
Upgrading and Replacing Your Unit
If your detector fails its manufacturer’s recommended test or reaches its replacement age, replace it.
Many RV propane detectors are hardwired into the RV’s 12V DC electrical system. Before working on the wiring, disconnect the appropriate power source according to your RV and detector instructions.
Remove the old detector carefully and install the replacement according to the new unit’s wiring diagram. Secure all connections and make sure the detector is mounted in the correct location.
After installation, restore power and perform the manufacturer’s required functional tests.
If you are not comfortable working with RV electrical wiring, have a qualified RV technician install the detector.
FAQ 1: Can I use a regular DeWalt or Milwaukee heat gun to speed up the sensor test?
No. Do not use a heat gun on your propane detector. Intense heat can damage the housing, sensor, or internal electronics. Use only the testing method approved by the detector manufacturer.
FAQ 2: Will storing my RV tool set in a freezing cold garage damage my test spray?
Extreme temperatures can affect aerosol products. Check the test spray’s storage instructions and keep it within the recommended temperature range.
FAQ 3: Can I clean a dusty propane alarm with a shop vac or compressed air?
A gentle vacuum with a soft brush may be suitable for removing surface dust, but always follow the detector manufacturer’s cleaning instructions. Avoid high-pressure compressed air unless the manufacturer specifically permits it.
FAQ 4: Do these 12V safety detectors drain my RV house batteries when parked?
Yes, many hardwired RV propane detectors draw a small amount of power continuously. The exact amount varies by model. If your RV will be stored for an extended period, follow the RV manufacturer’s battery-storage procedure.
FAQ 5: Does a MTI Industries or Safe-T-Alert alarm last longer than five years?
Do not assume every detector has the same service life. Check the specific model’s label and manufacturer instructions. Many RV propane detectors have a replacement period around five years, but the exact recommendation can vary.
The biggest lesson I learned from this whole experience is simple: pressing the button is useful, but it may not tell you everything about the gas-sensing function. If you have ever wondered how to test RV propane detector systems safely, start with the owner’s manual, use an approved testing method, keep the vents clean, and replace the detector when its service life ends.
A few minutes of careful checking can give you much more confidence before you pull out of the driveway for your next trip.
Read More About: